PARADISE
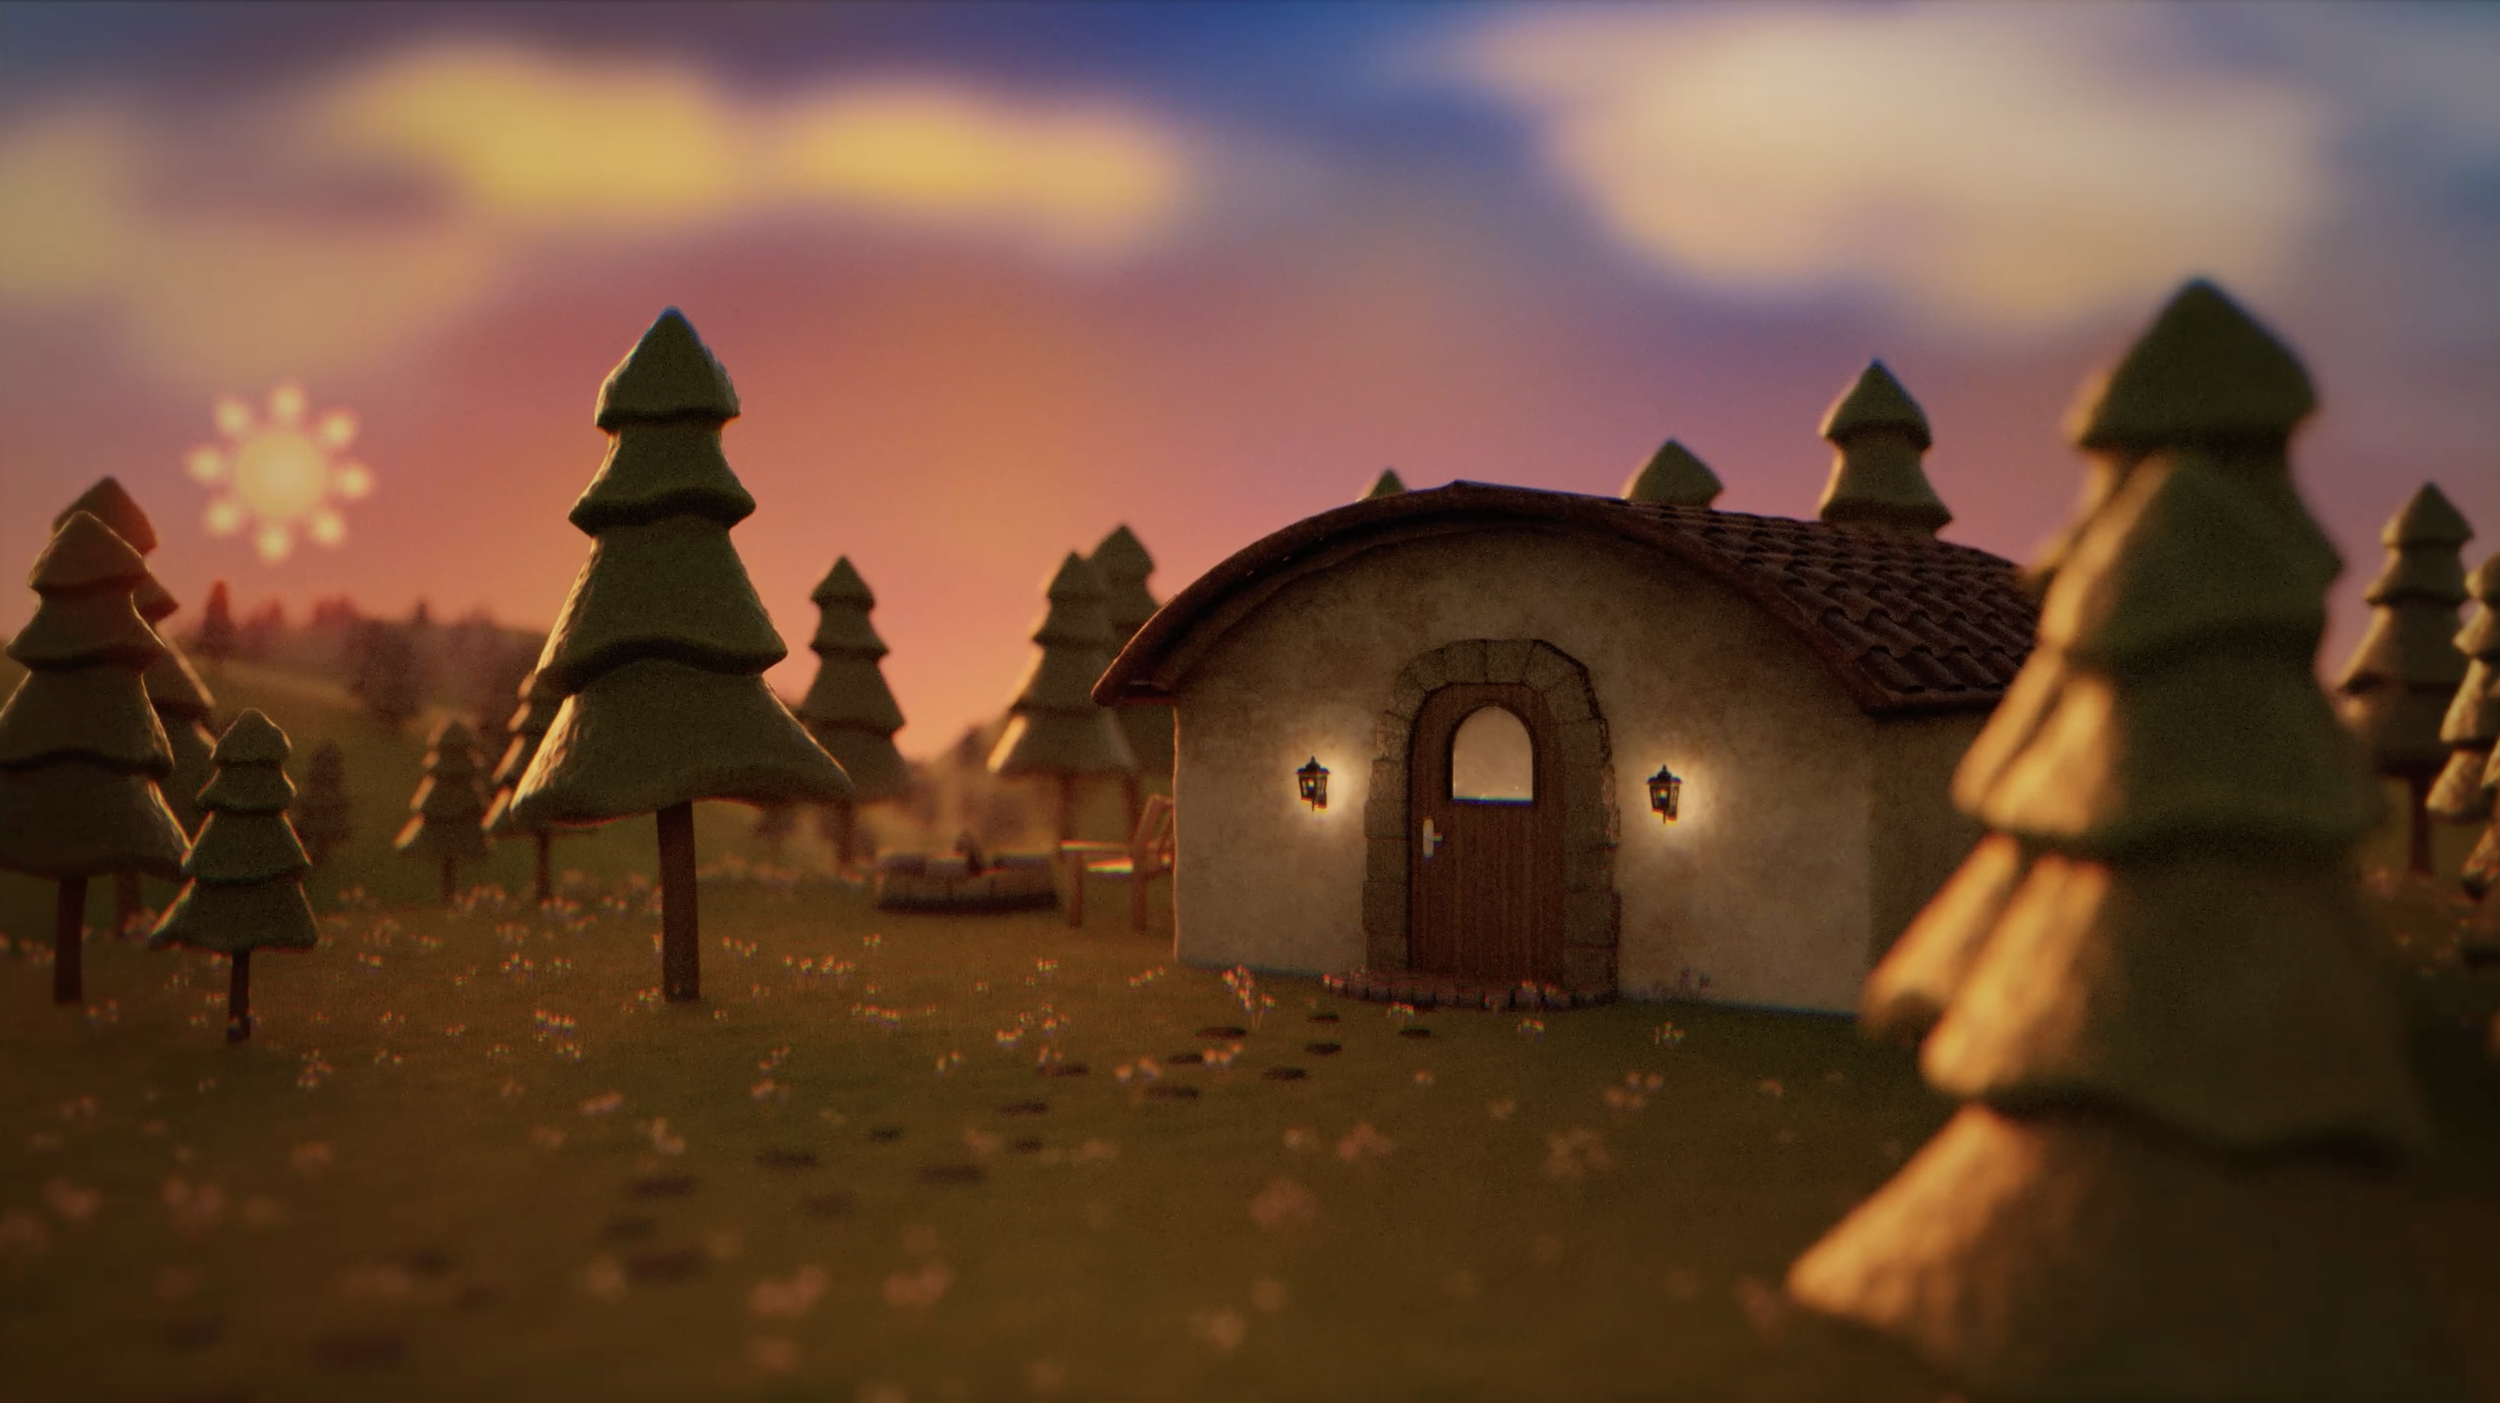
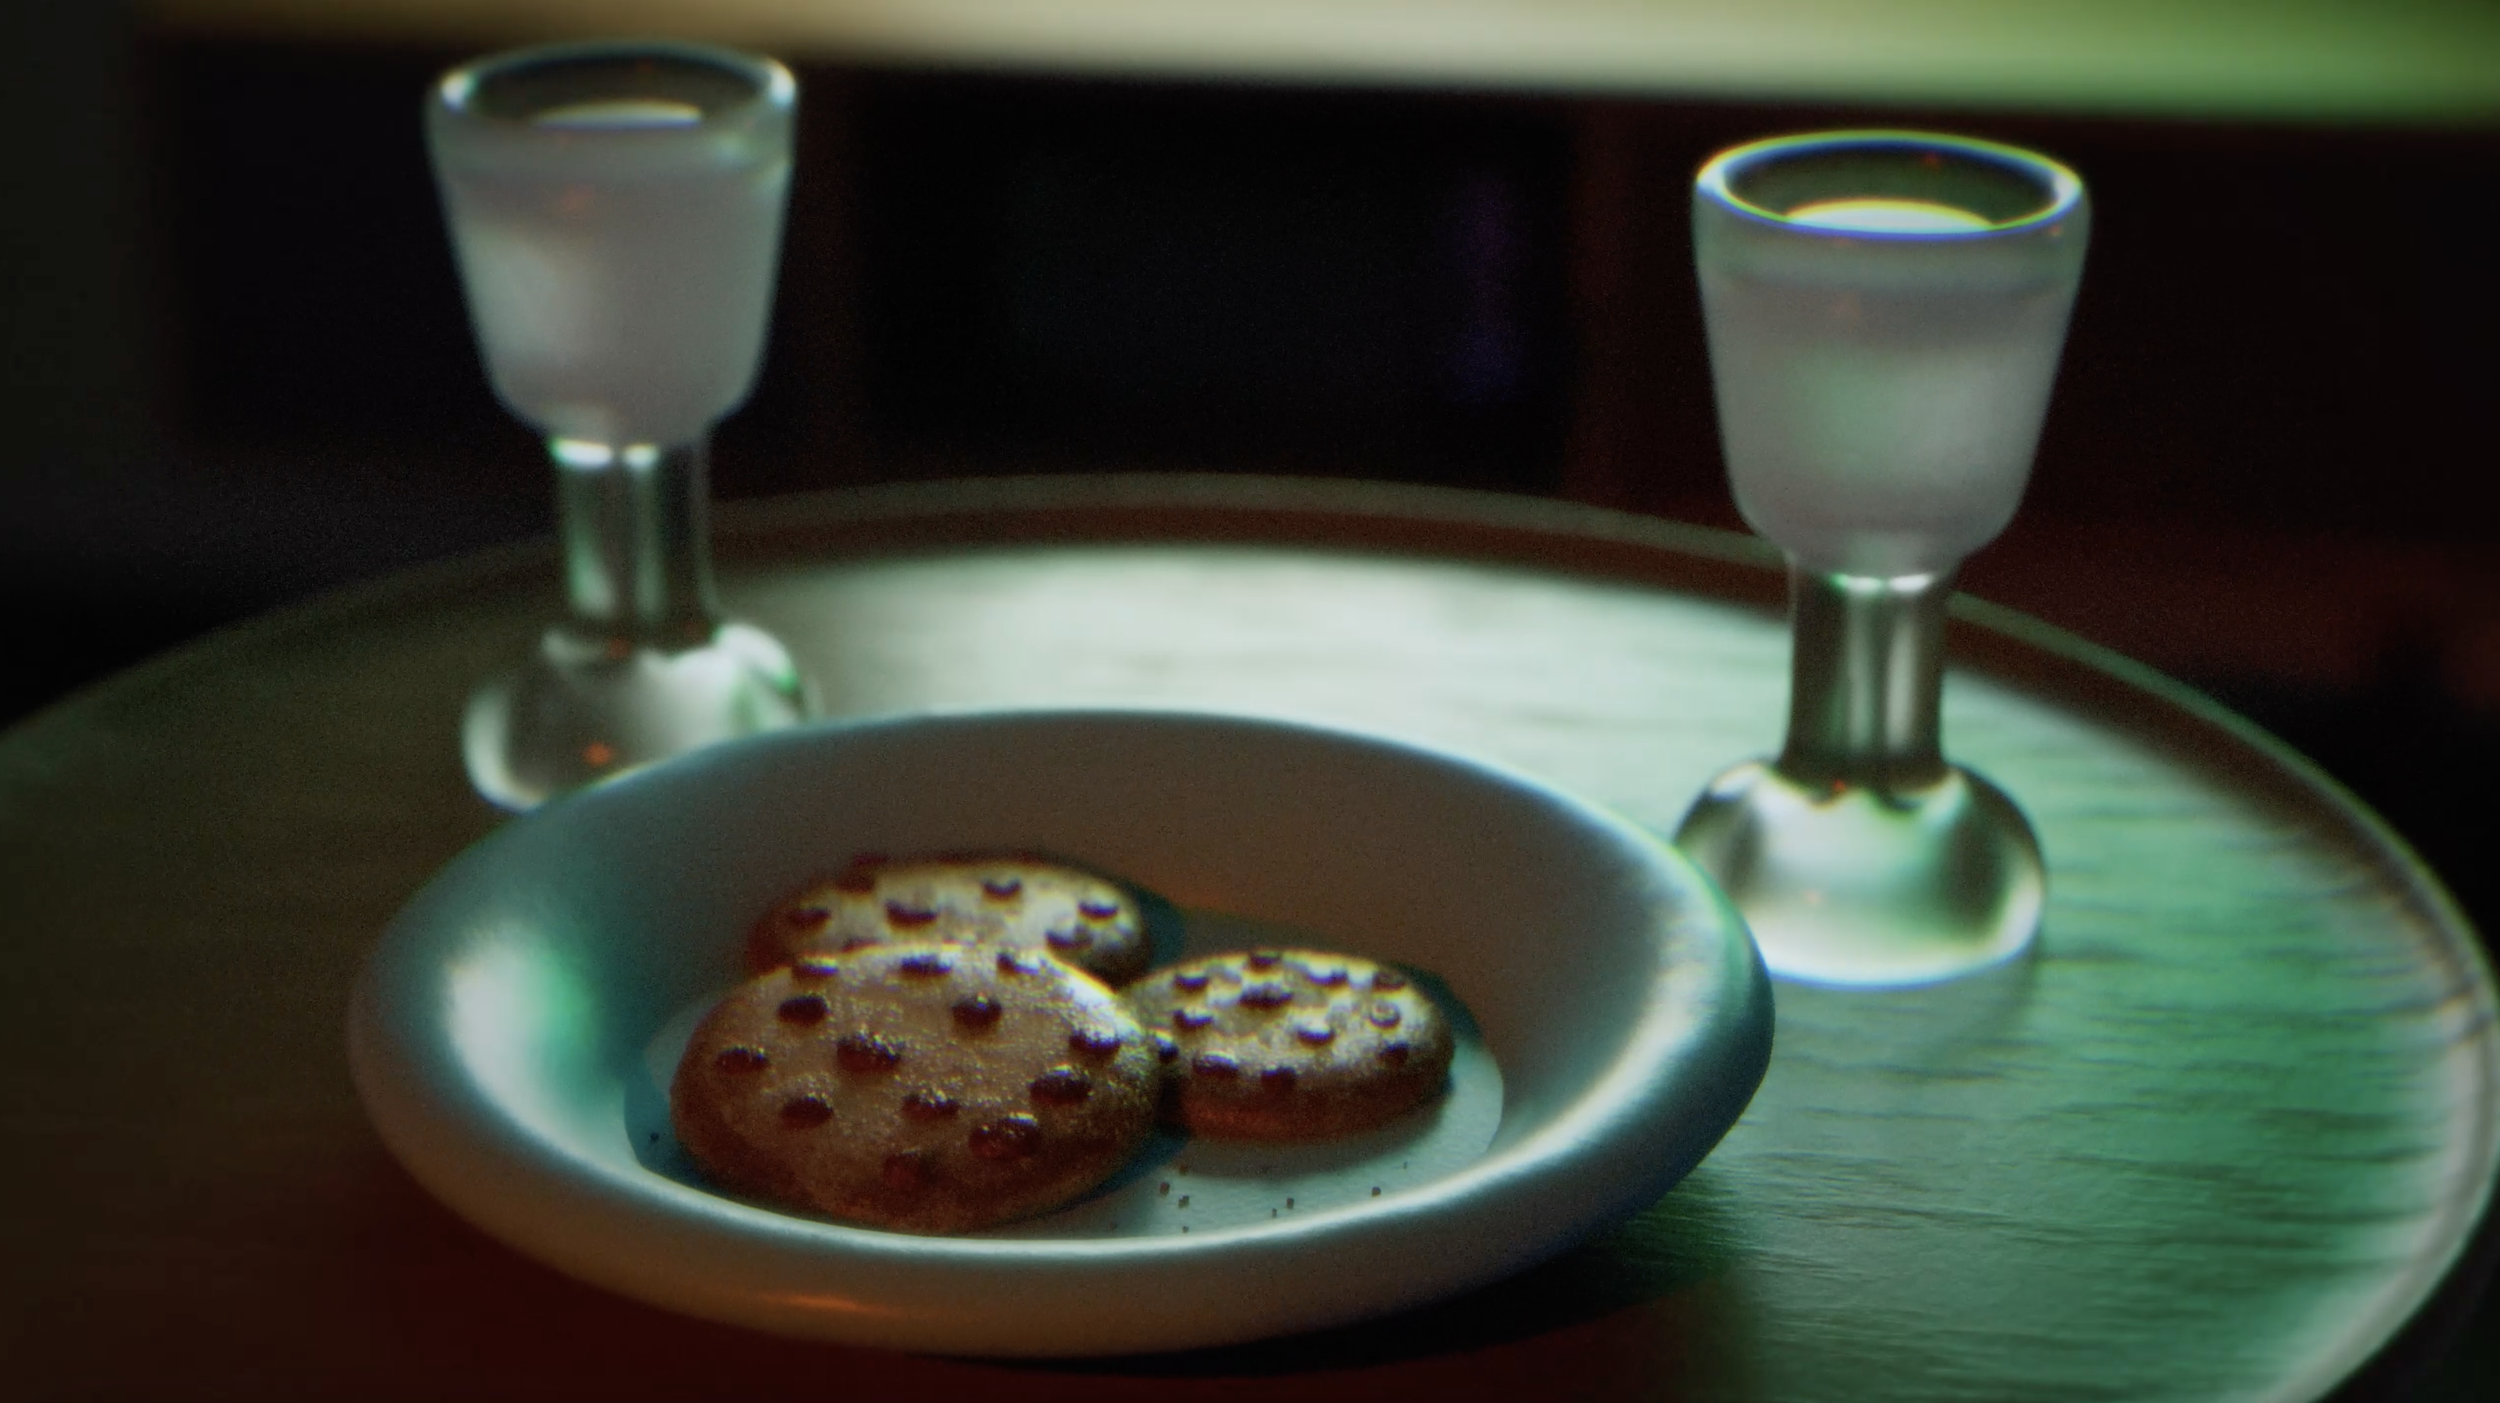
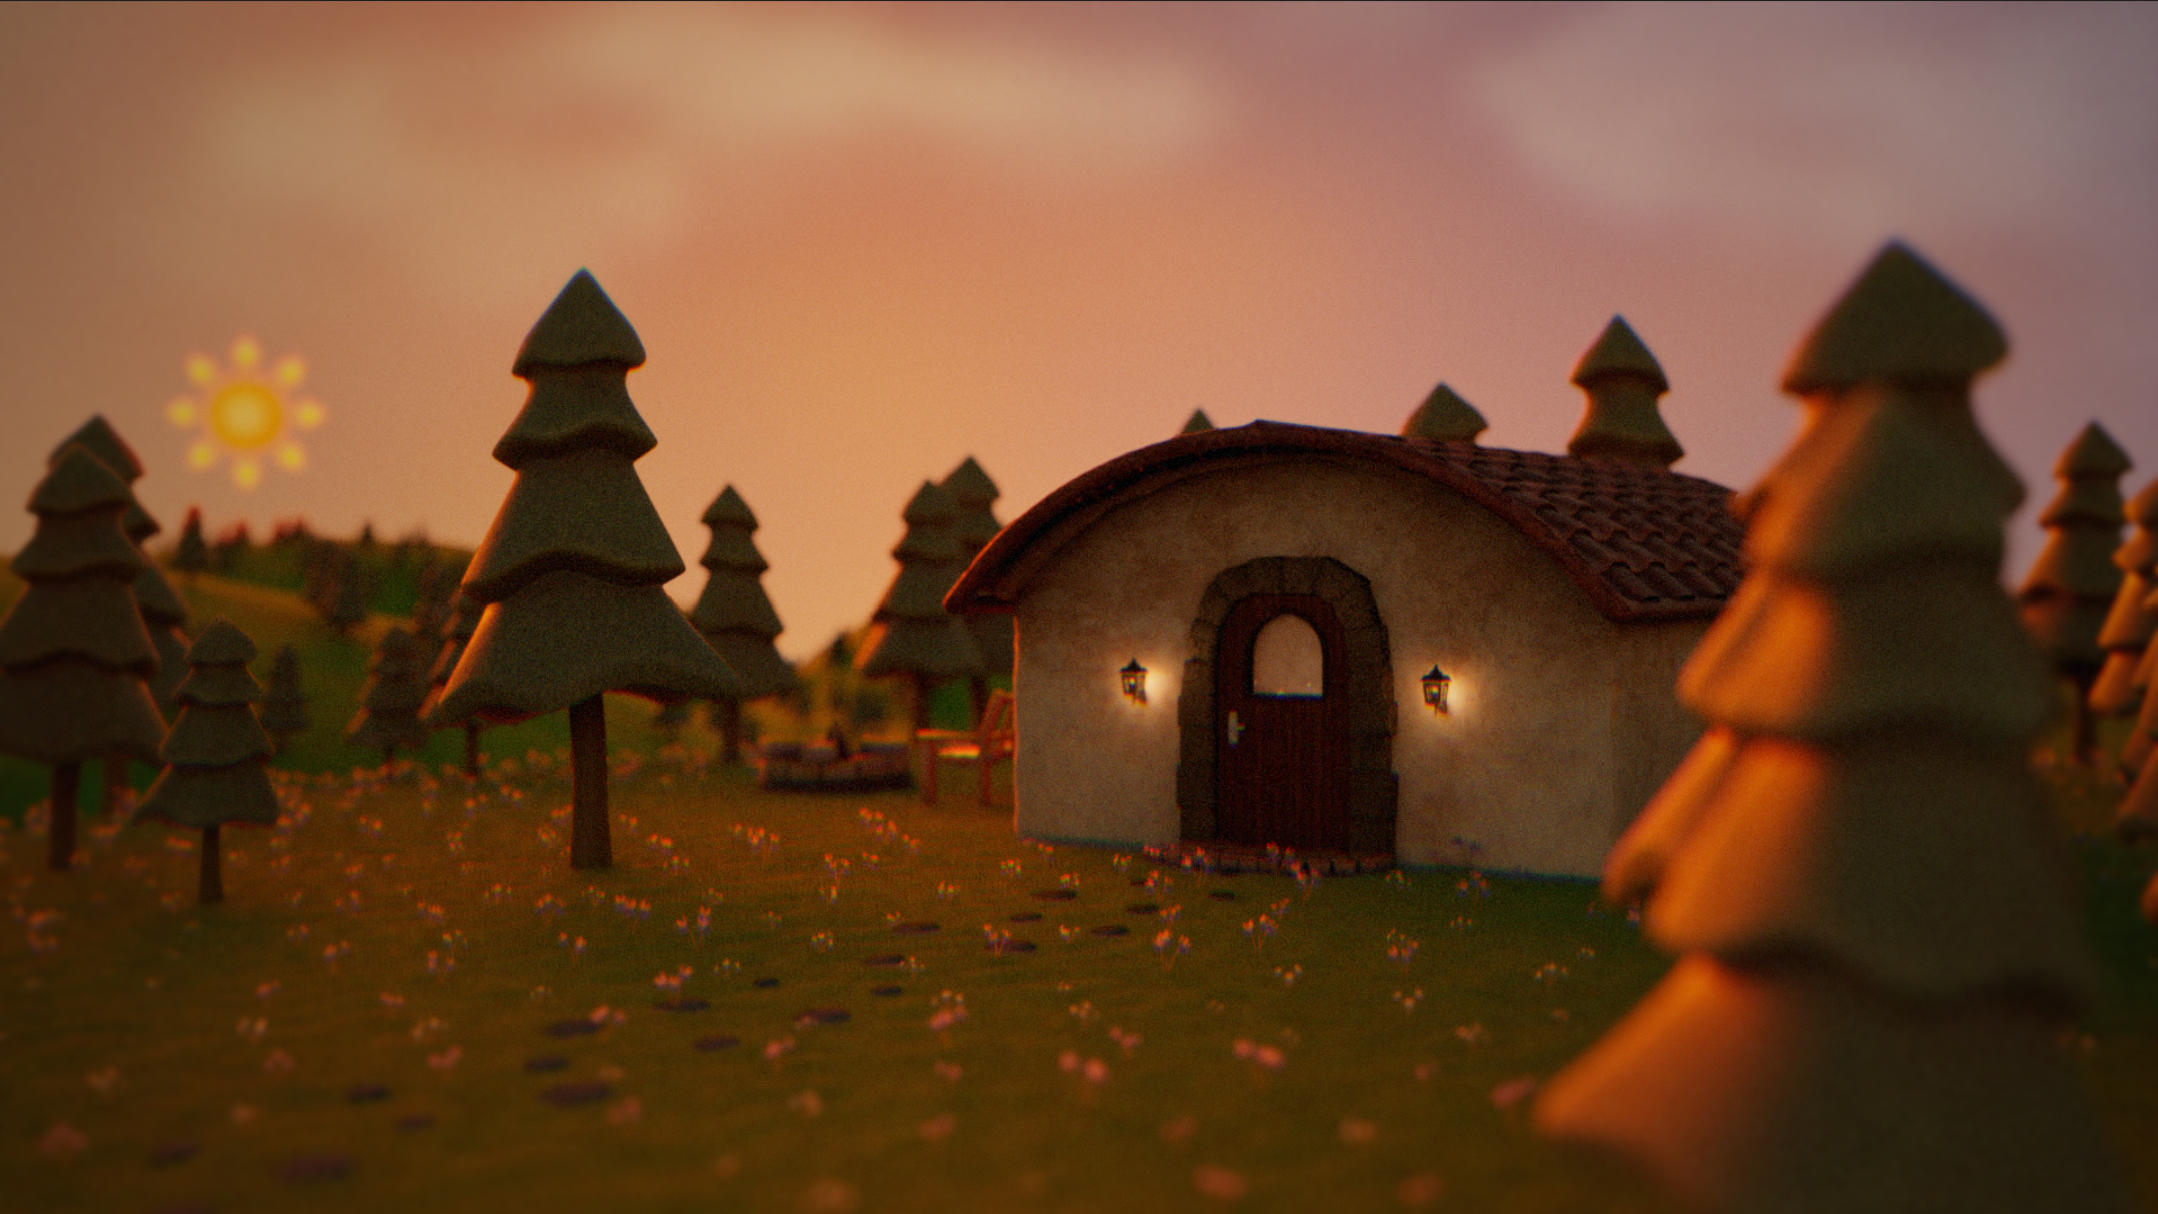
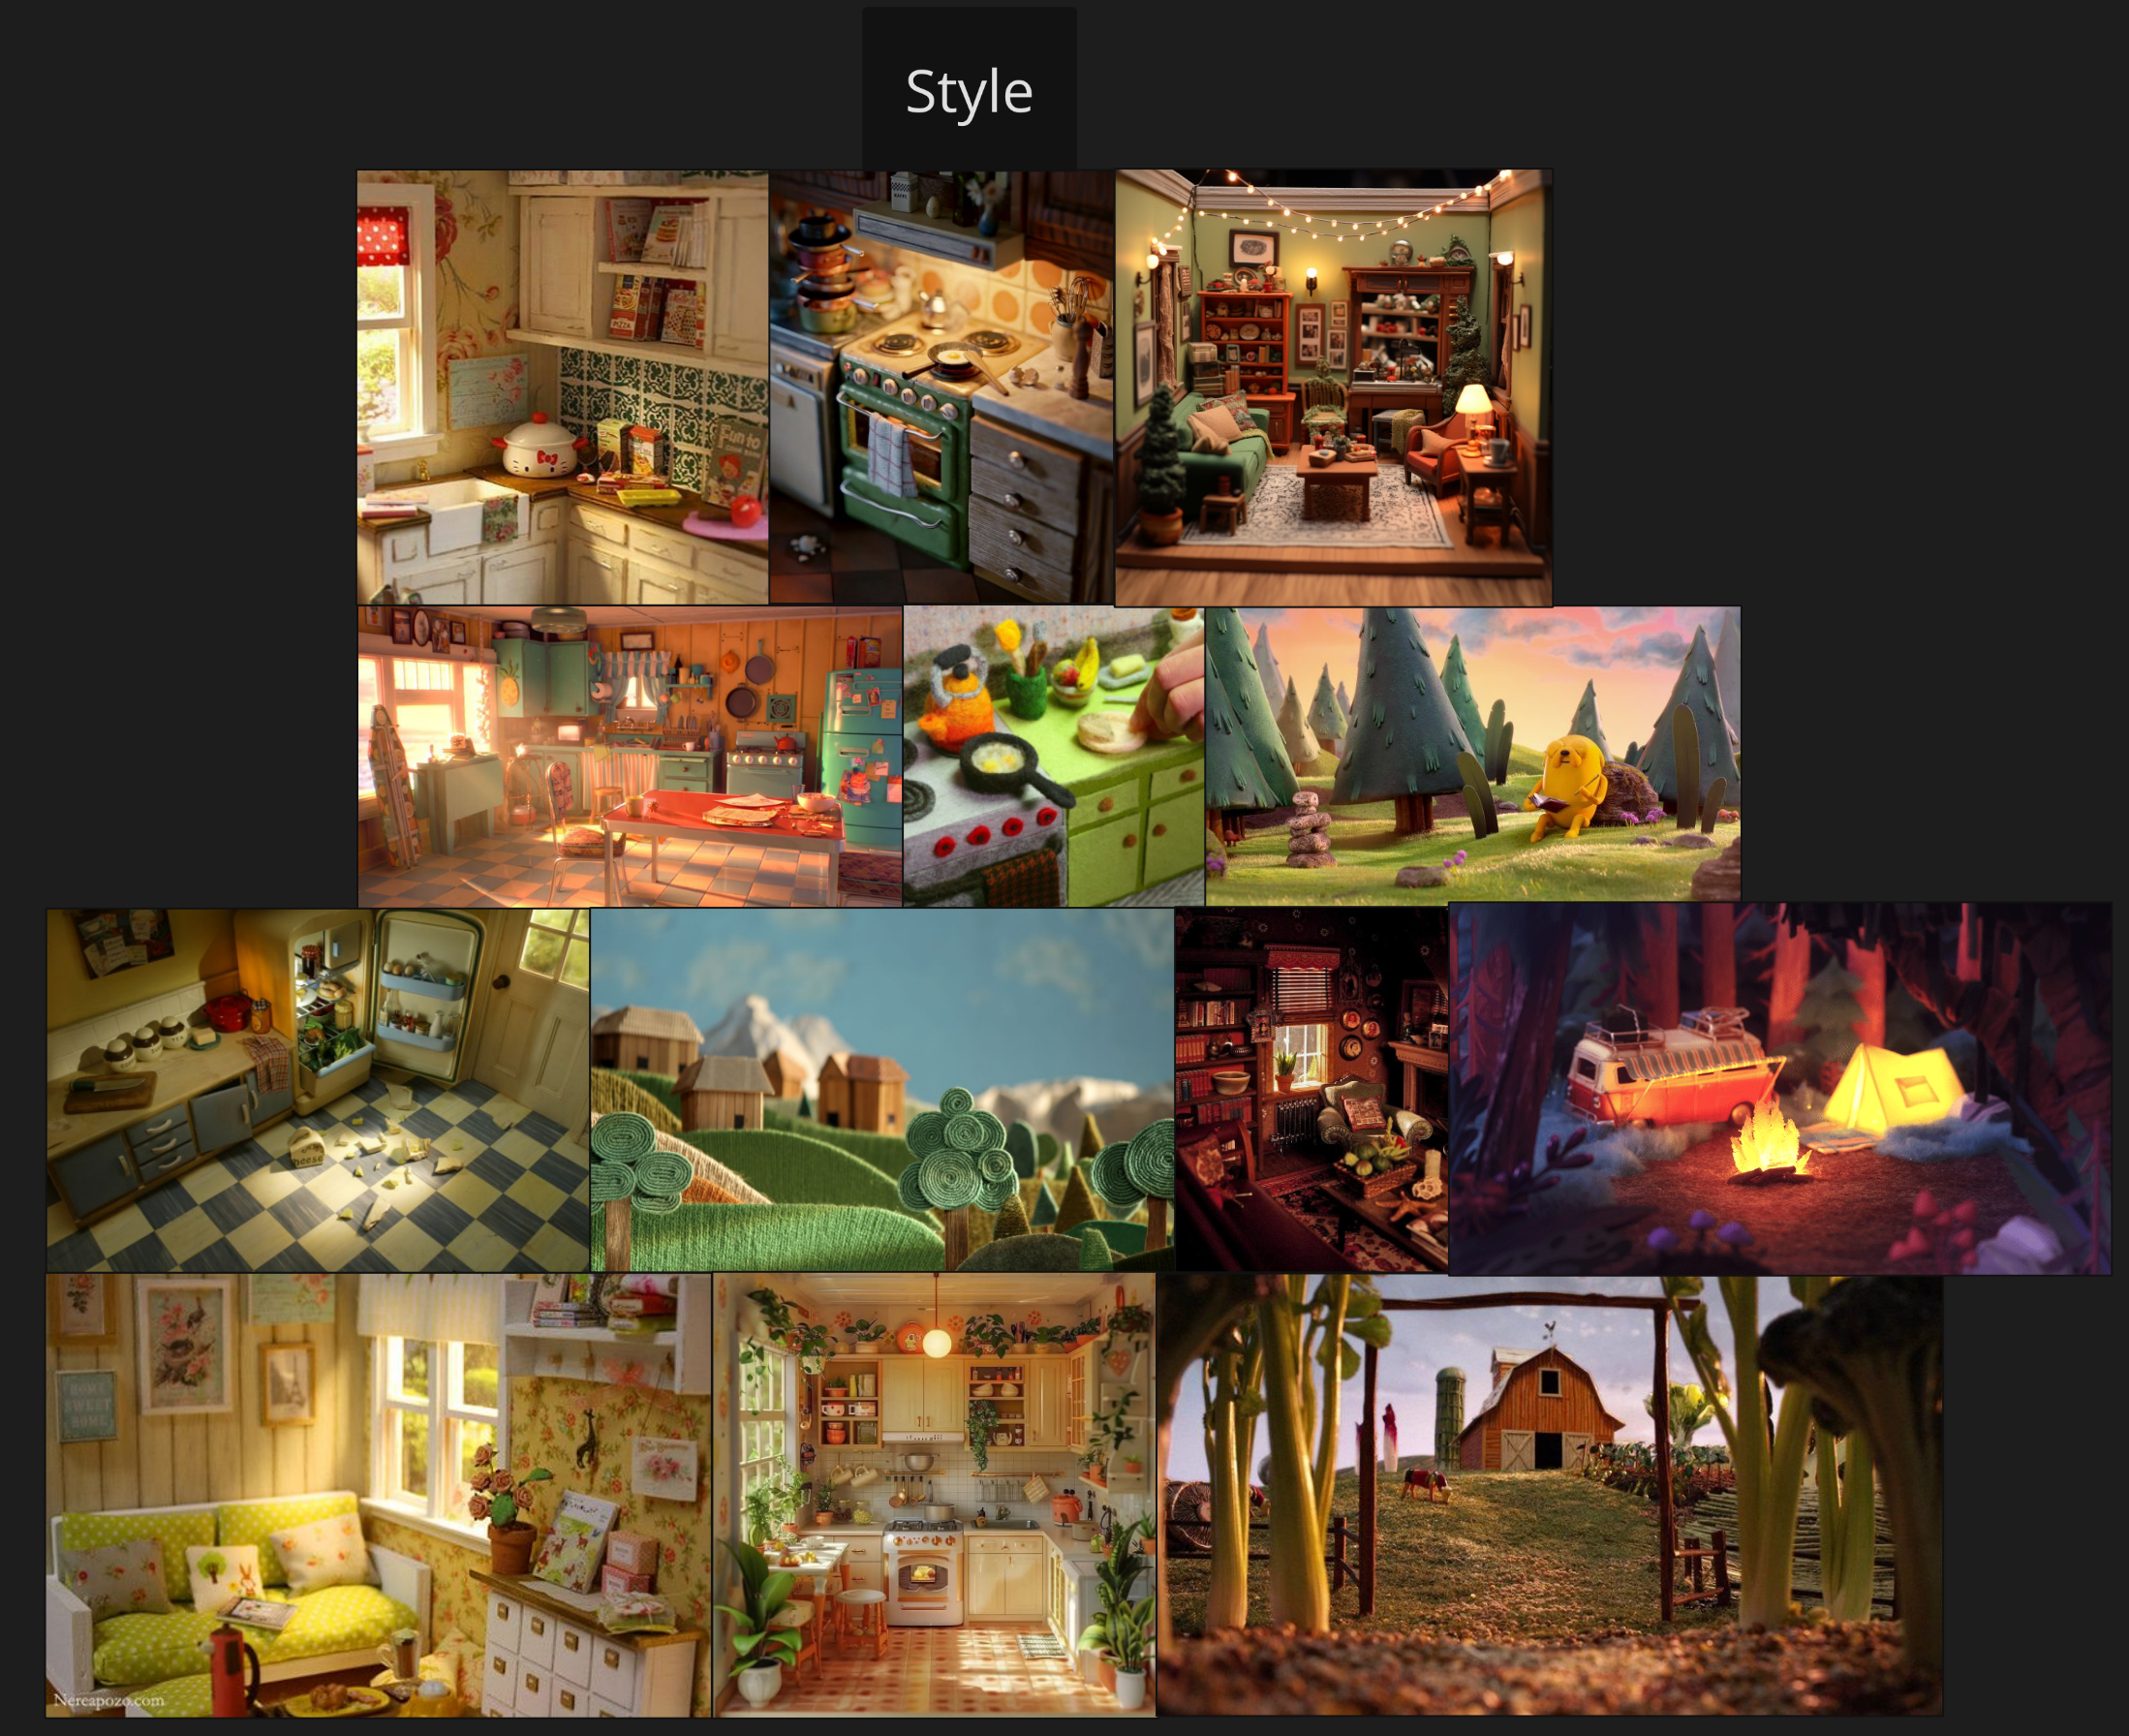
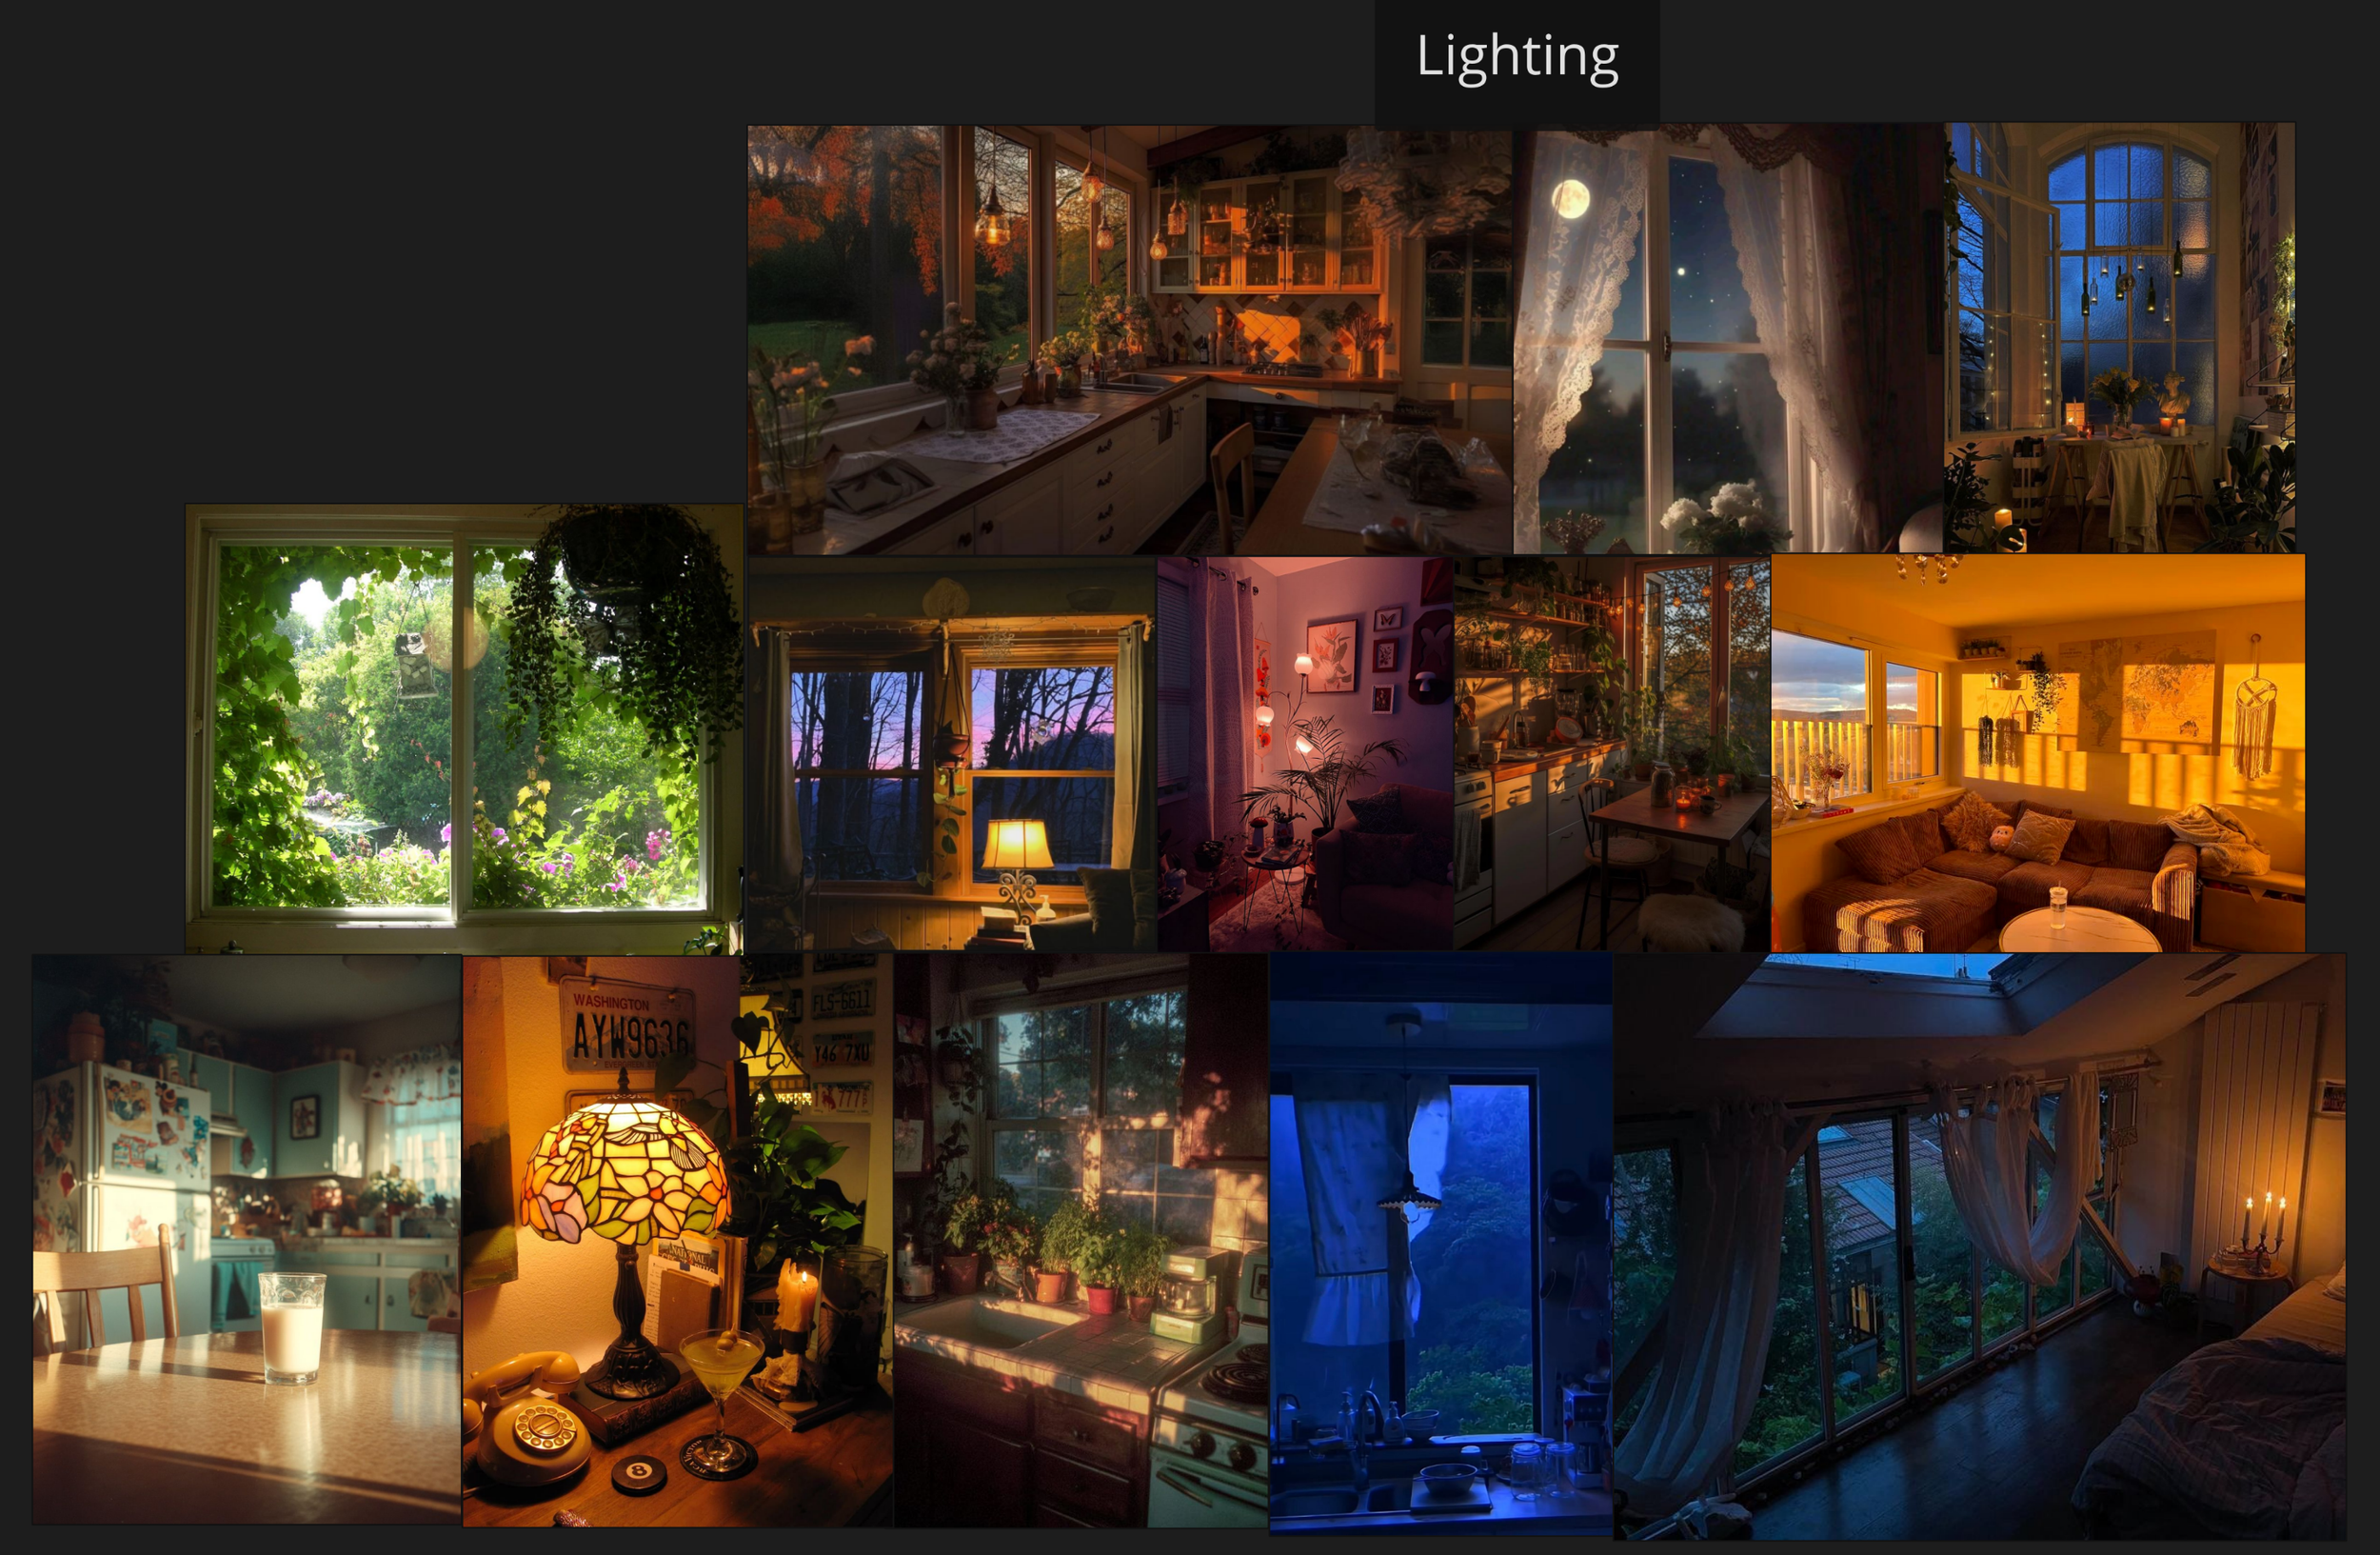
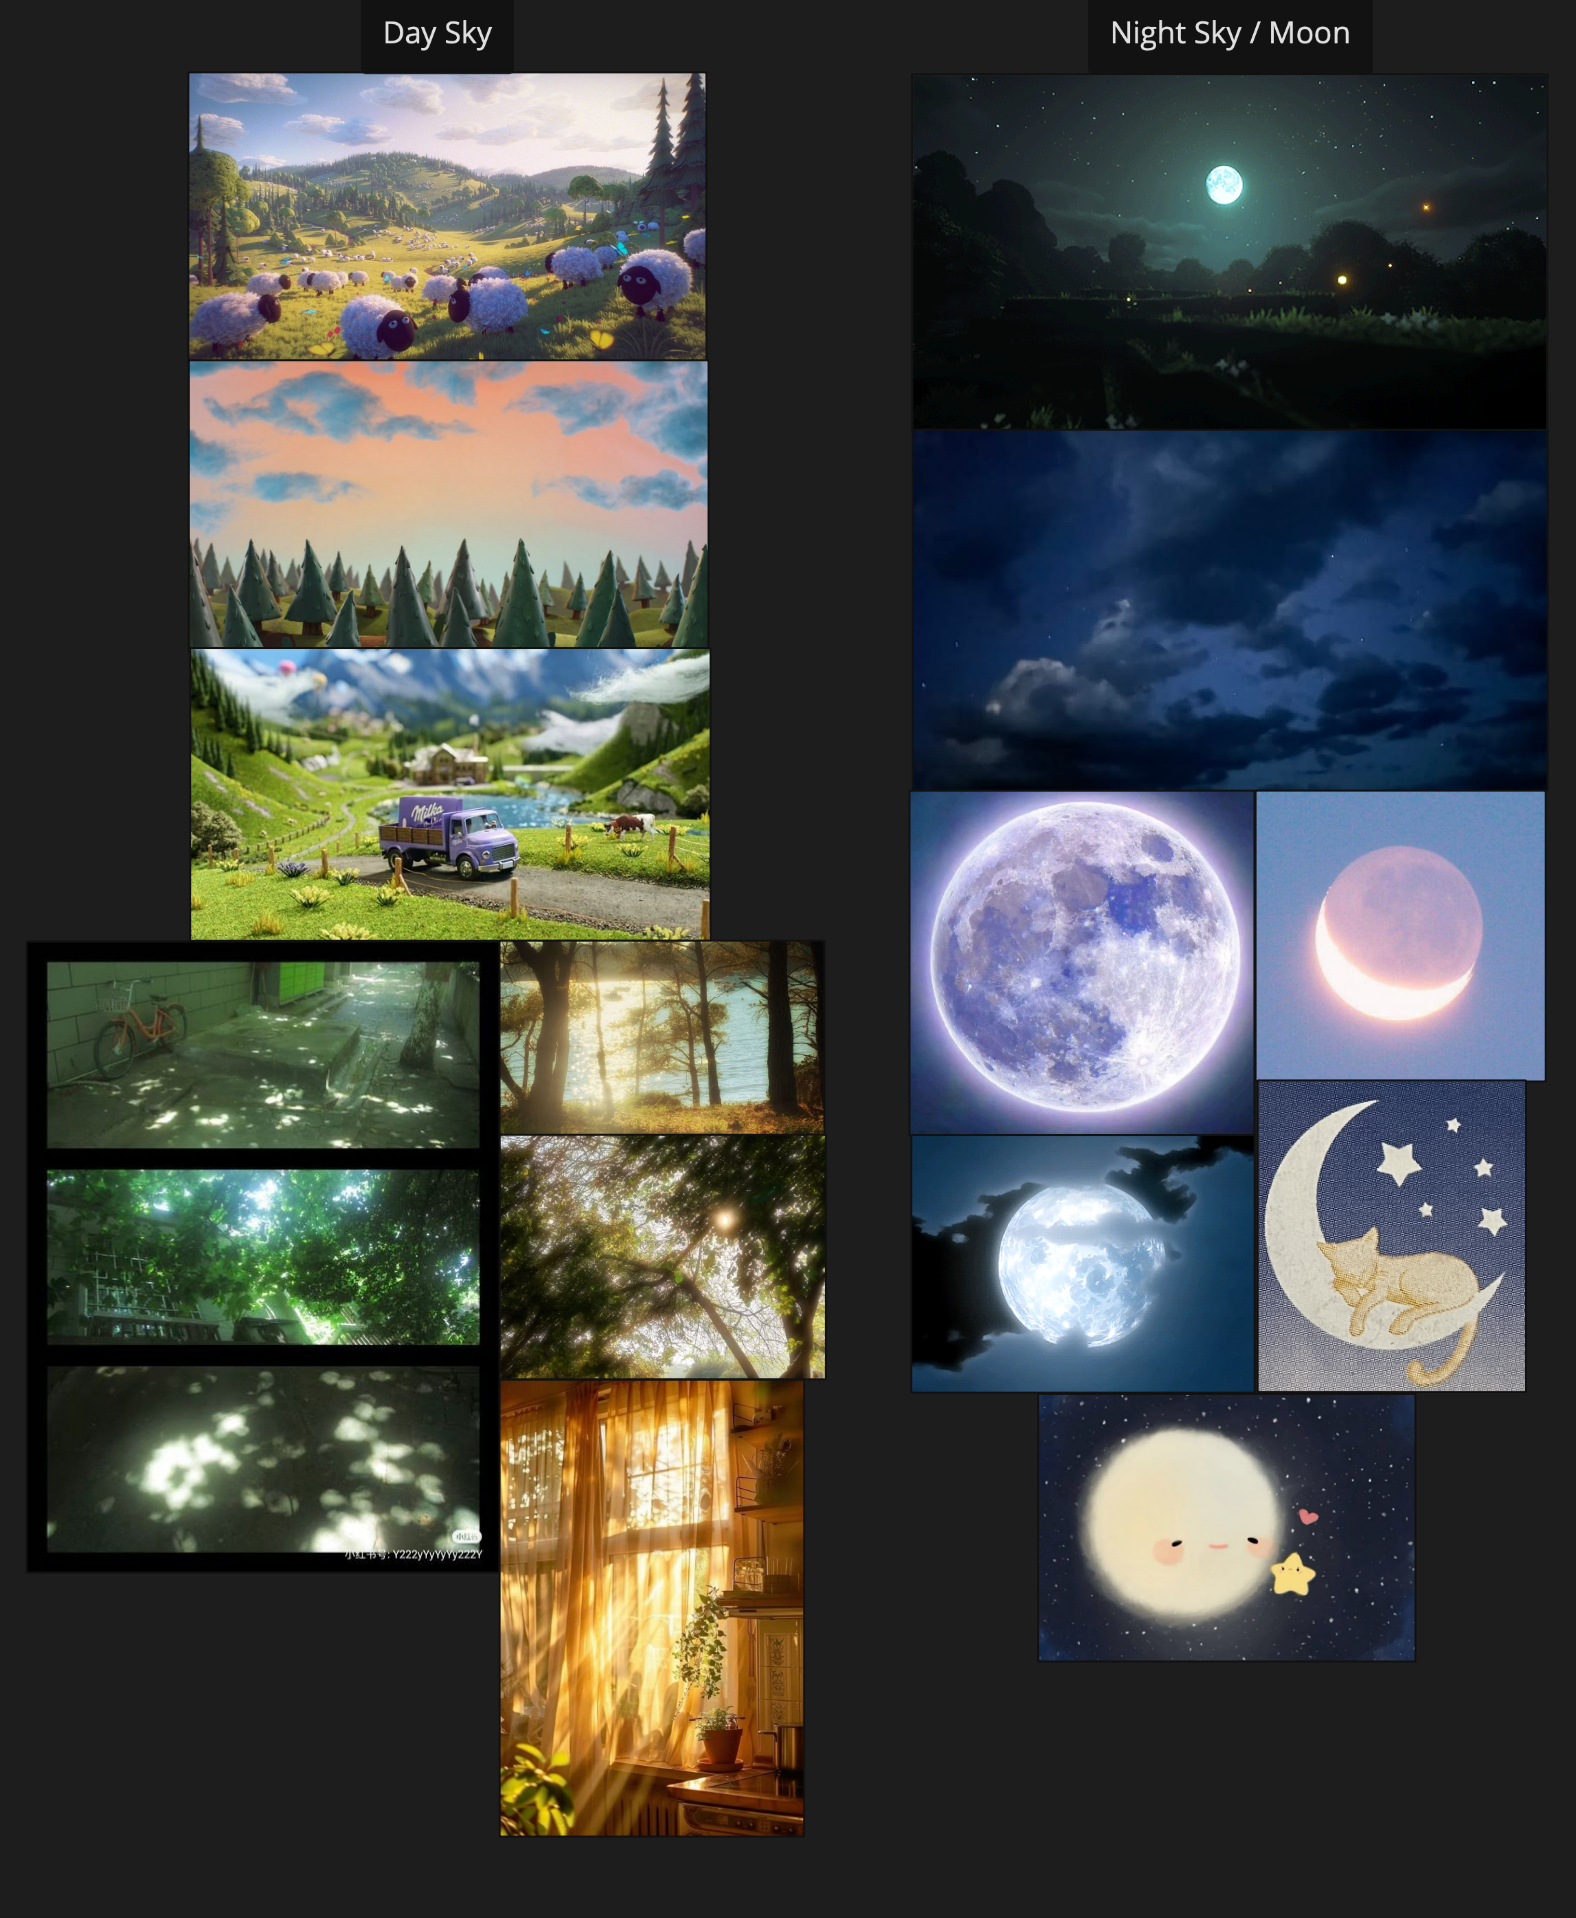
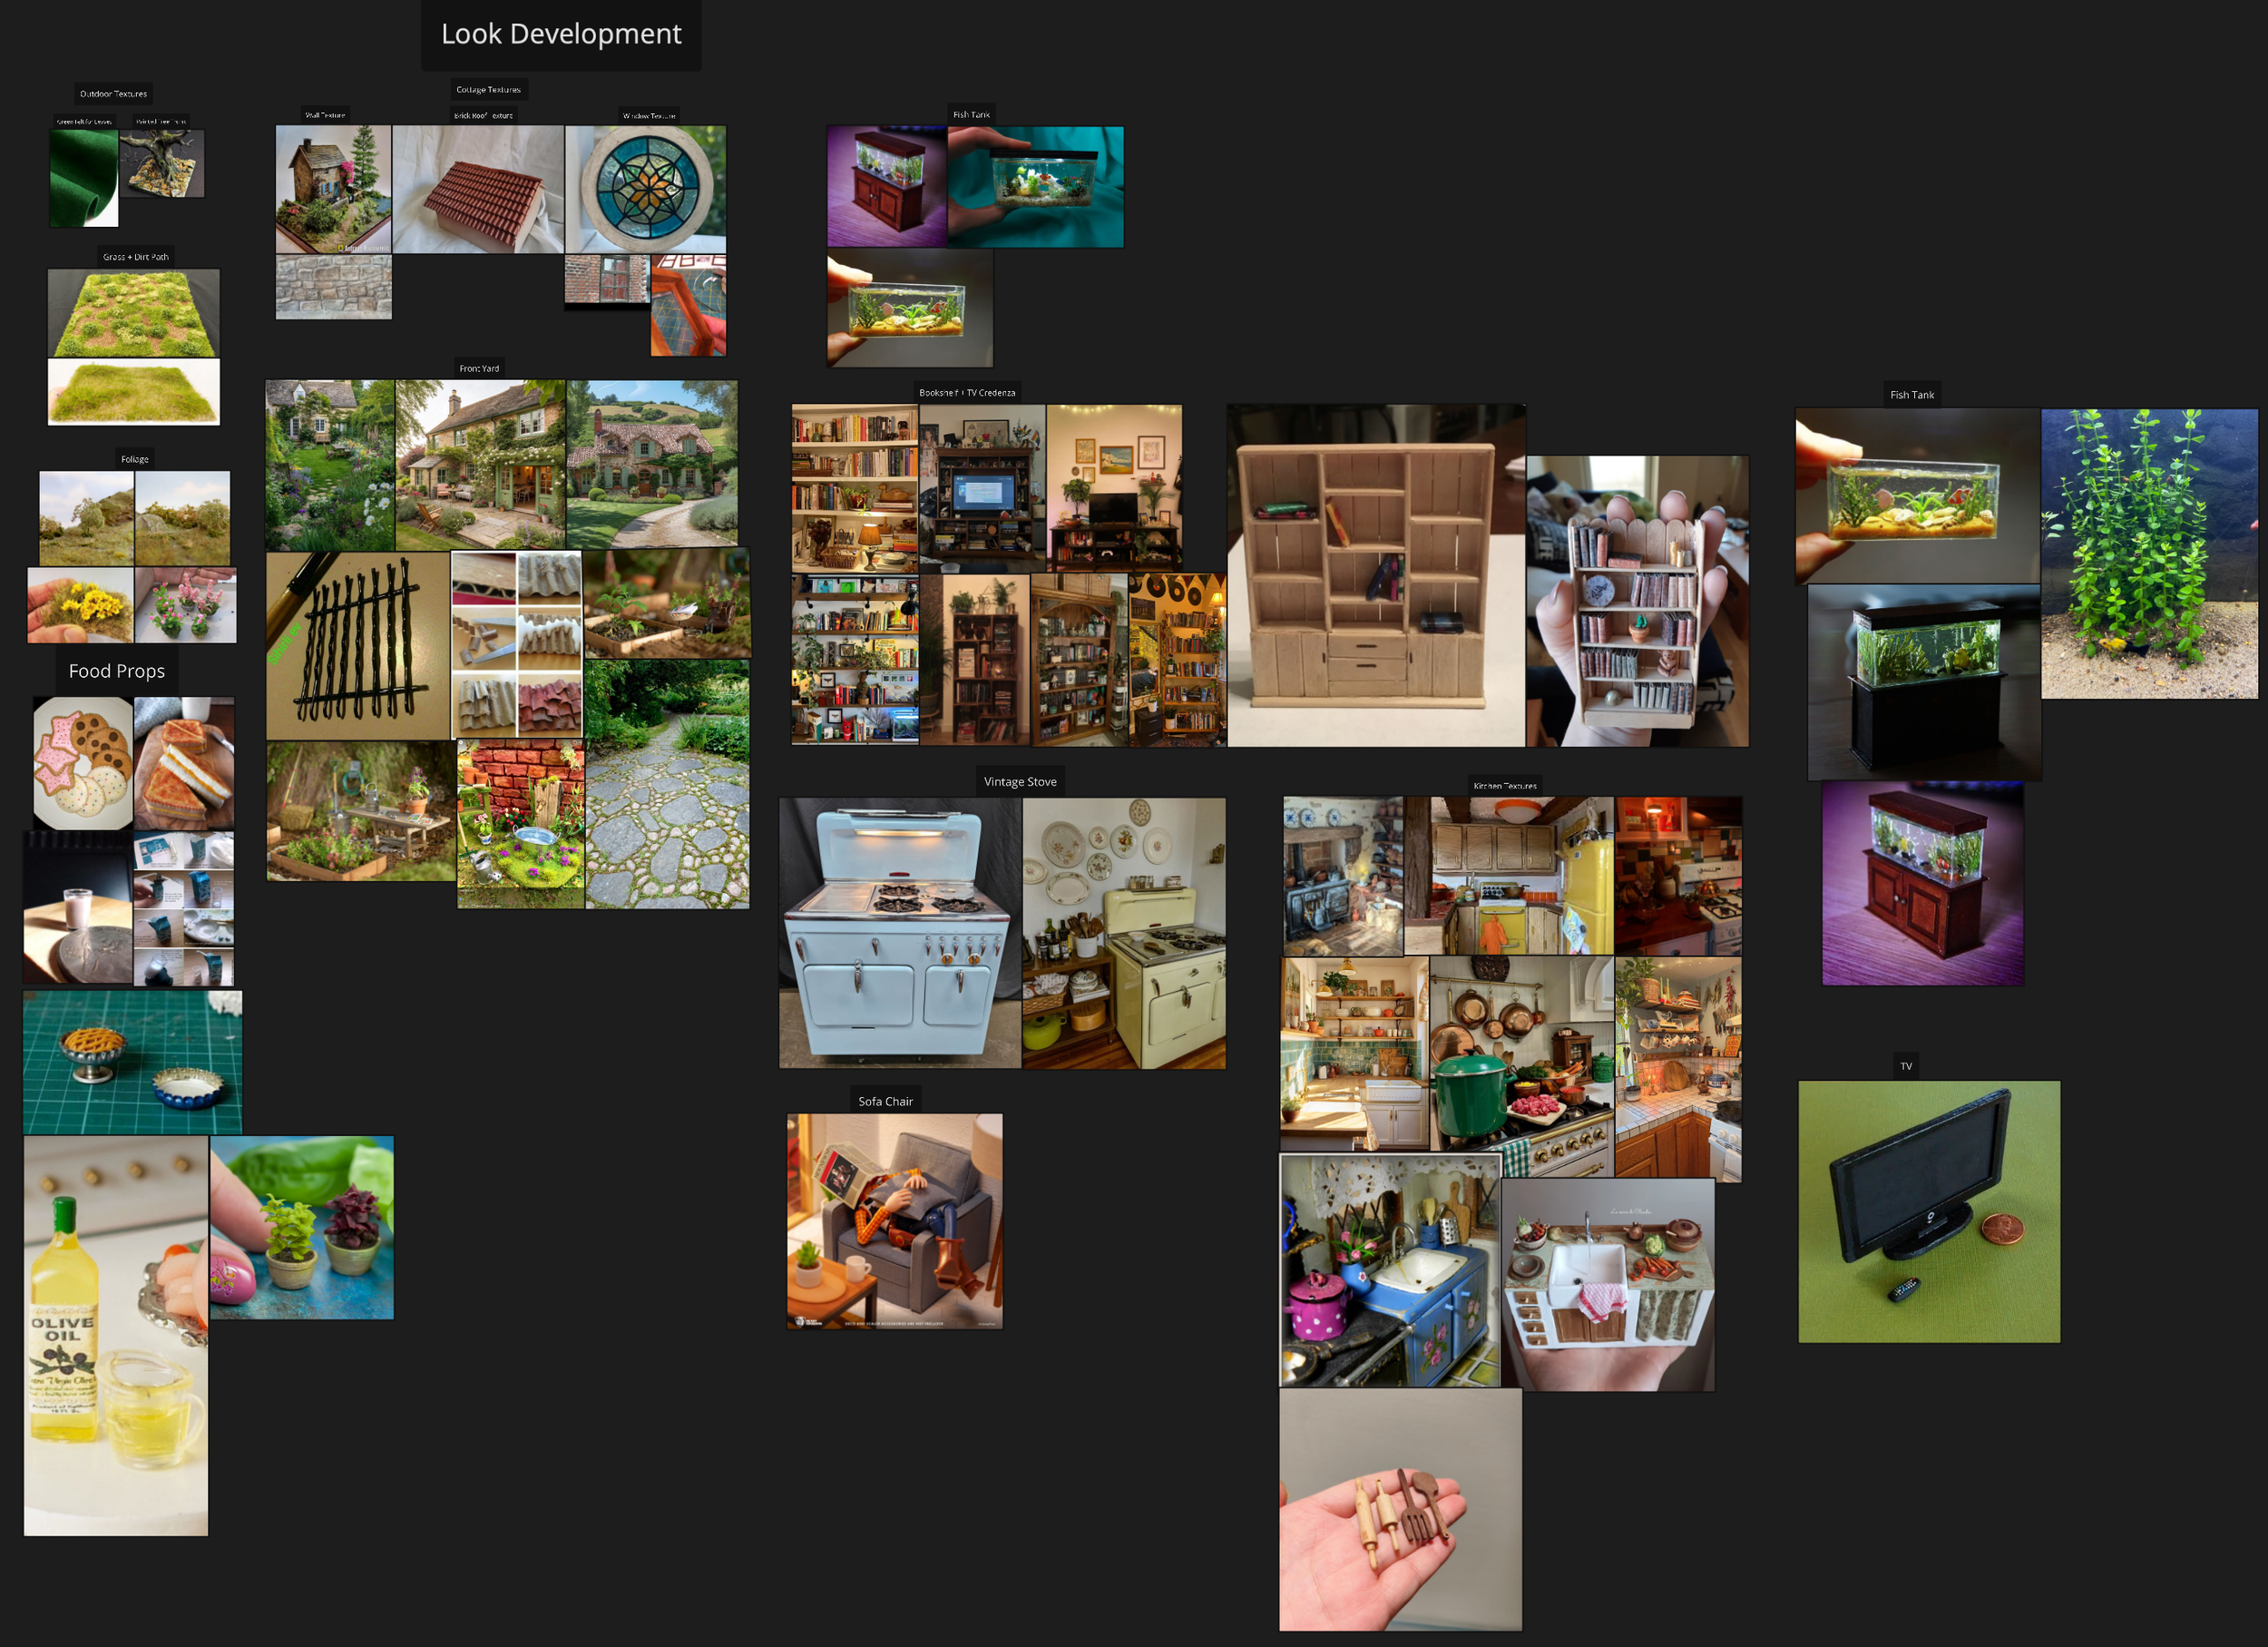
My idea for this passion project is to create very cozy, serene scenes that represent my idea of Paradise. The film takes place in a comfortable cottage in the forest and throughout each shot it slowly fades from sunset to evening. The style I am going for is a stop motion film, but rendered with CG techniques. I want to mainly focus on Look Development and Lighting, for each shot to have really strong lighting balance, ambience, and strong texture detail.

Up to Date
Shot List Visual
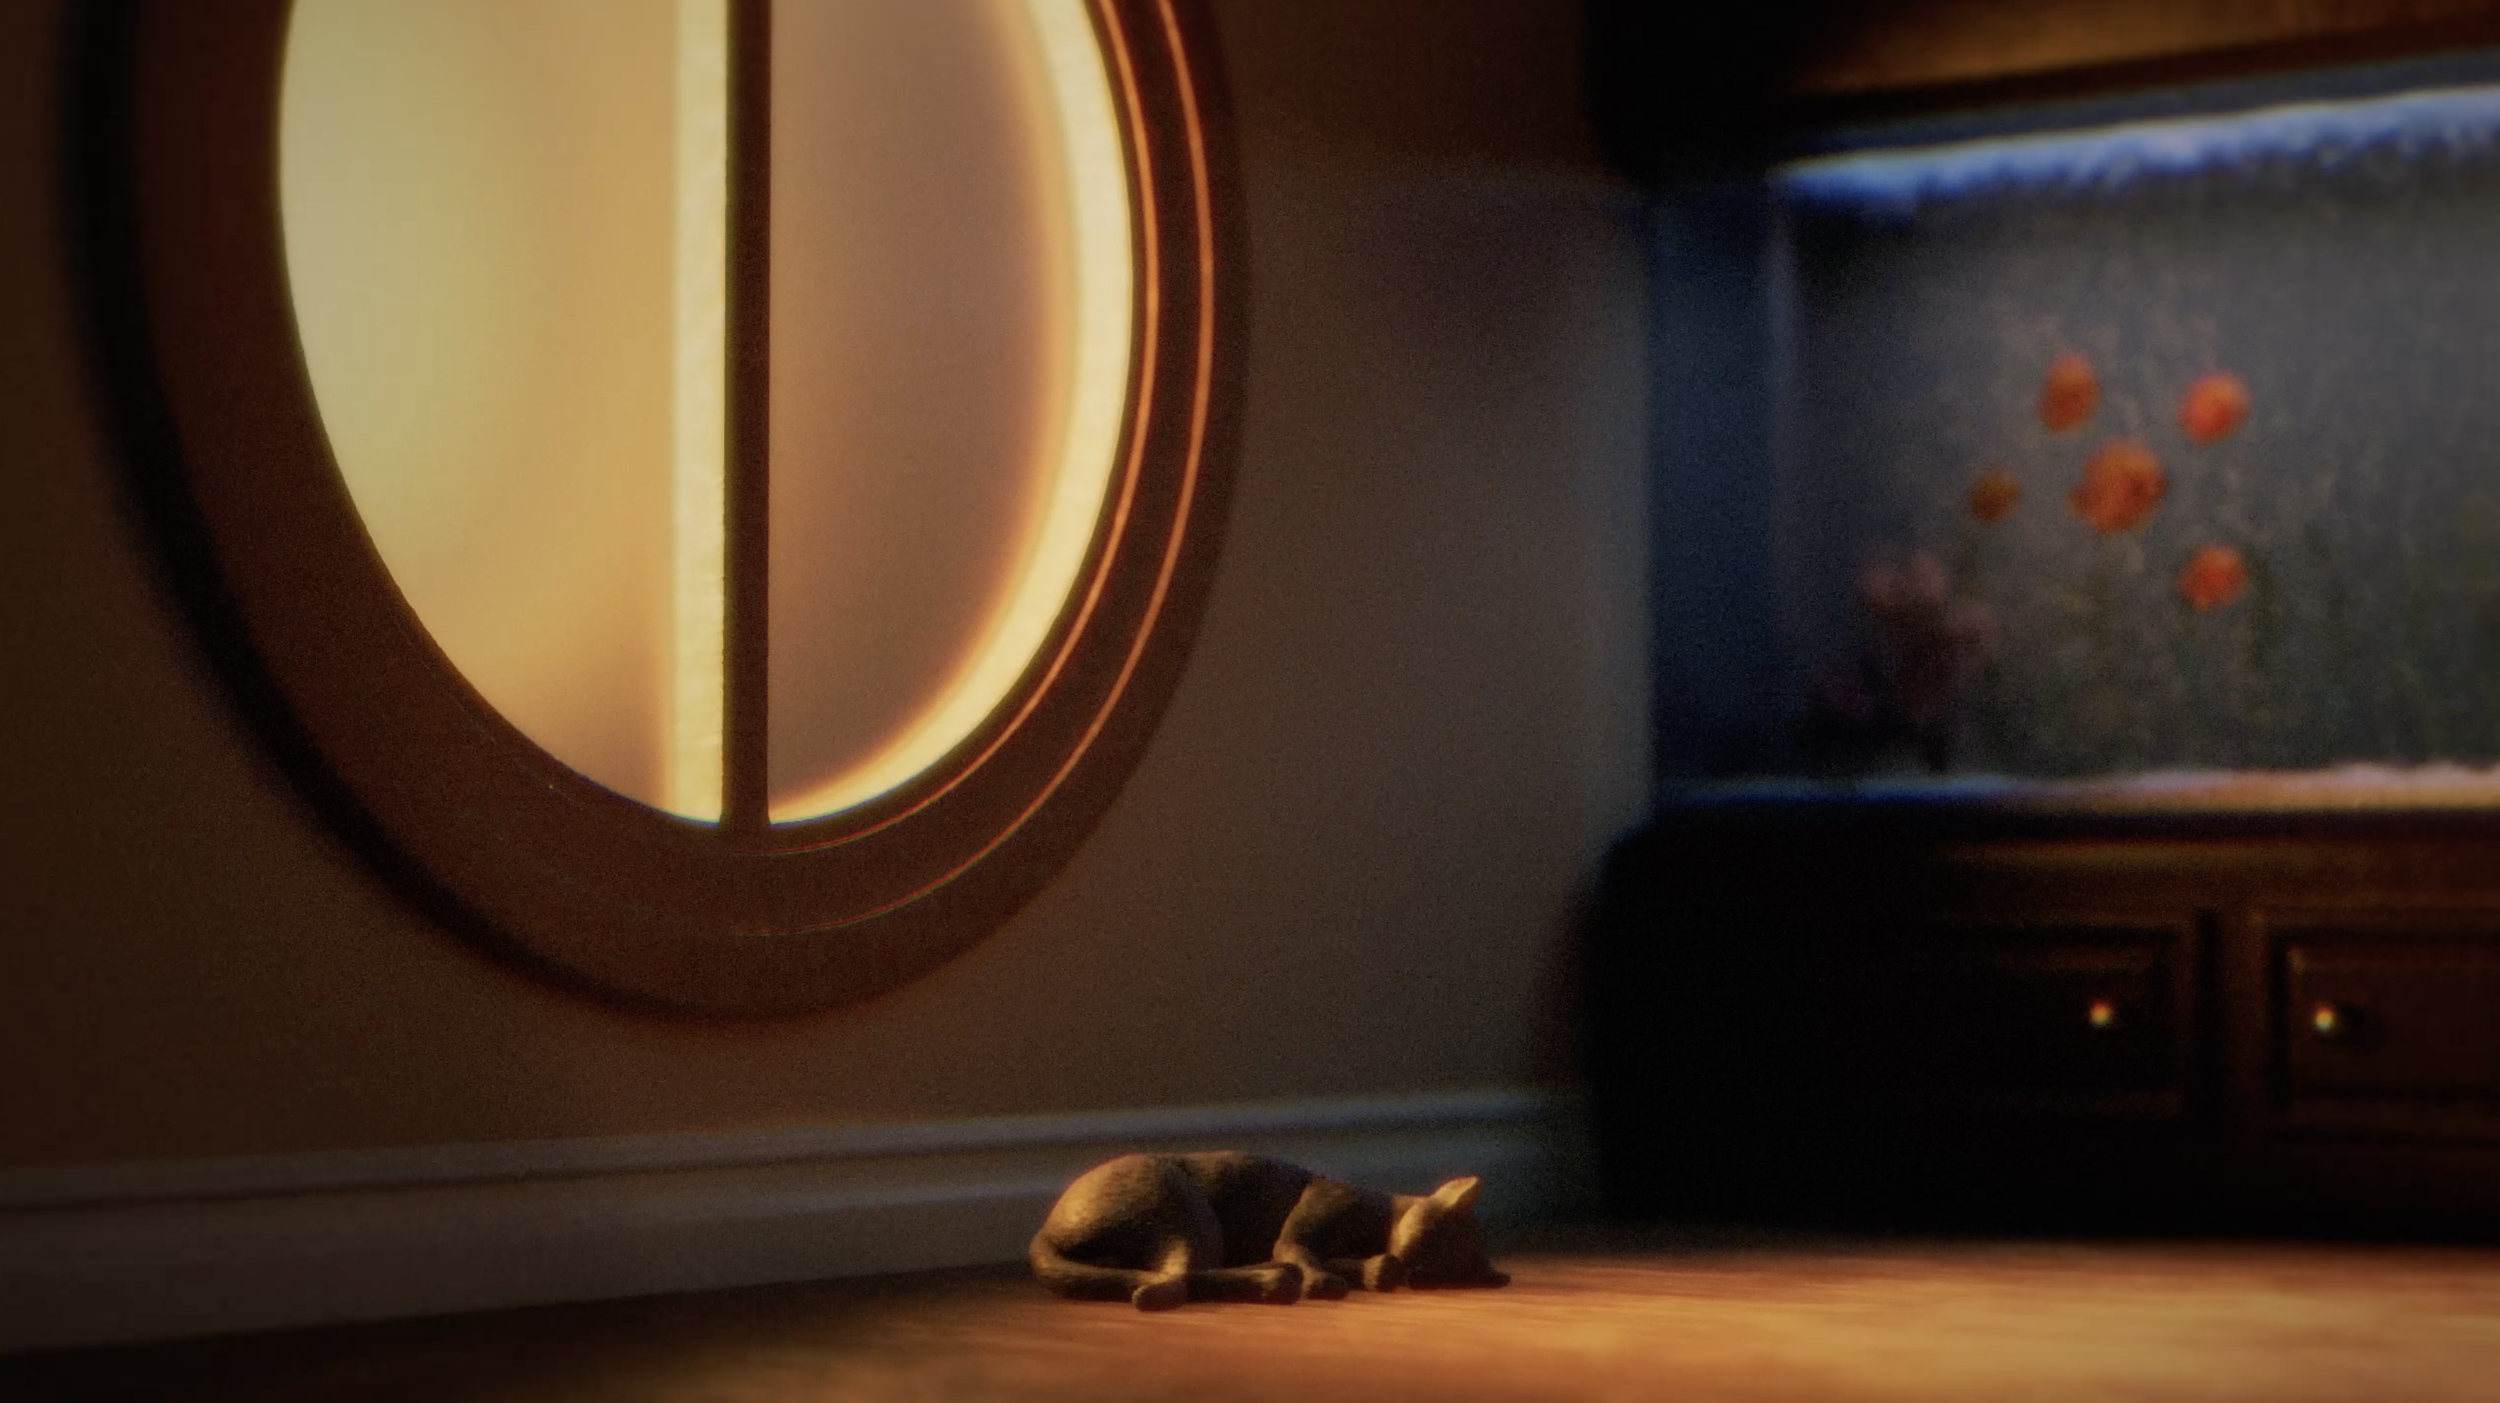
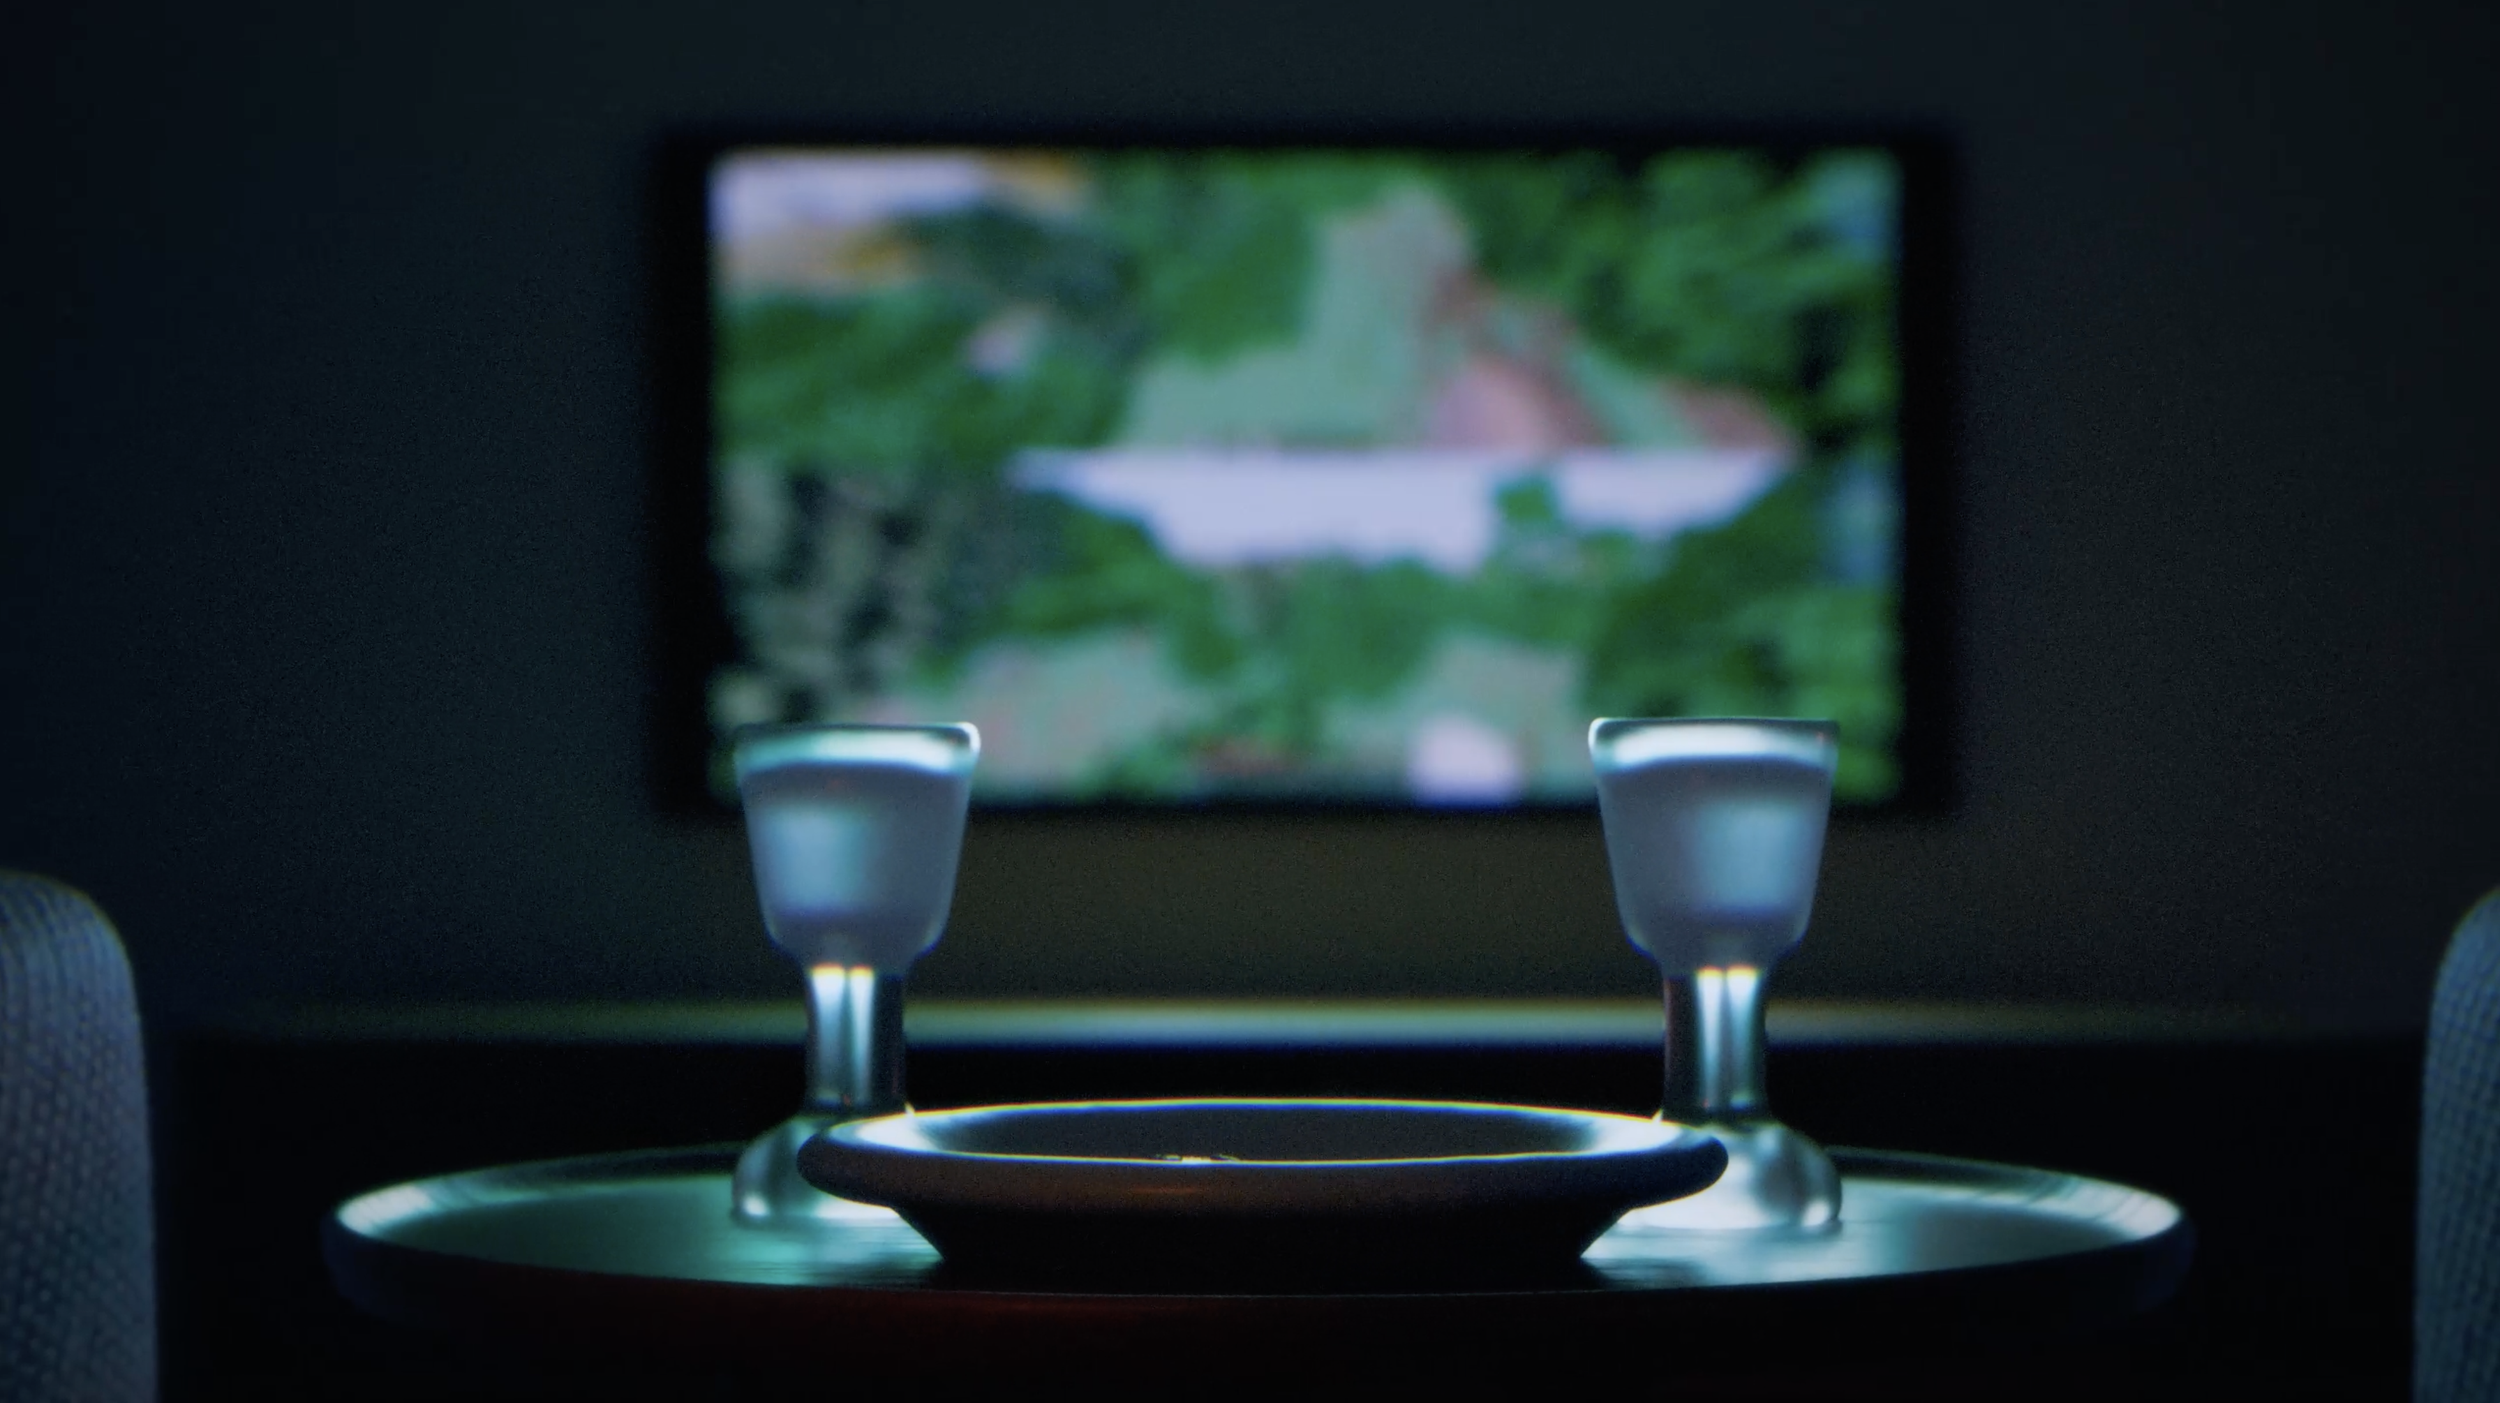
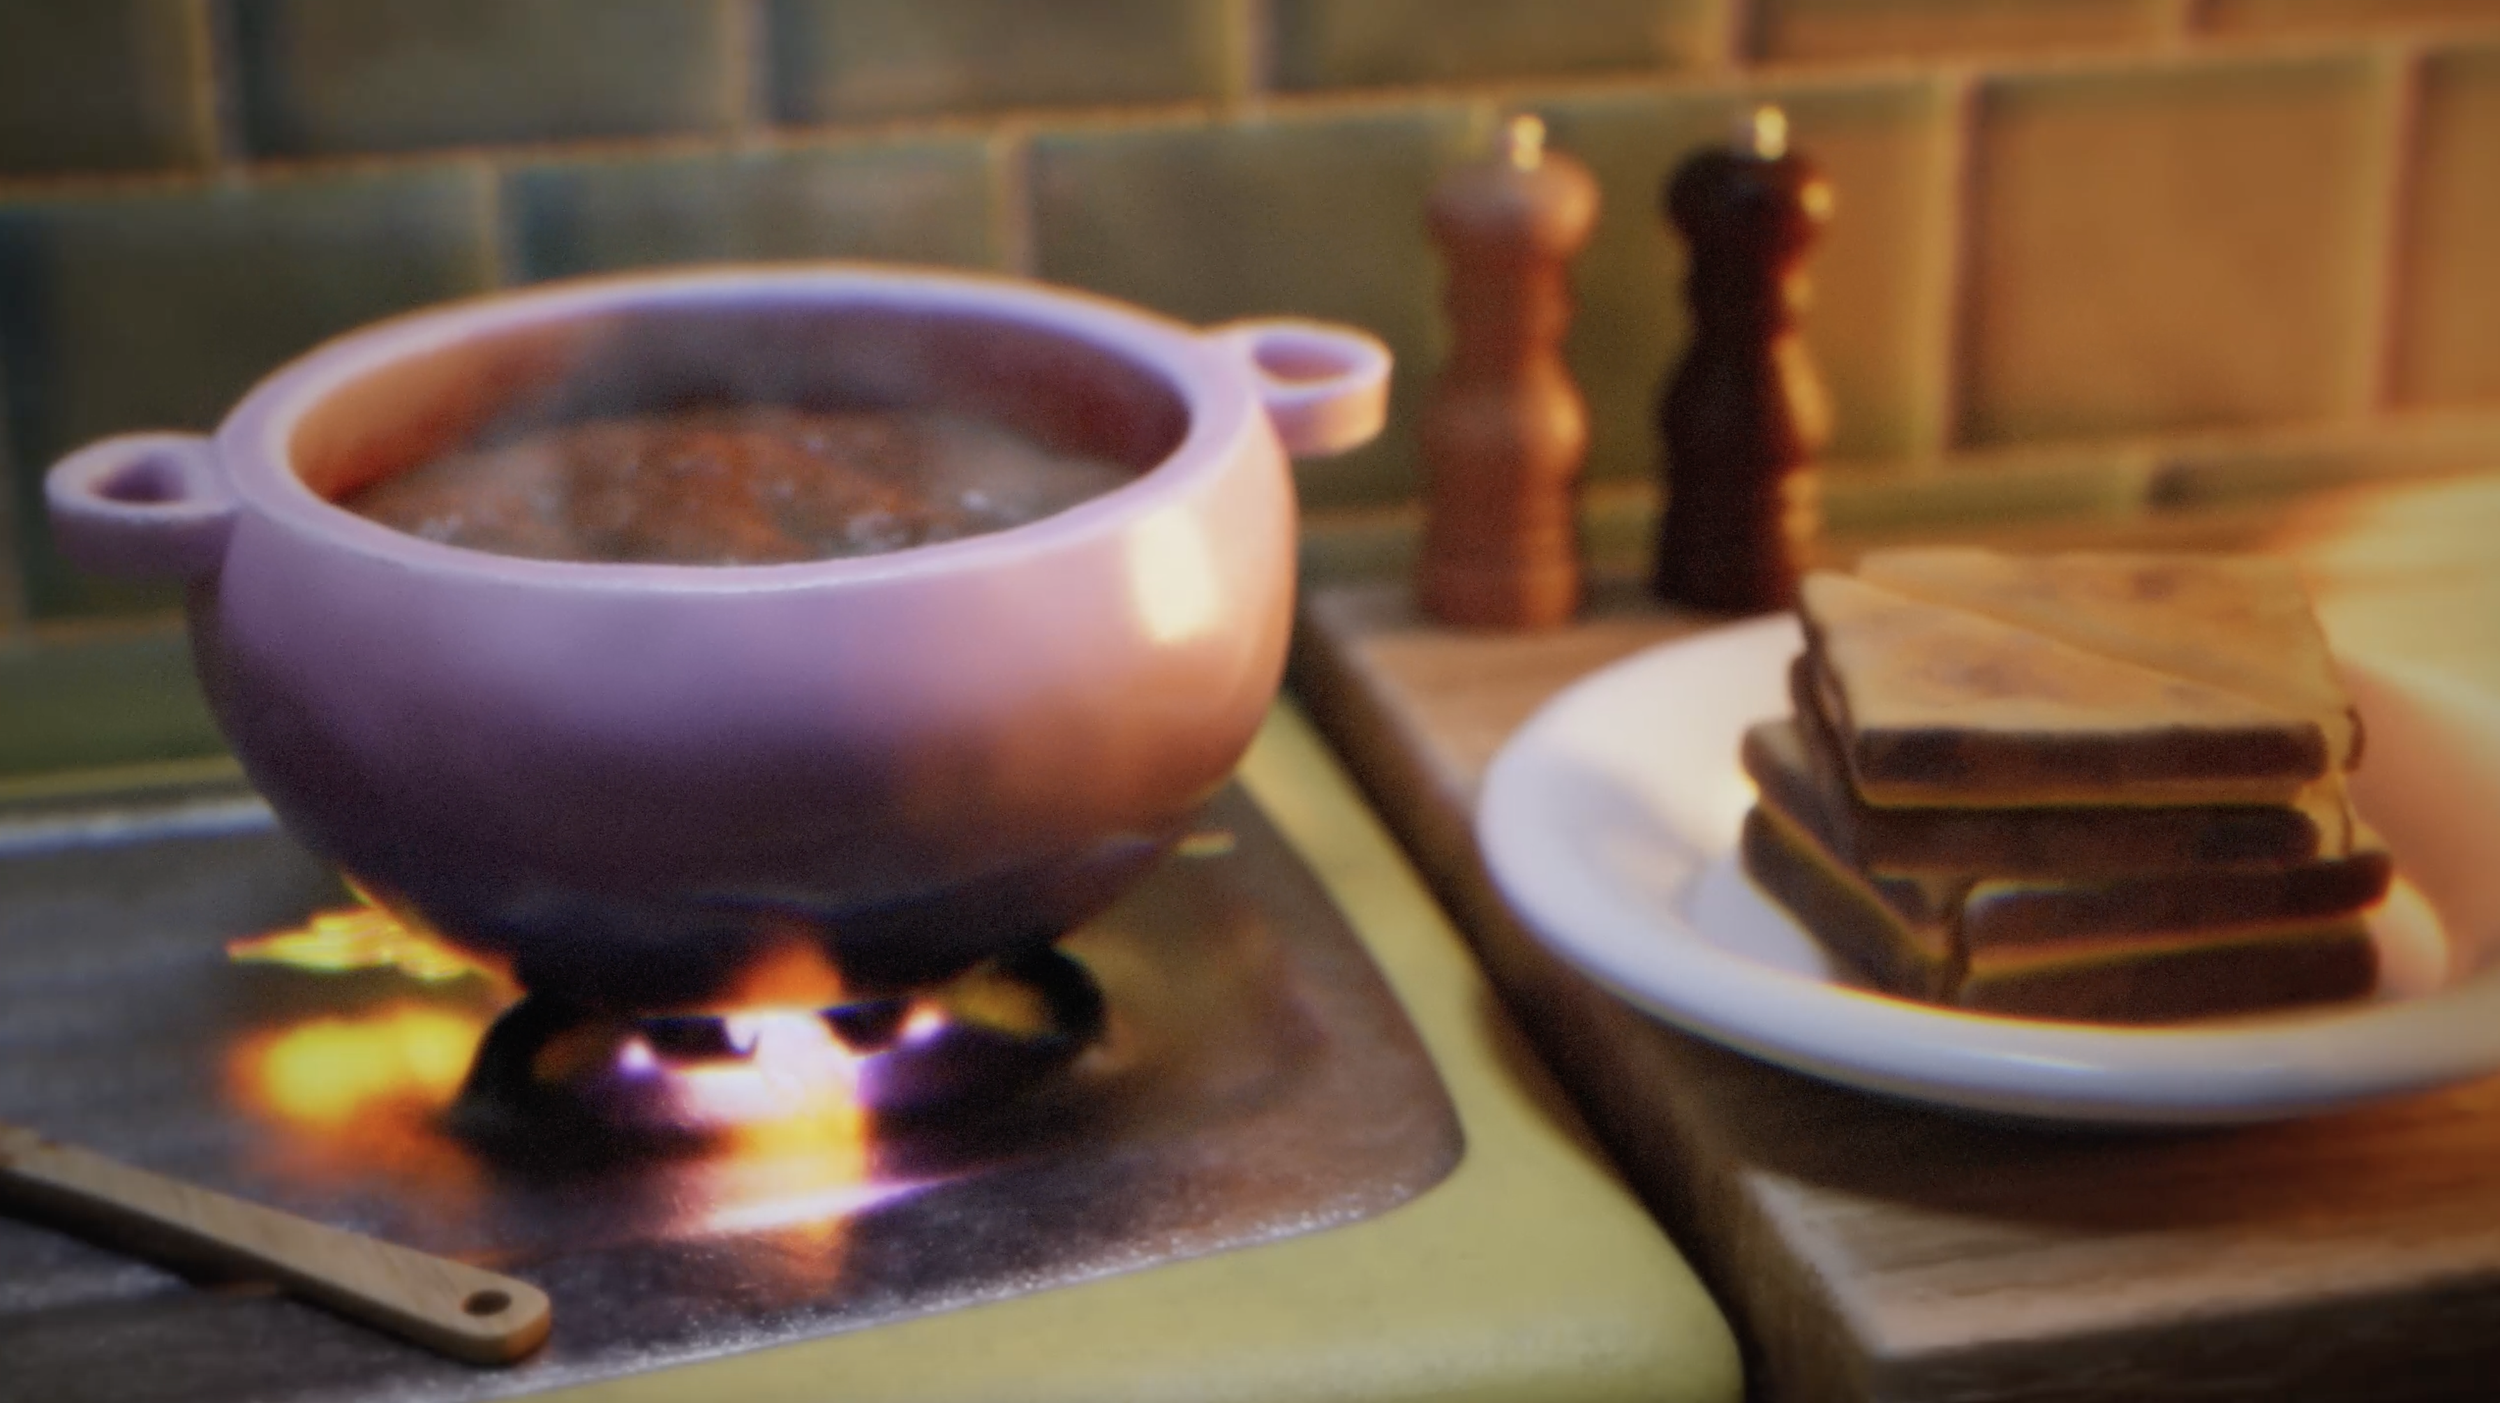
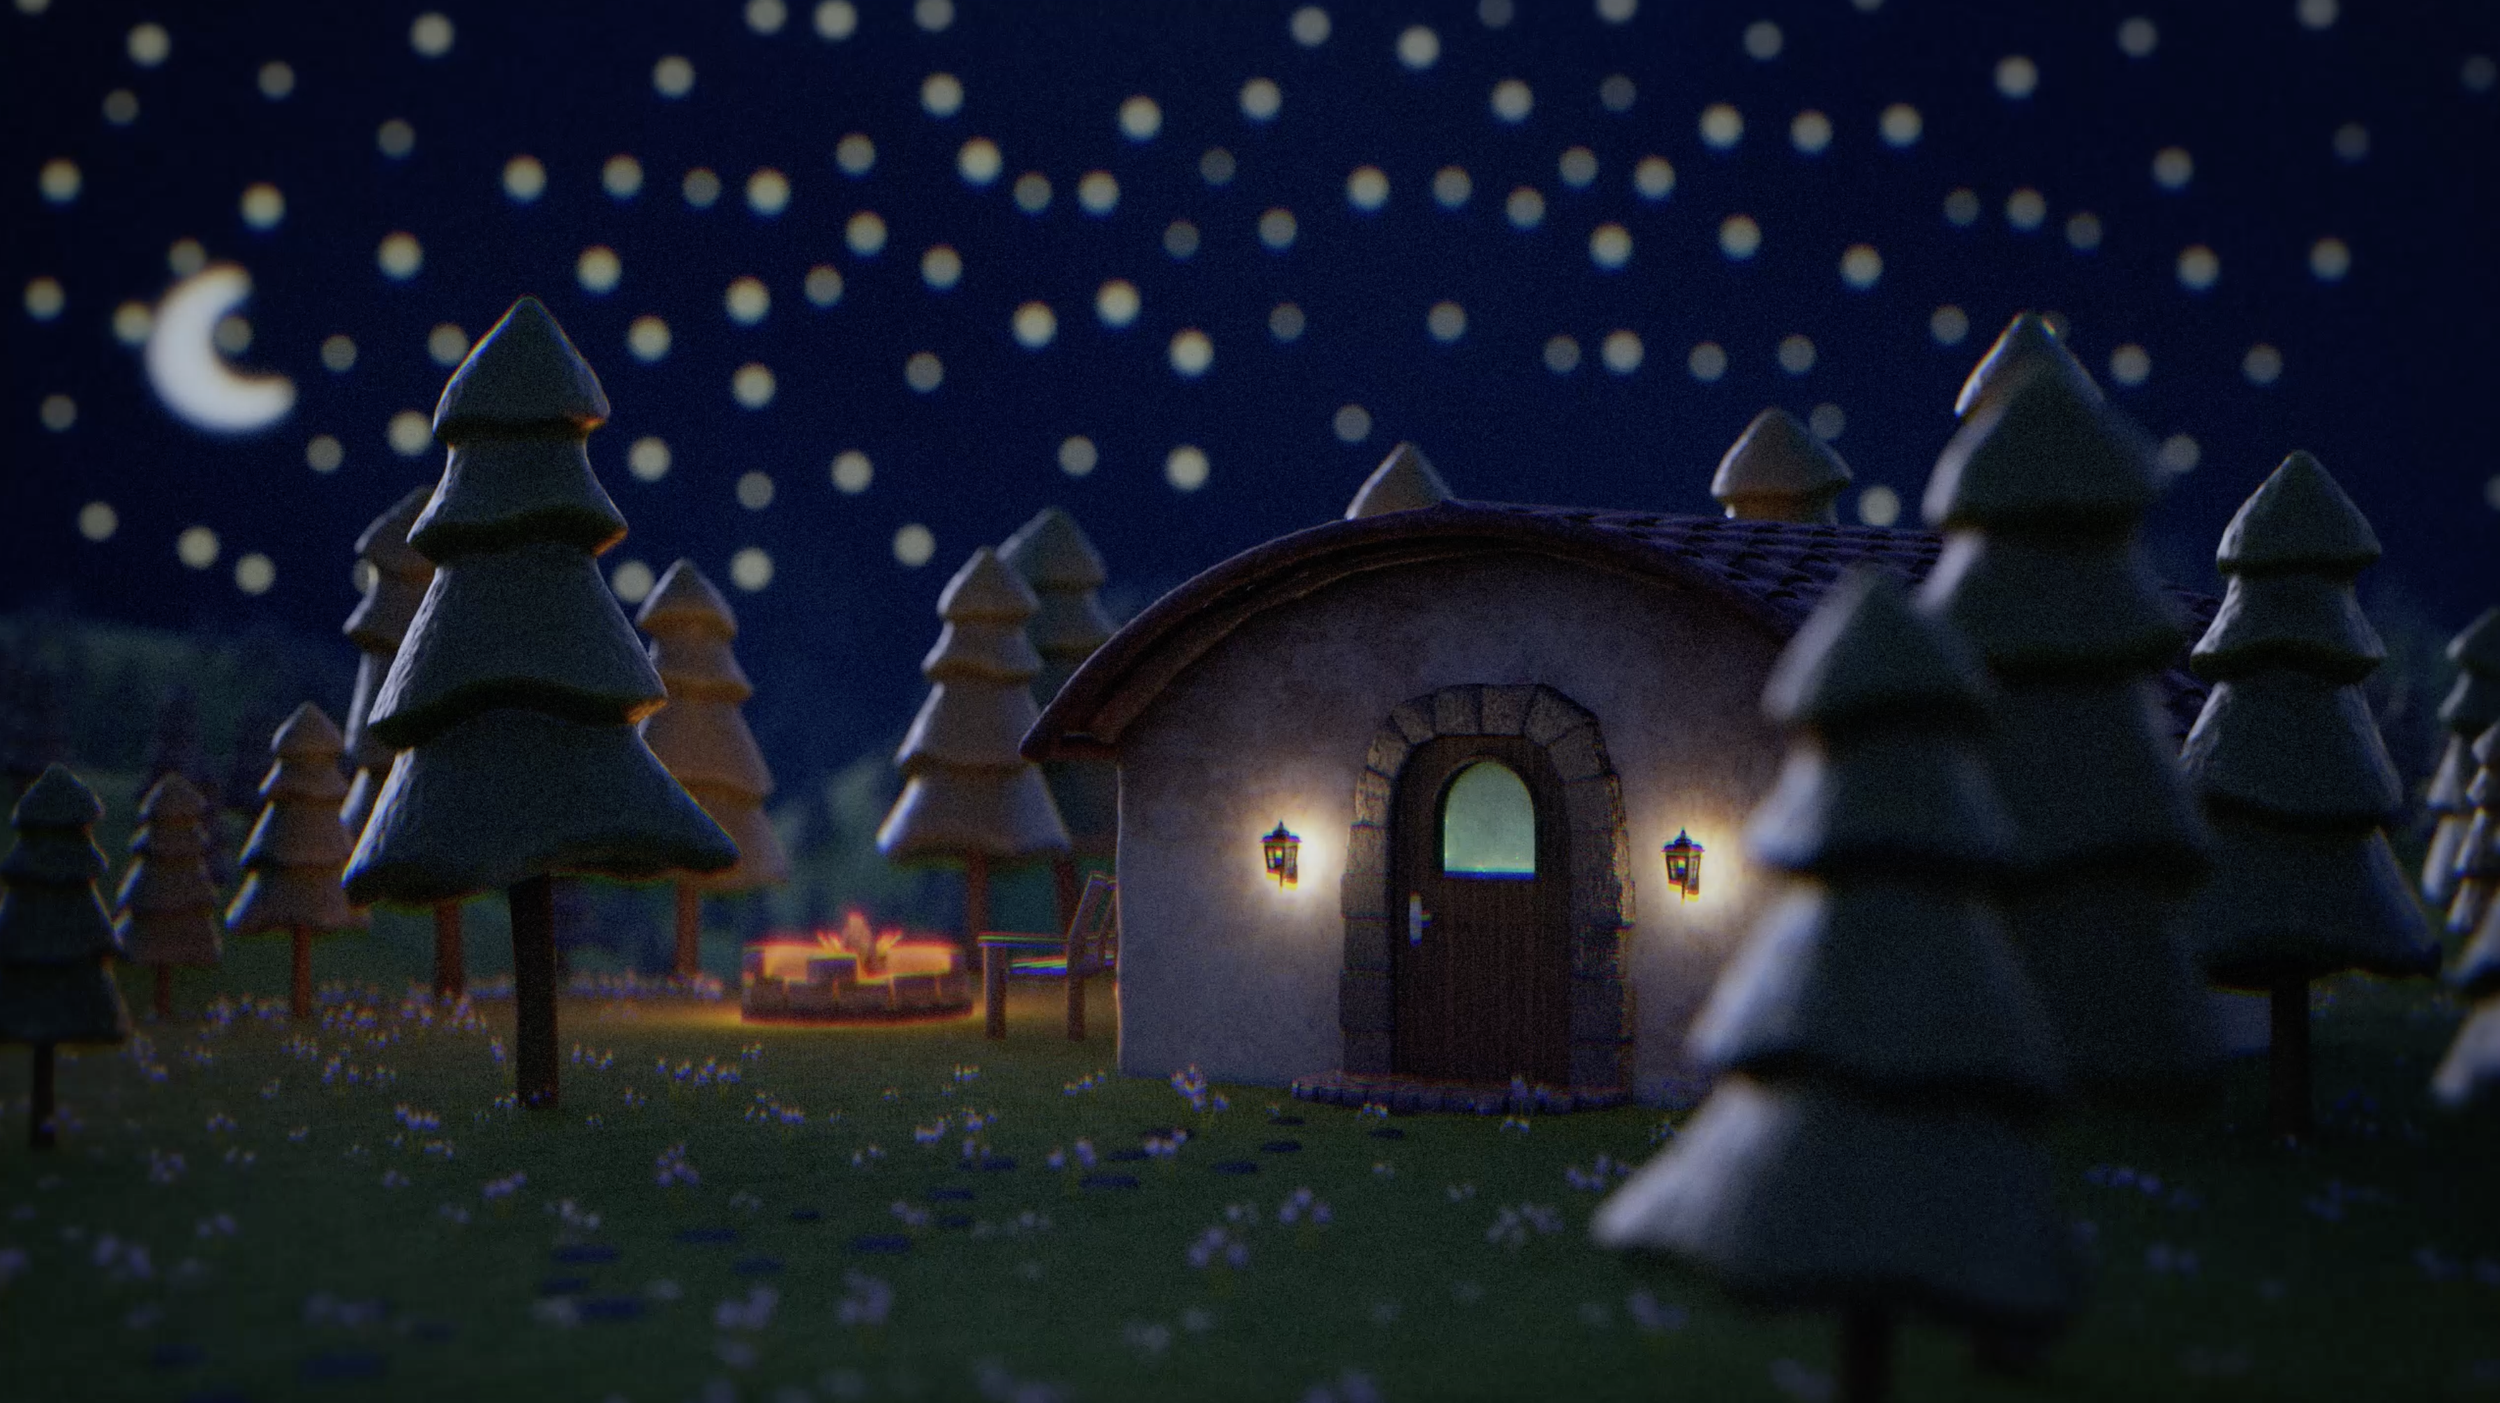
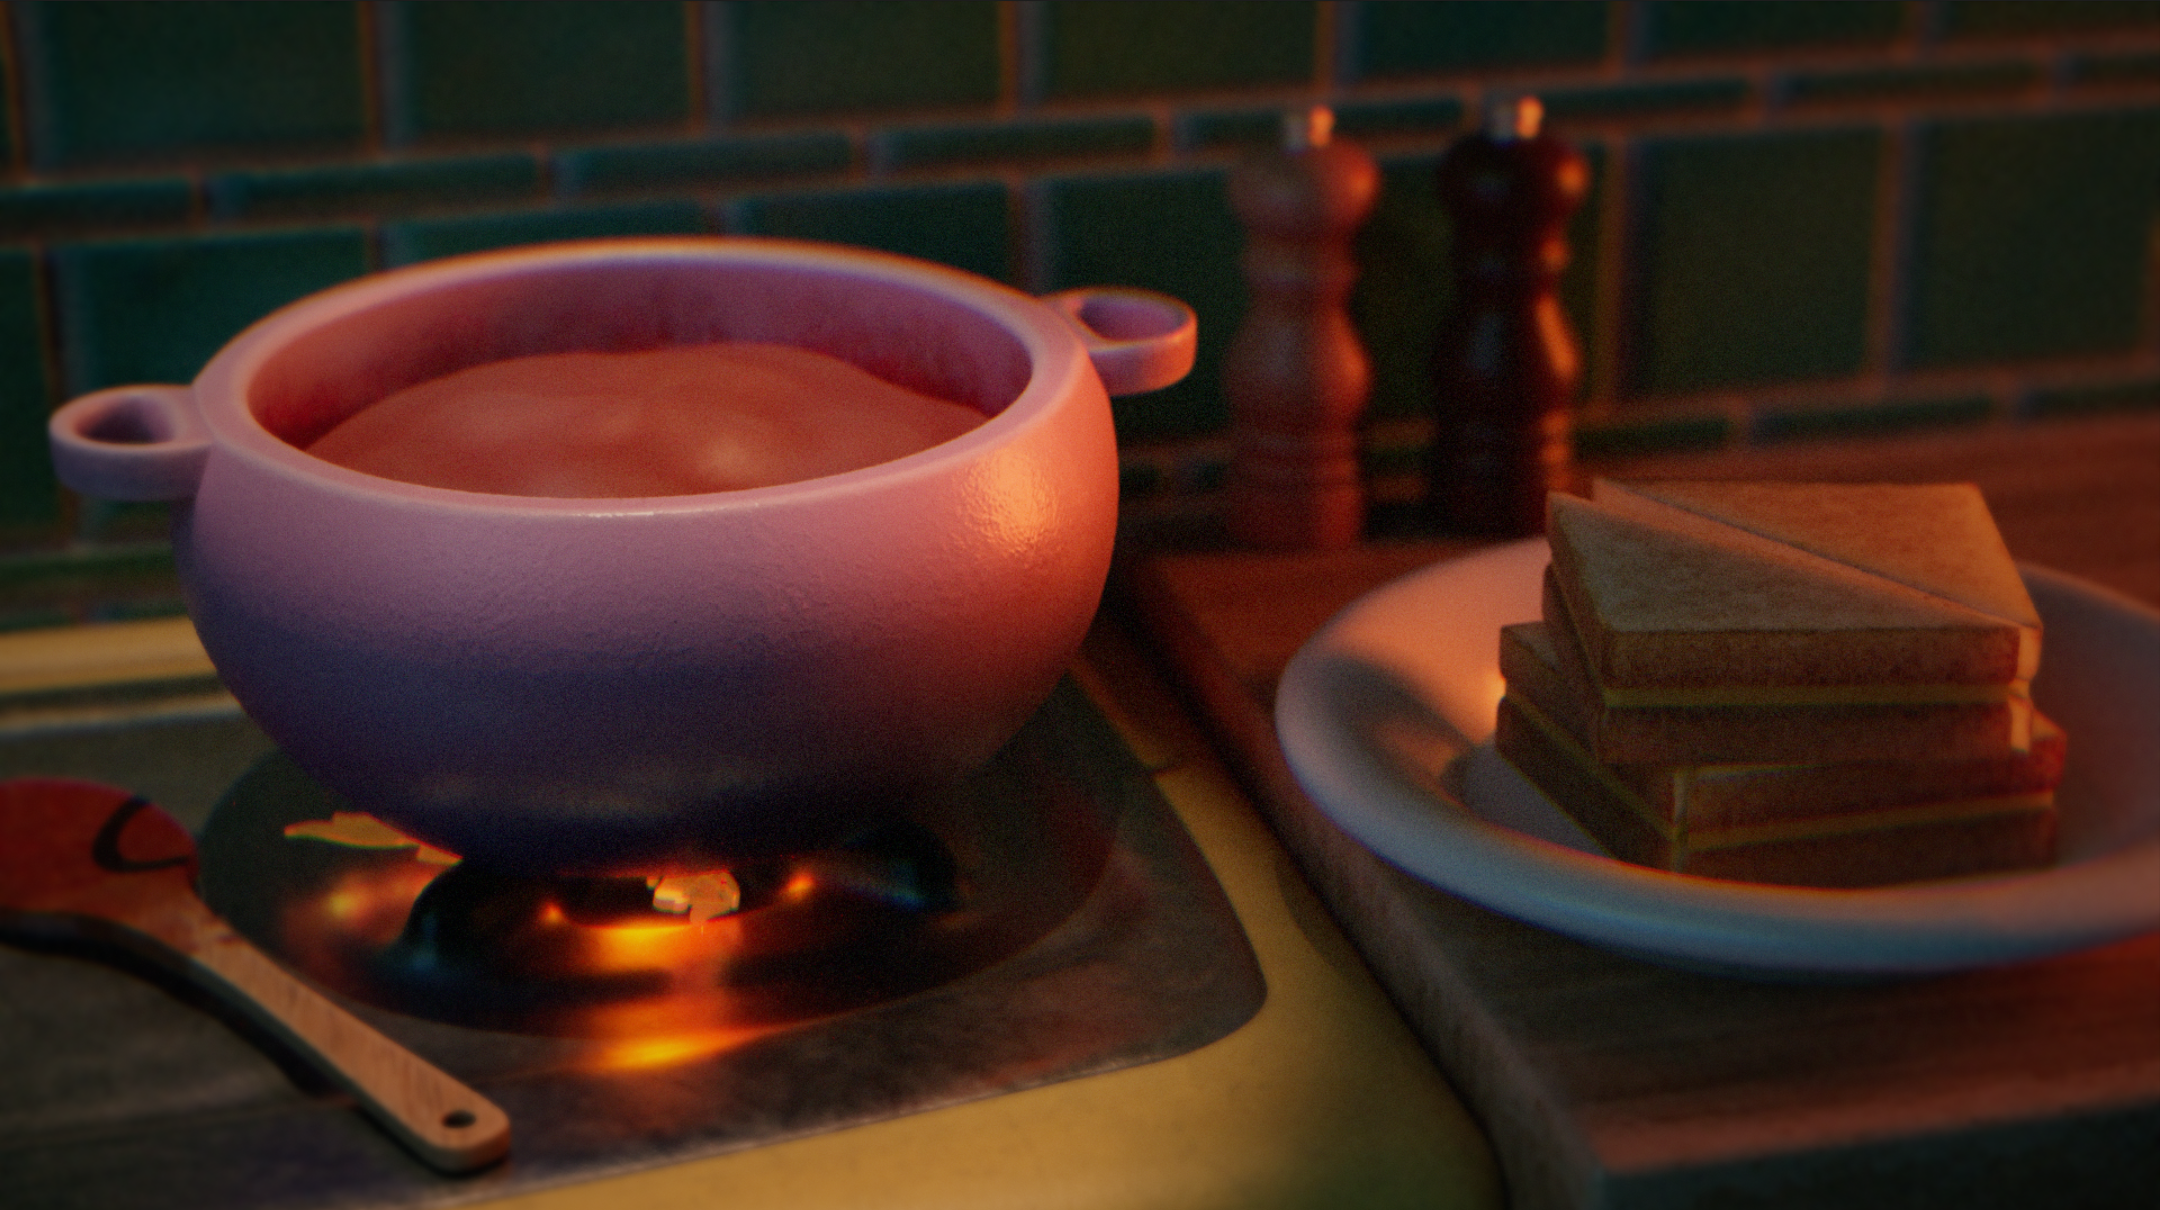
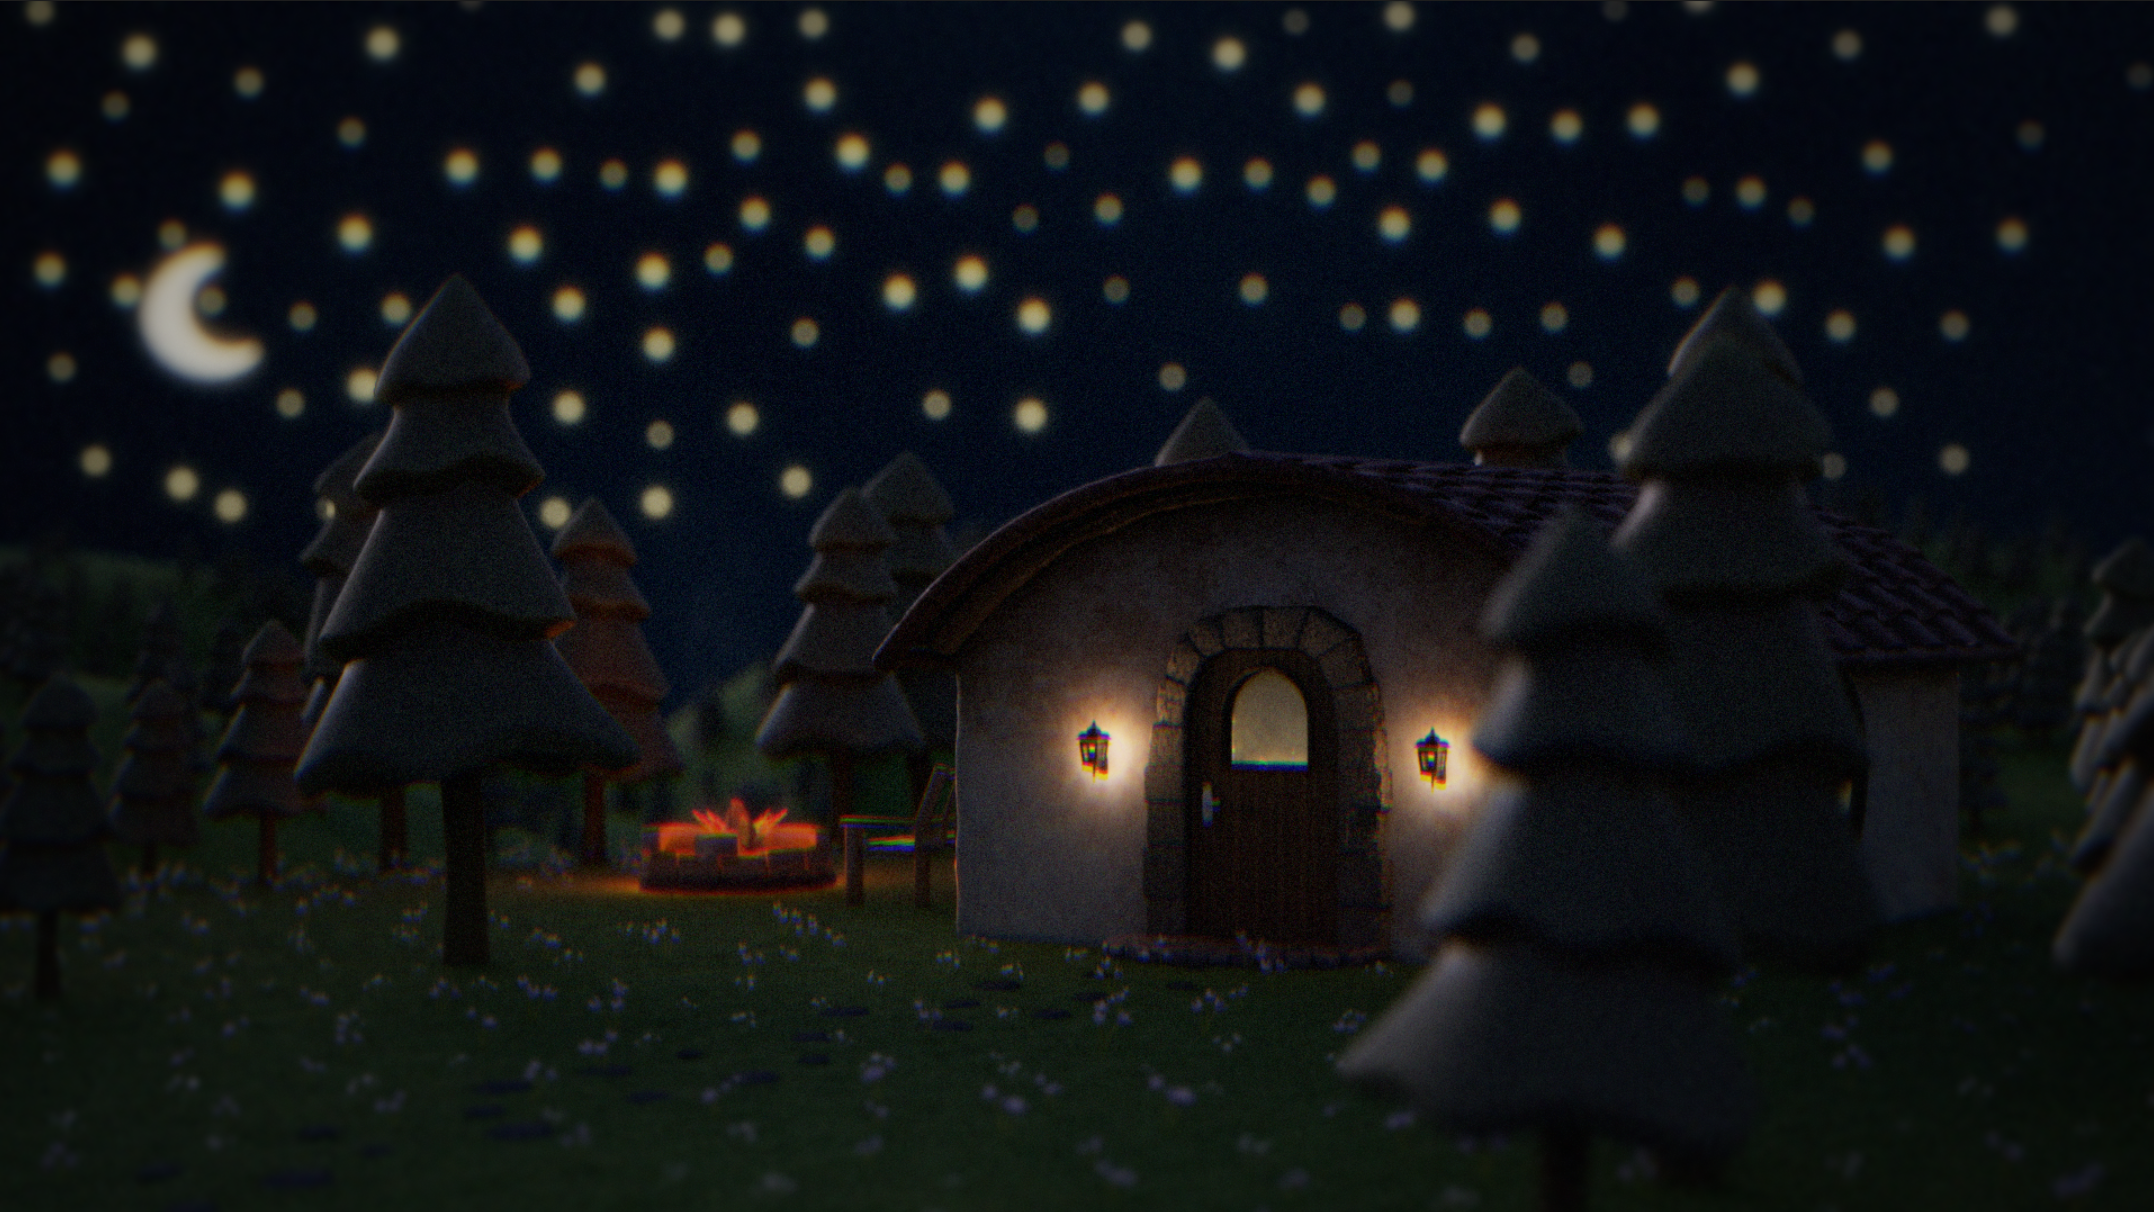
Previous Version
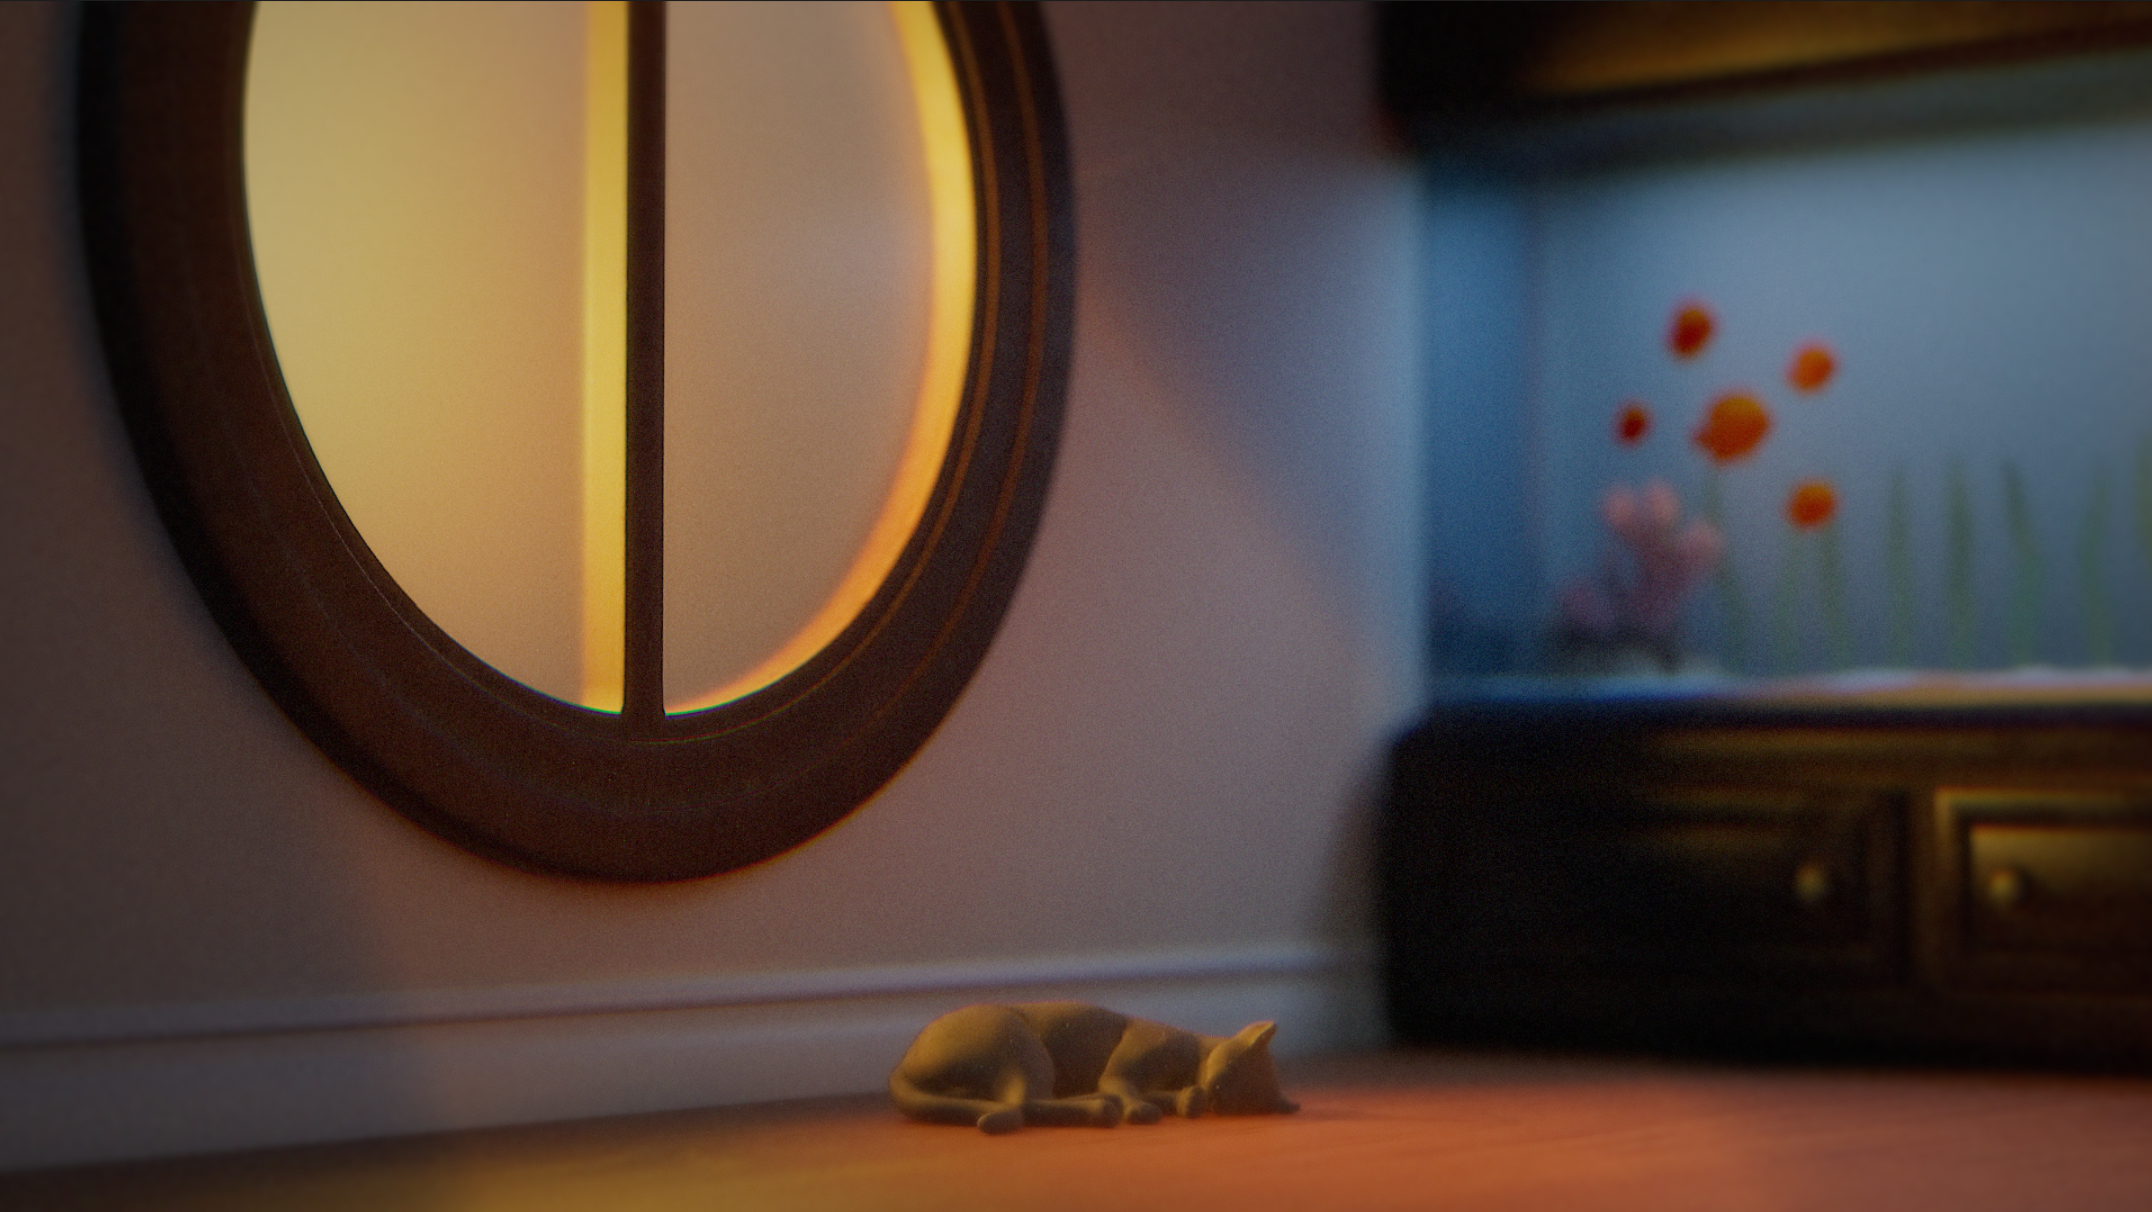
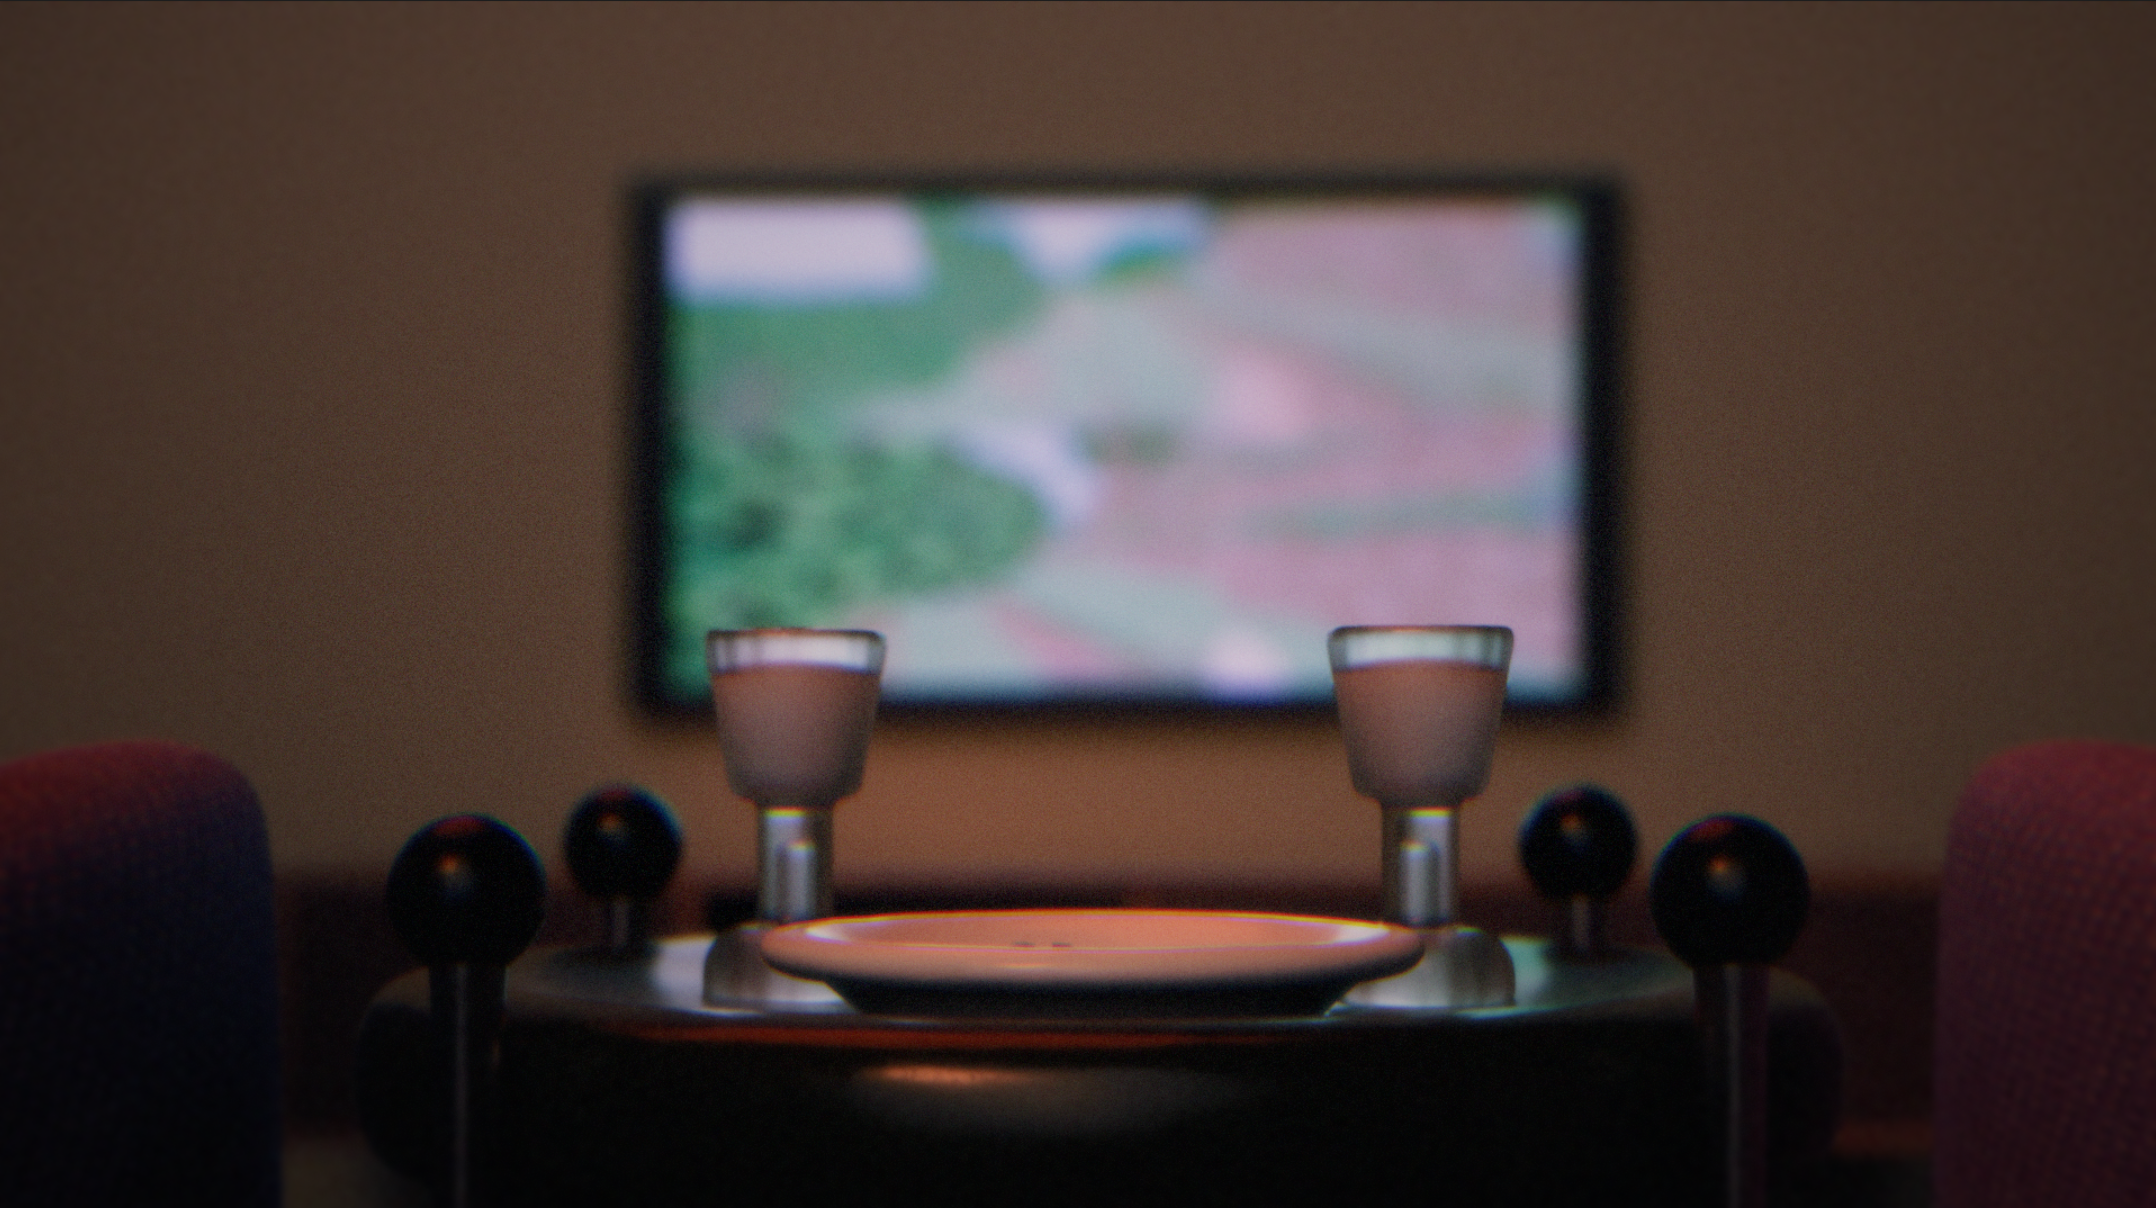
Latest Edit
timed with Music by Daniel Esparragoza
MY LATEST CRTIQUE / TO DO LIST:
Revisit color grading
Black level in shots like 2, 4, and 5 looks a bit too low
Plan for Breakdown:
Multiple Wipe Passes for Each Shot of:
AO
Raw Render
Post Comp
Paradise Breakdown
Story Board Animatic
Reference Boards
Progress Updates
Live Project Spreadsheet
to keep track of important info, notes, and task lists
Update #3
5/12/26
In this update a lot of improvements across different aspects were made over a longer period of time, along with lots of rendering and re rendering.
The first thing I want to showcase is my approach to creating the choppy animation style found in stop motion films.
Before Animation Chop
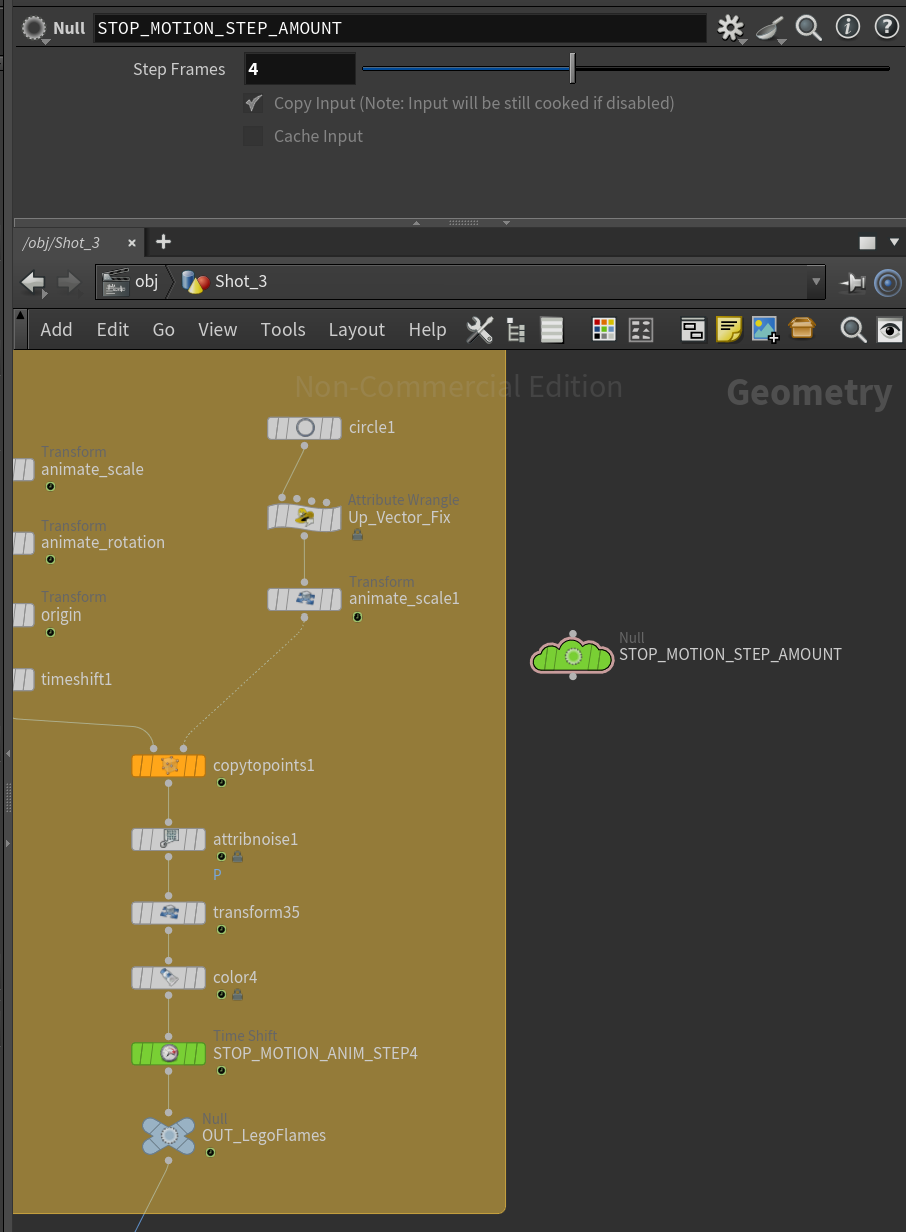
Here is how I did it, I used this expression in a time offset node to offset the frames of the animation. This code makes each frame hold for 4 frames, so basically frame 1 plays for frames 1-4, then frame 4 plays from frames 5-8. That gives the animation the choppy look found in stop motion.

And as you can see this code is referencing another node which is just a null node to control all chopped animations I may have in a scene at the same time for efficiency. Below you can see how that is set up.
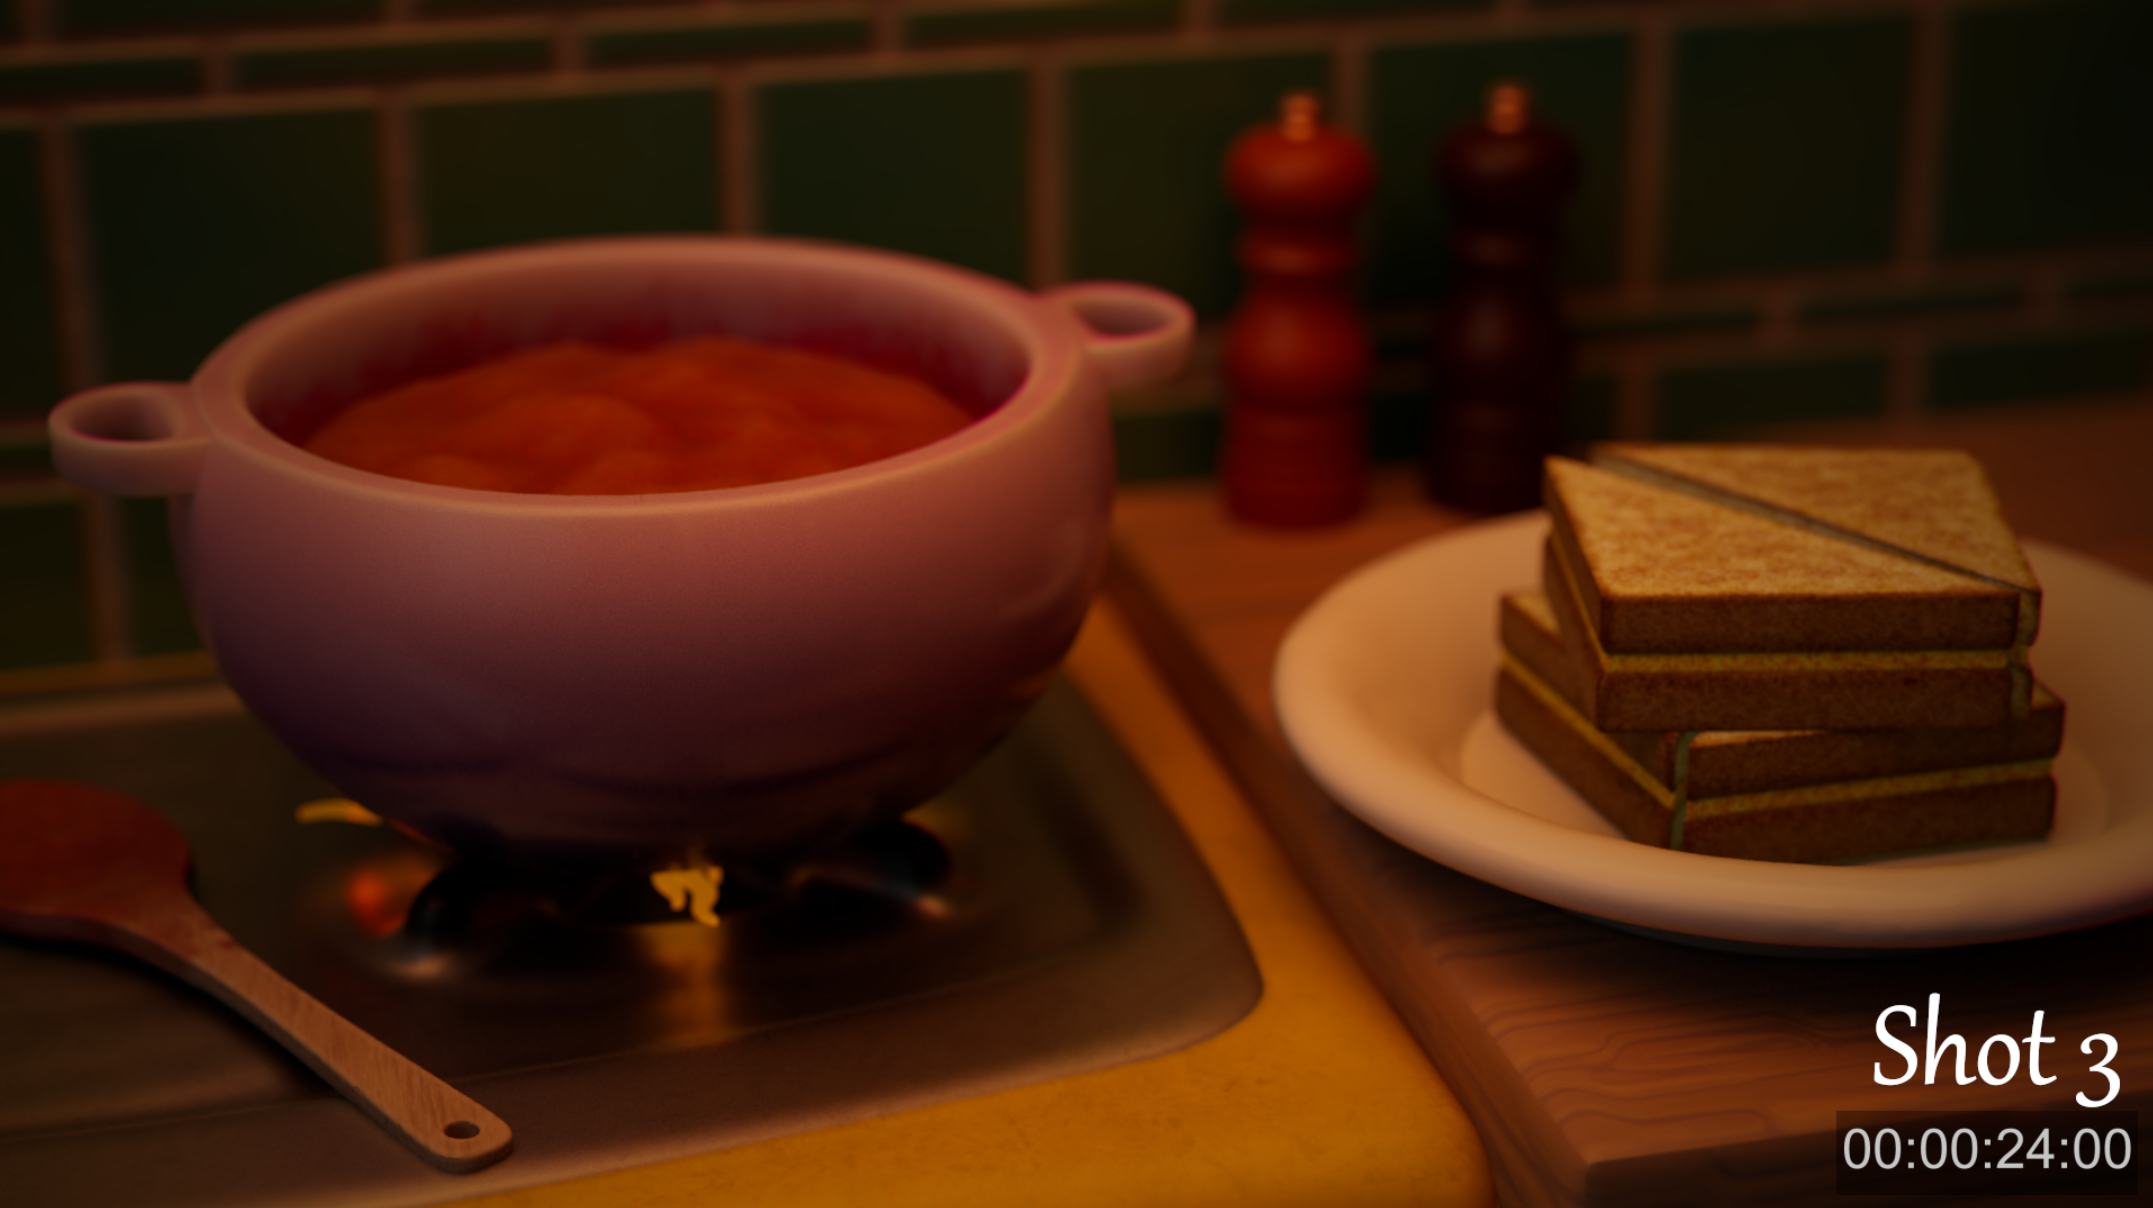
Recently I spent a lot of time working on lighting and below you can see an example of shot 3 which I think the lighting quality improved a good bit, and I received positive feedback on this shot’s lighting from my class mates.
Before
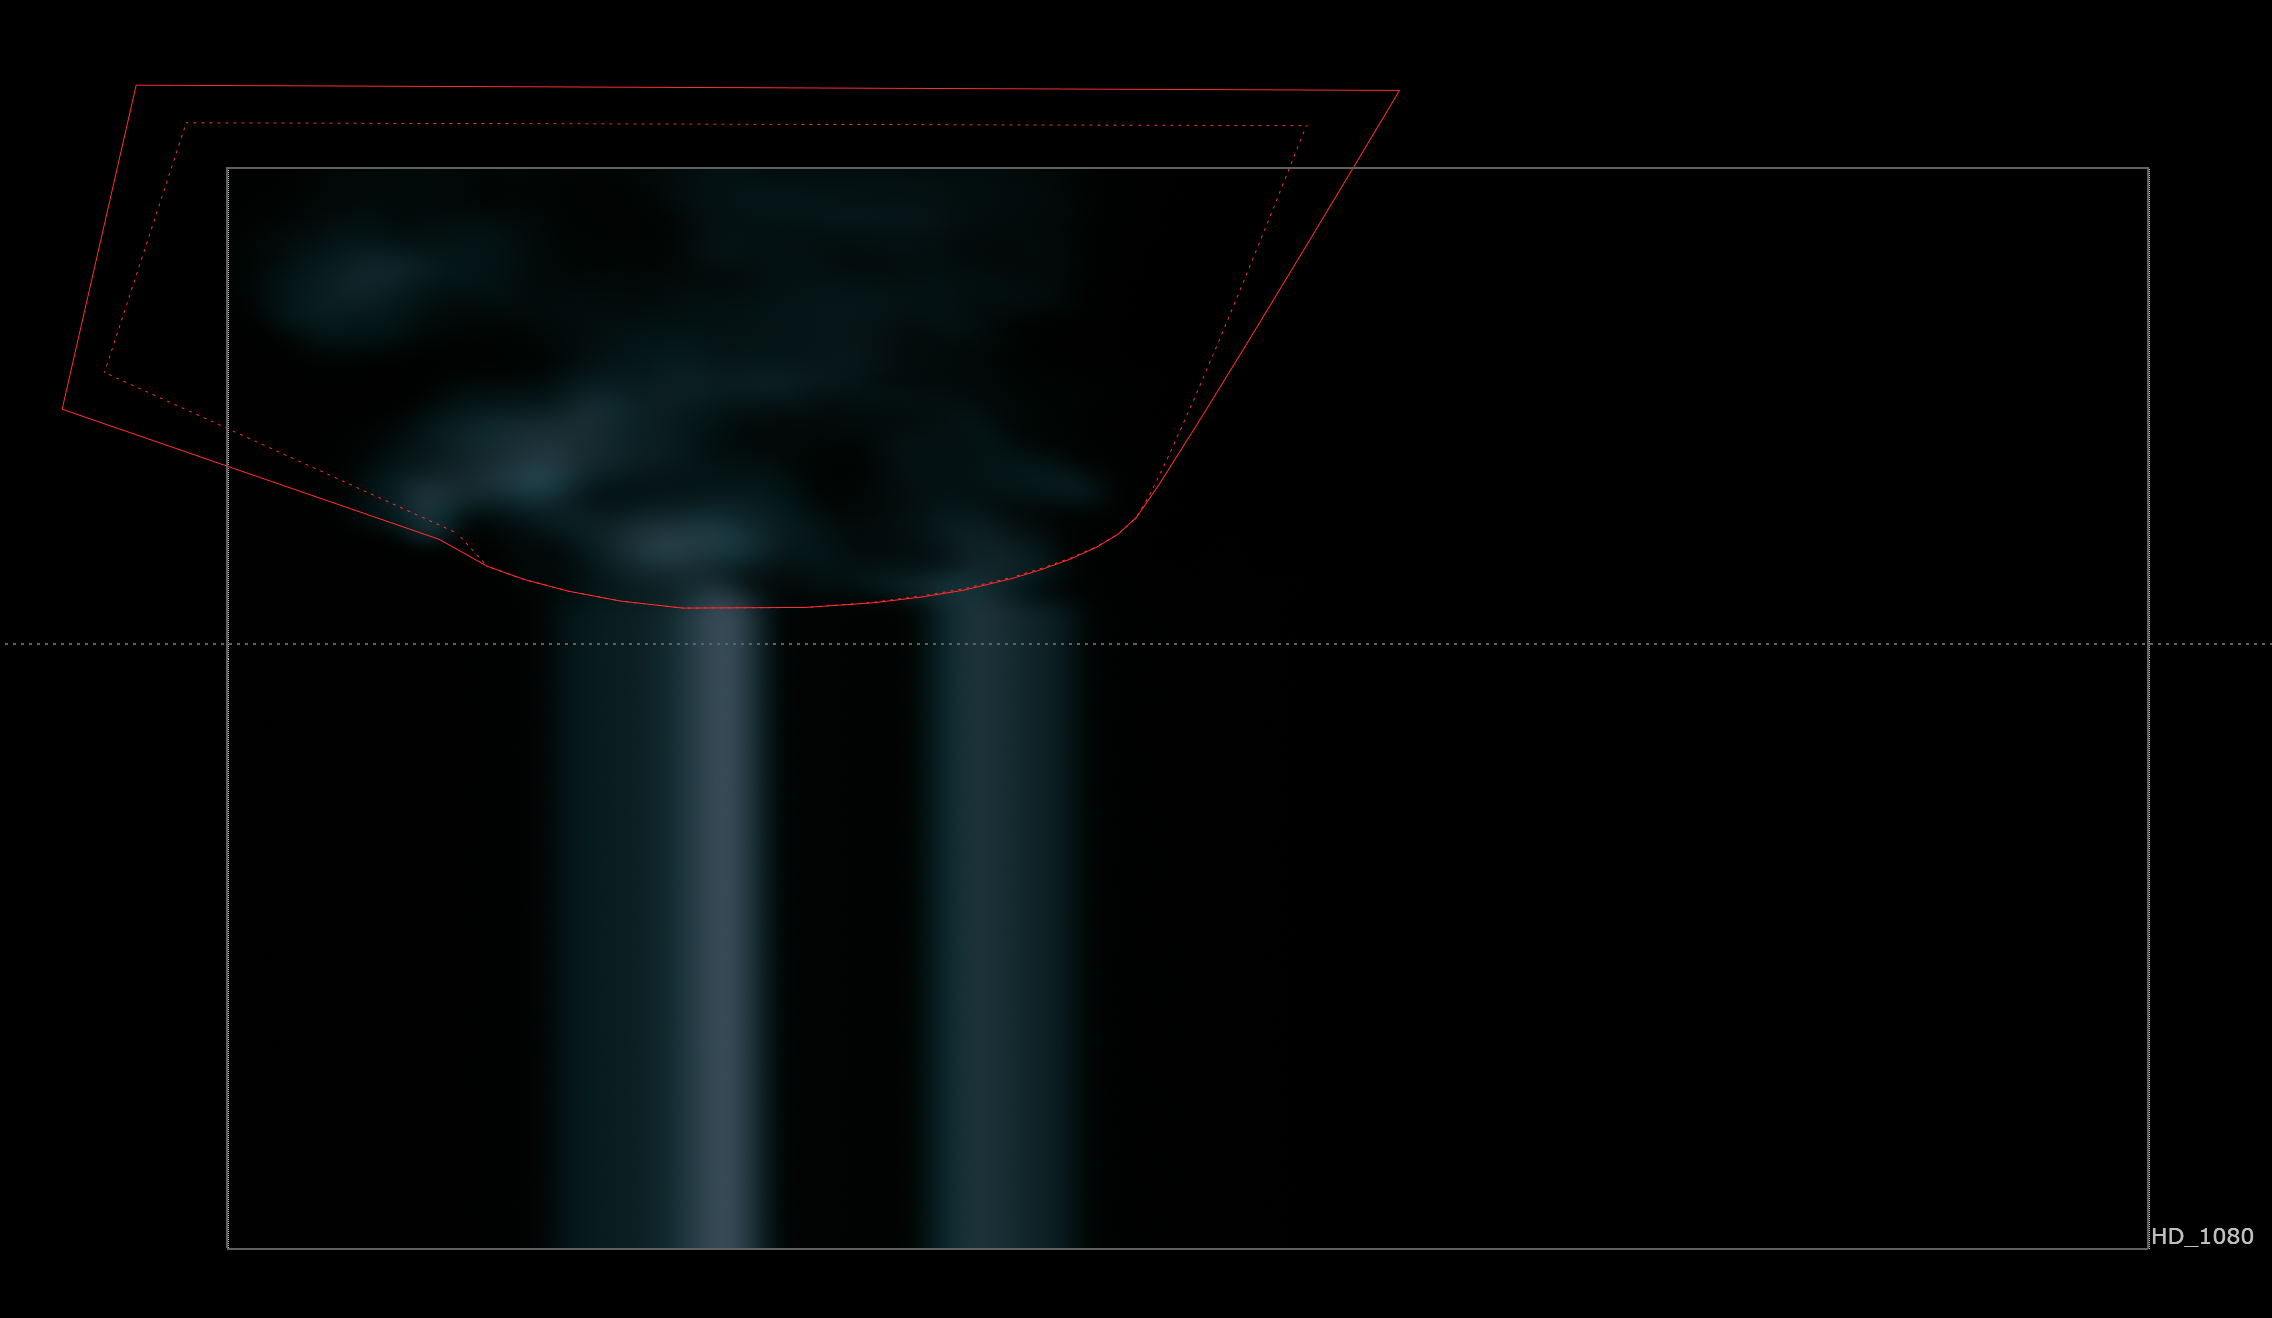
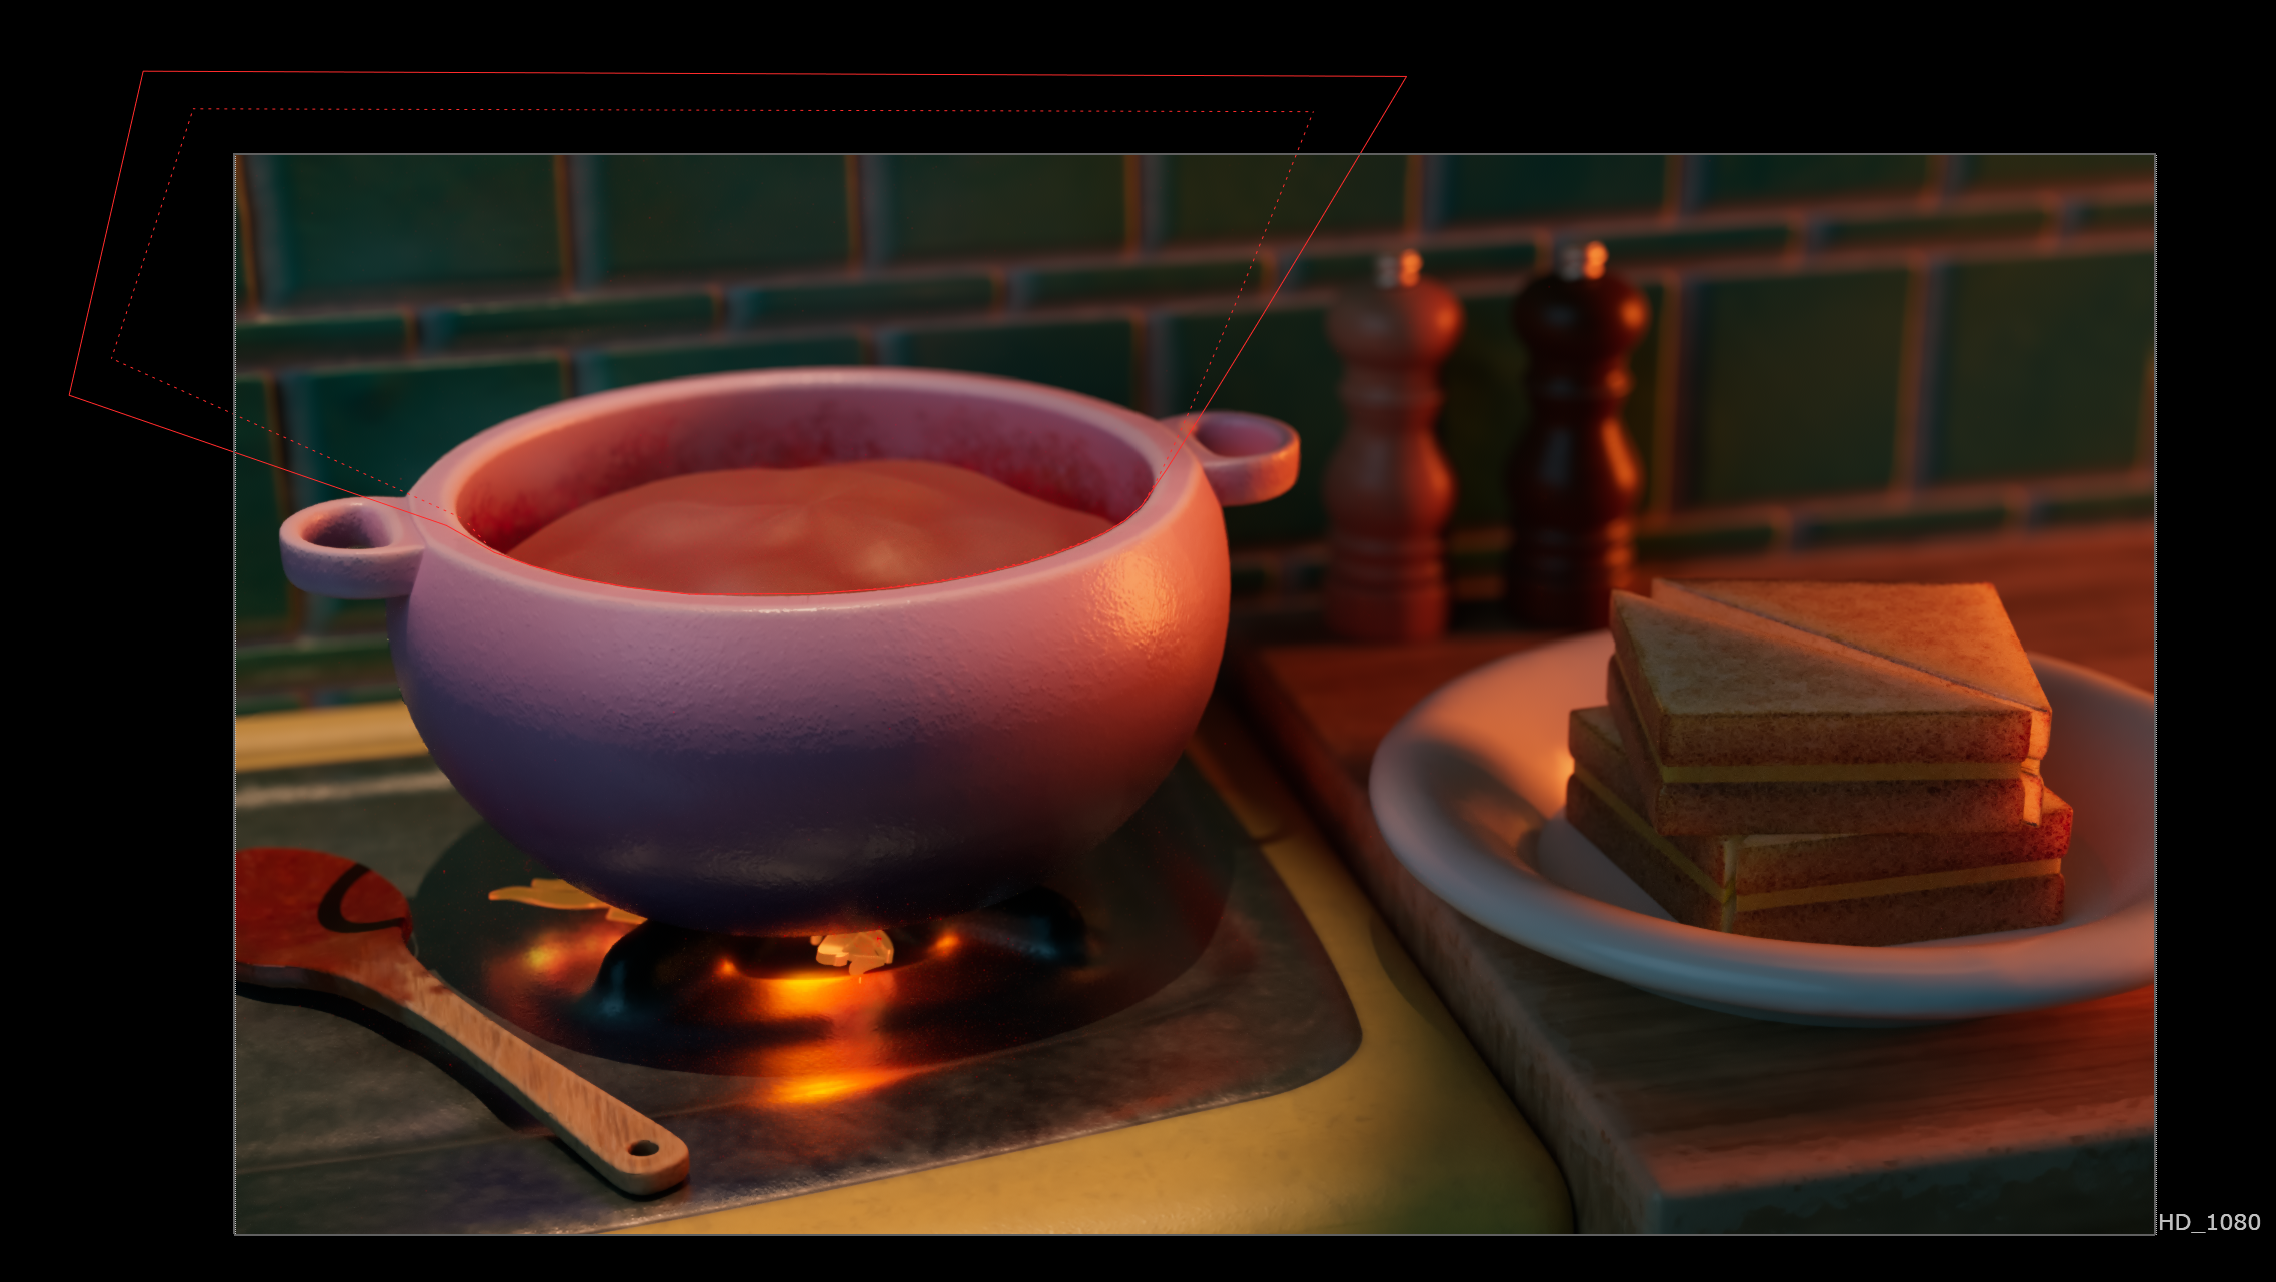
I also have been spending time using more compositing techniques for multiple different shots like adding smoke or moving clouds using PNG sequences, and flickering light AOVs in post.
Smoke Layer
Smoke Applied
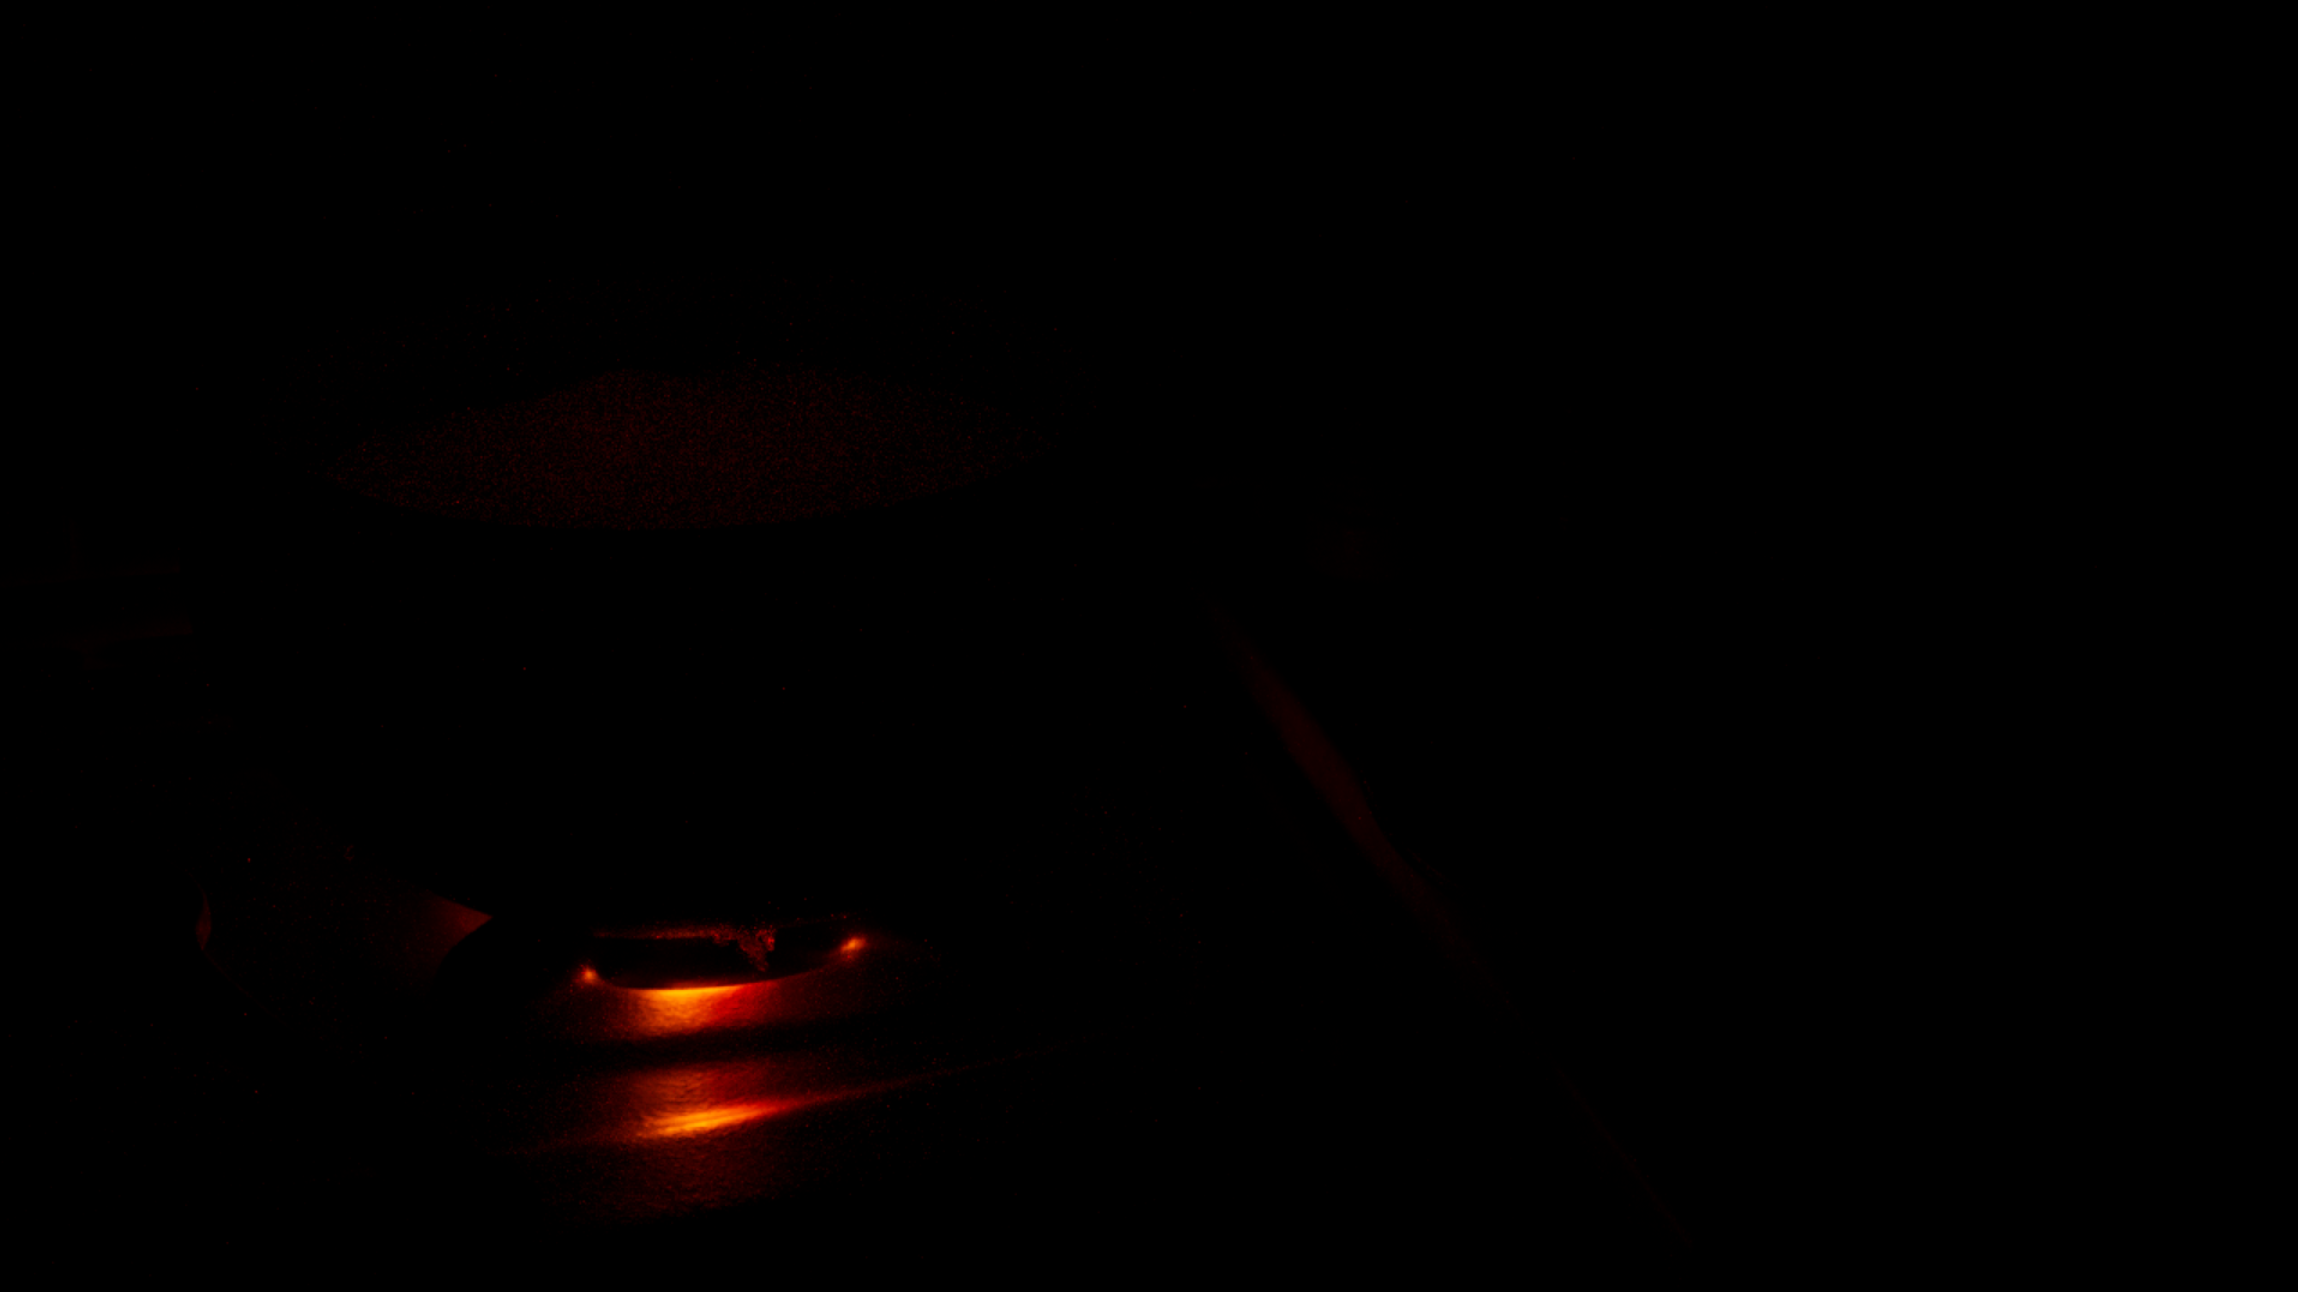
Flame Light Isolated AOV
After Animation Chop
After
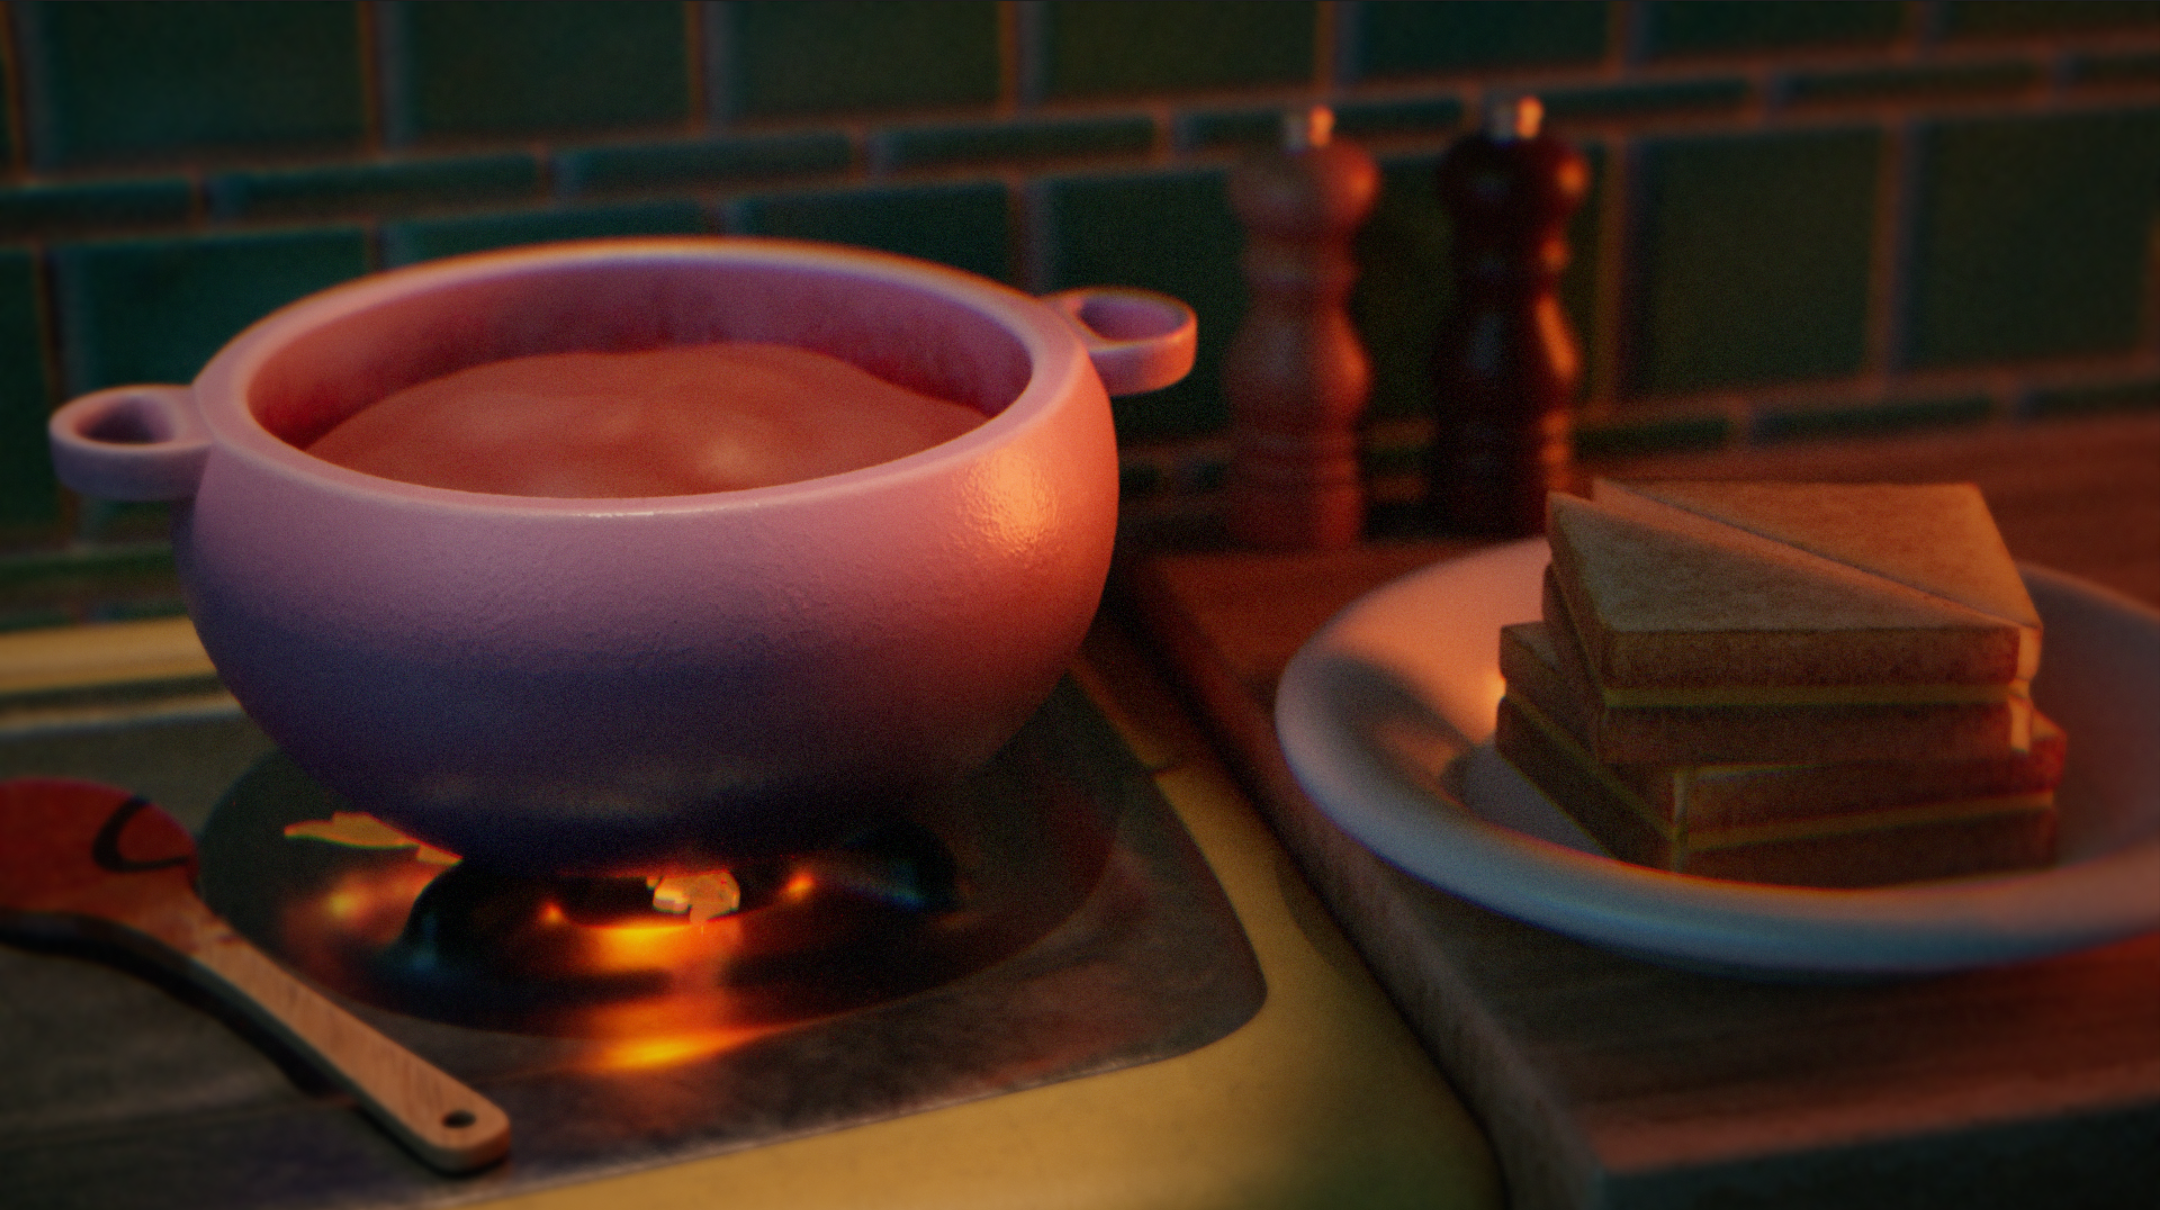
Nuke Node Tree applying Smoke layer
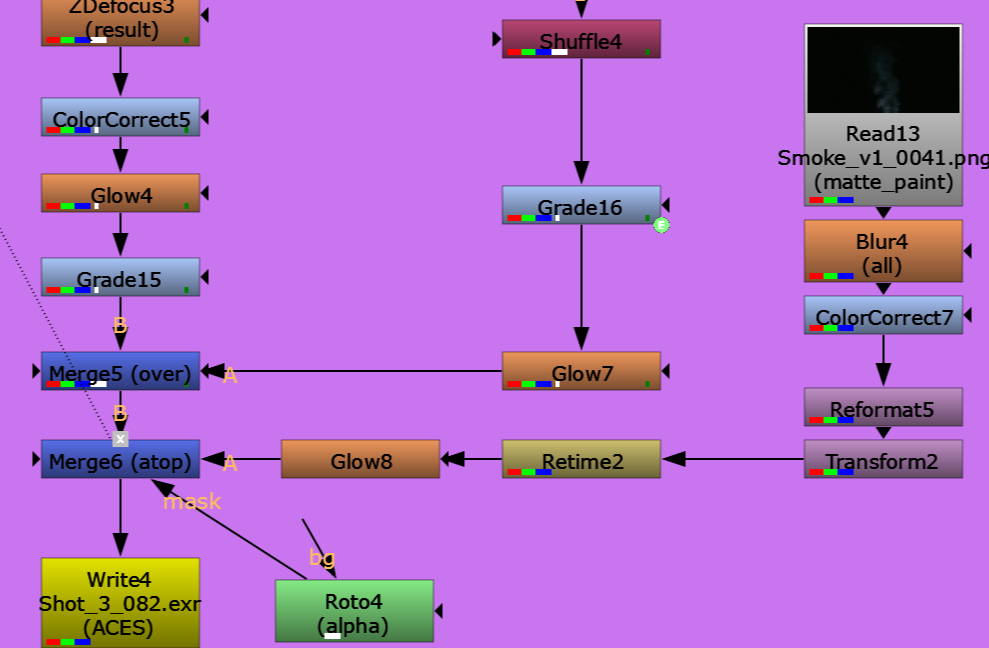
No Smoke Applied
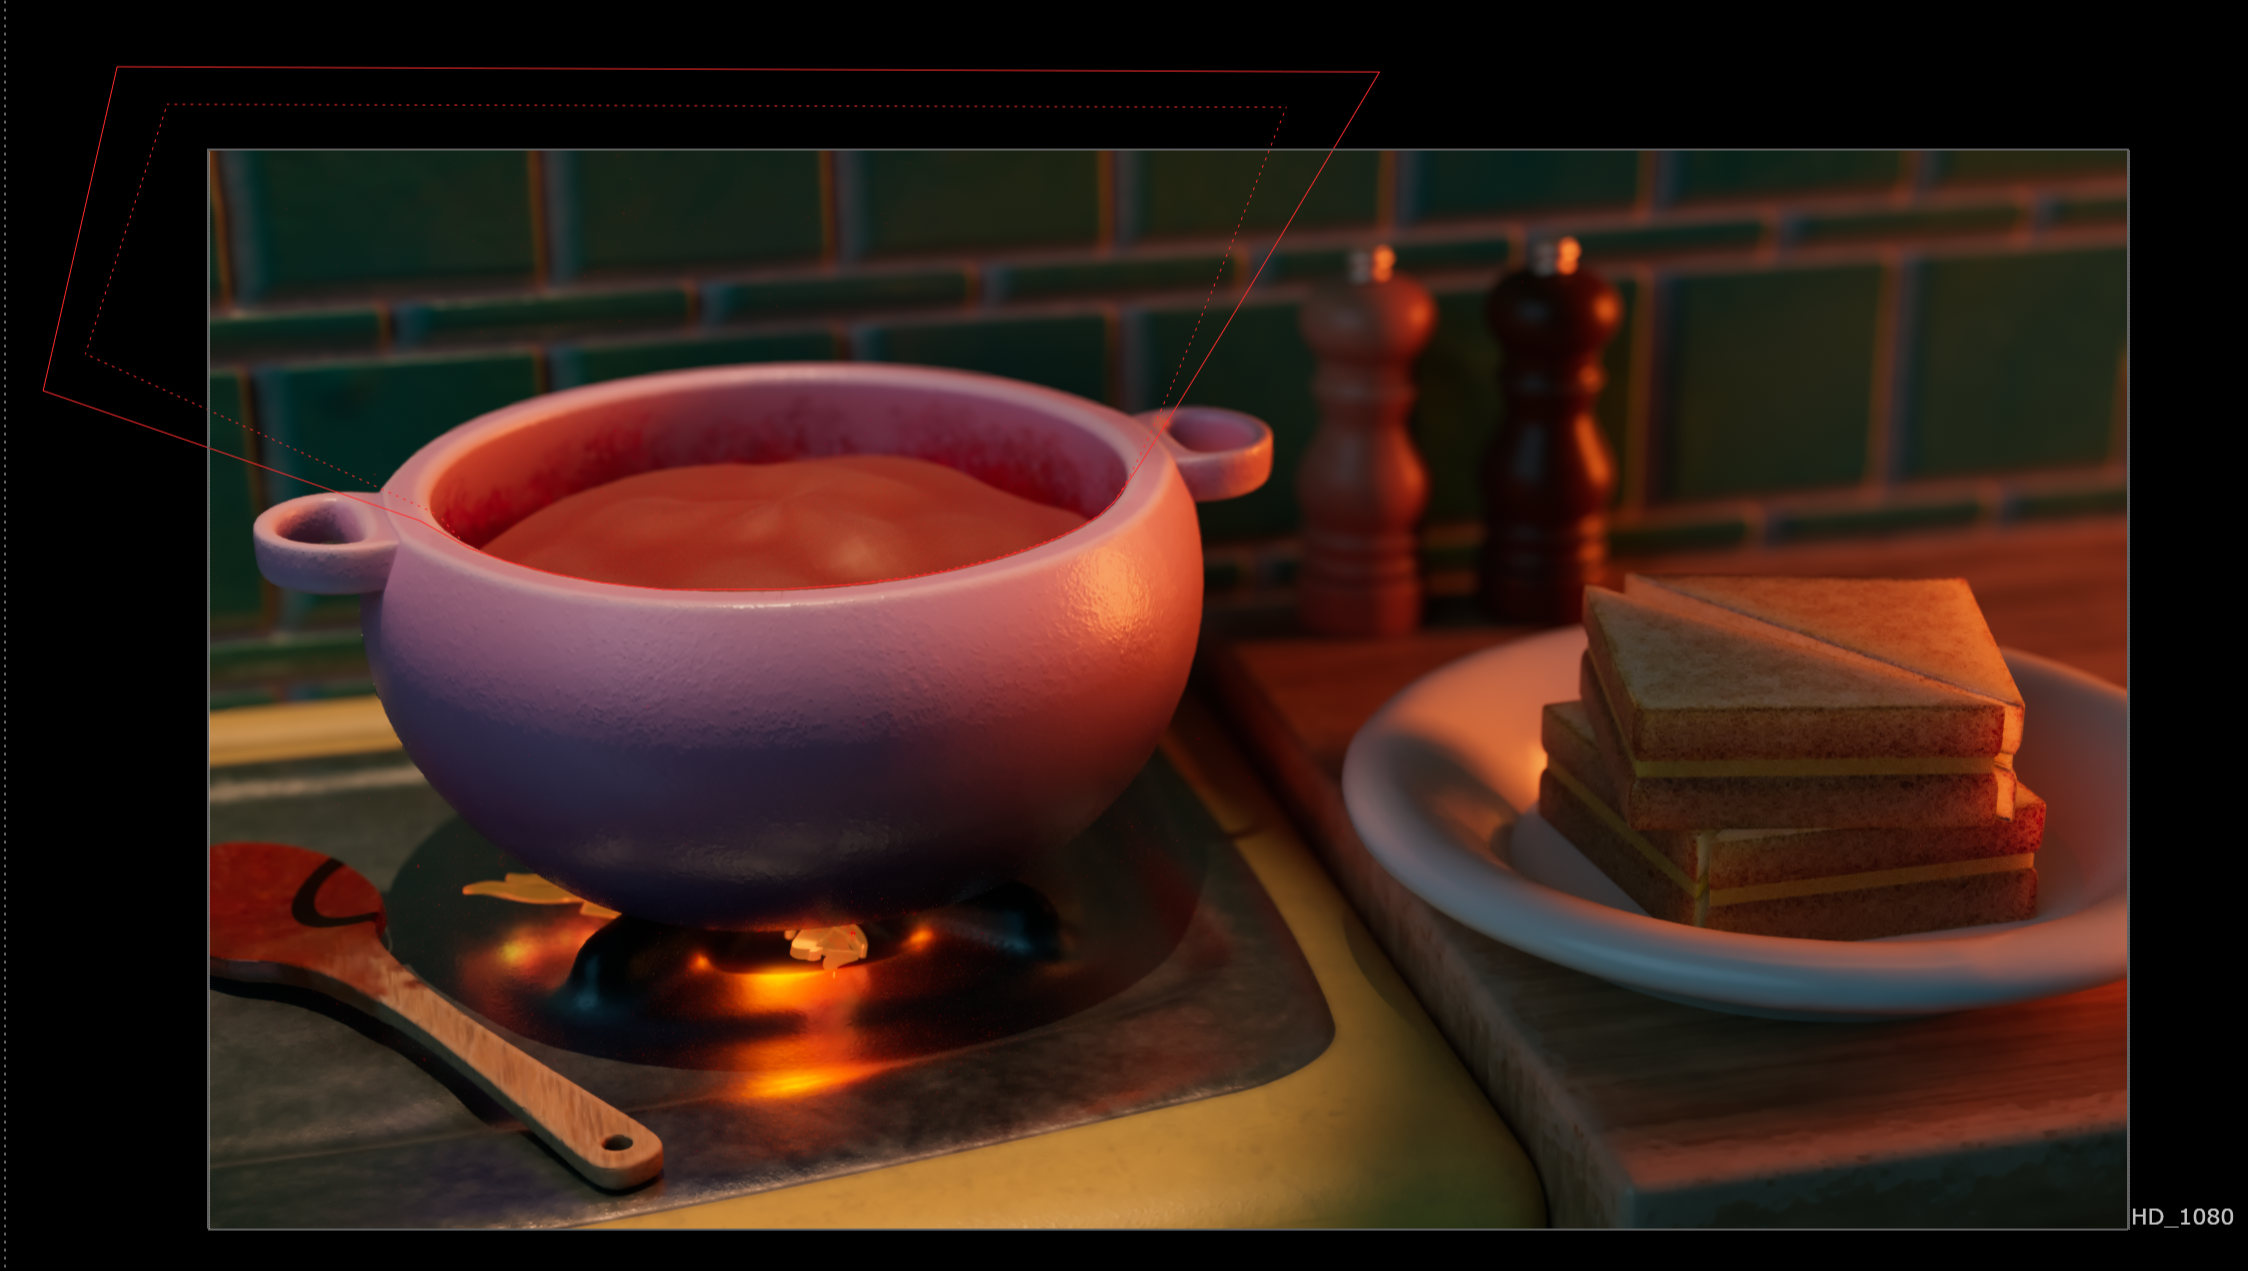
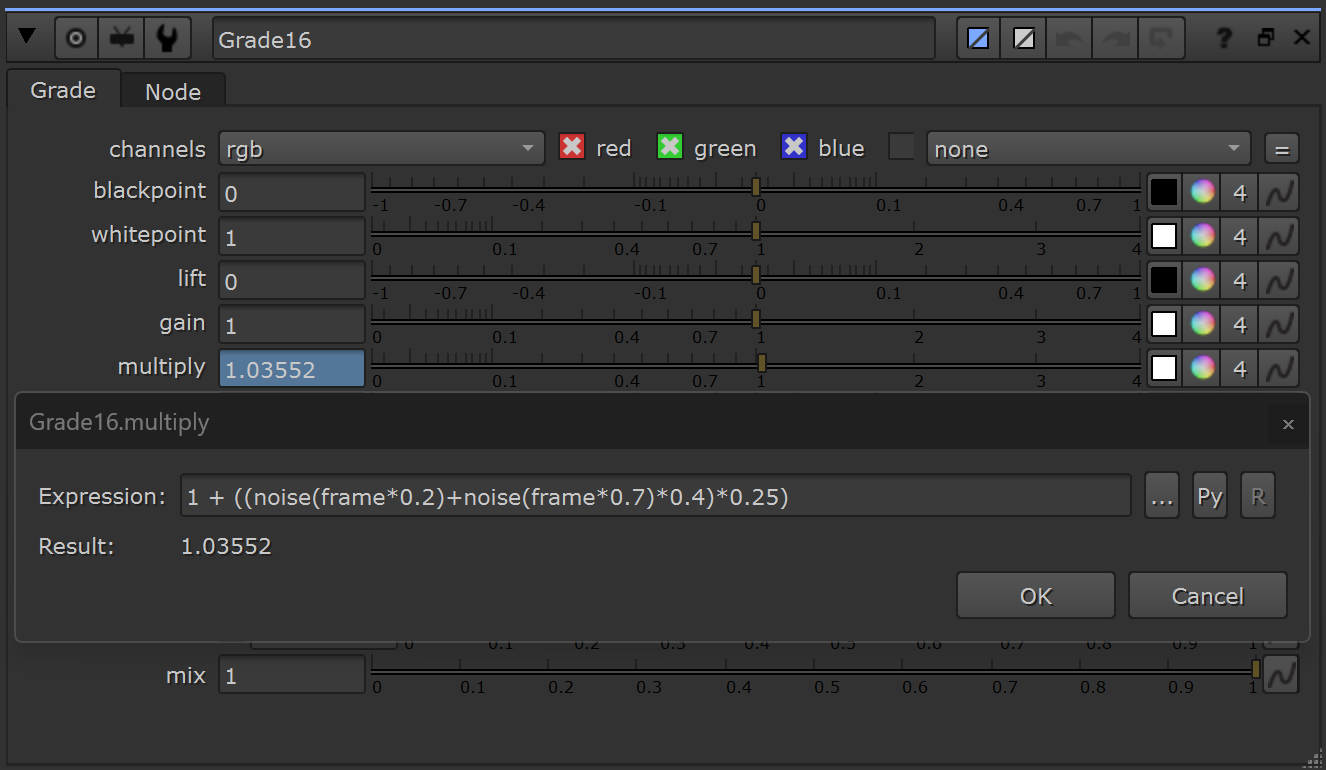
Grade Node with Noise Expression Multiply Input
Flickered Flame light then Merged Over
(Glow also applied)
Final Updated Look for Shot 3
Update #2
4/21/26
Recently I have made a lot of progress on texturing, lighting, and some simple animations. I am working to create an updated version of this project for the midterm deadline on Wednesday, April 22nd. Every textured object has a a substance file set up and I have done the first pass at material sets for all the objects. There is still a lot I want to improve the details of.
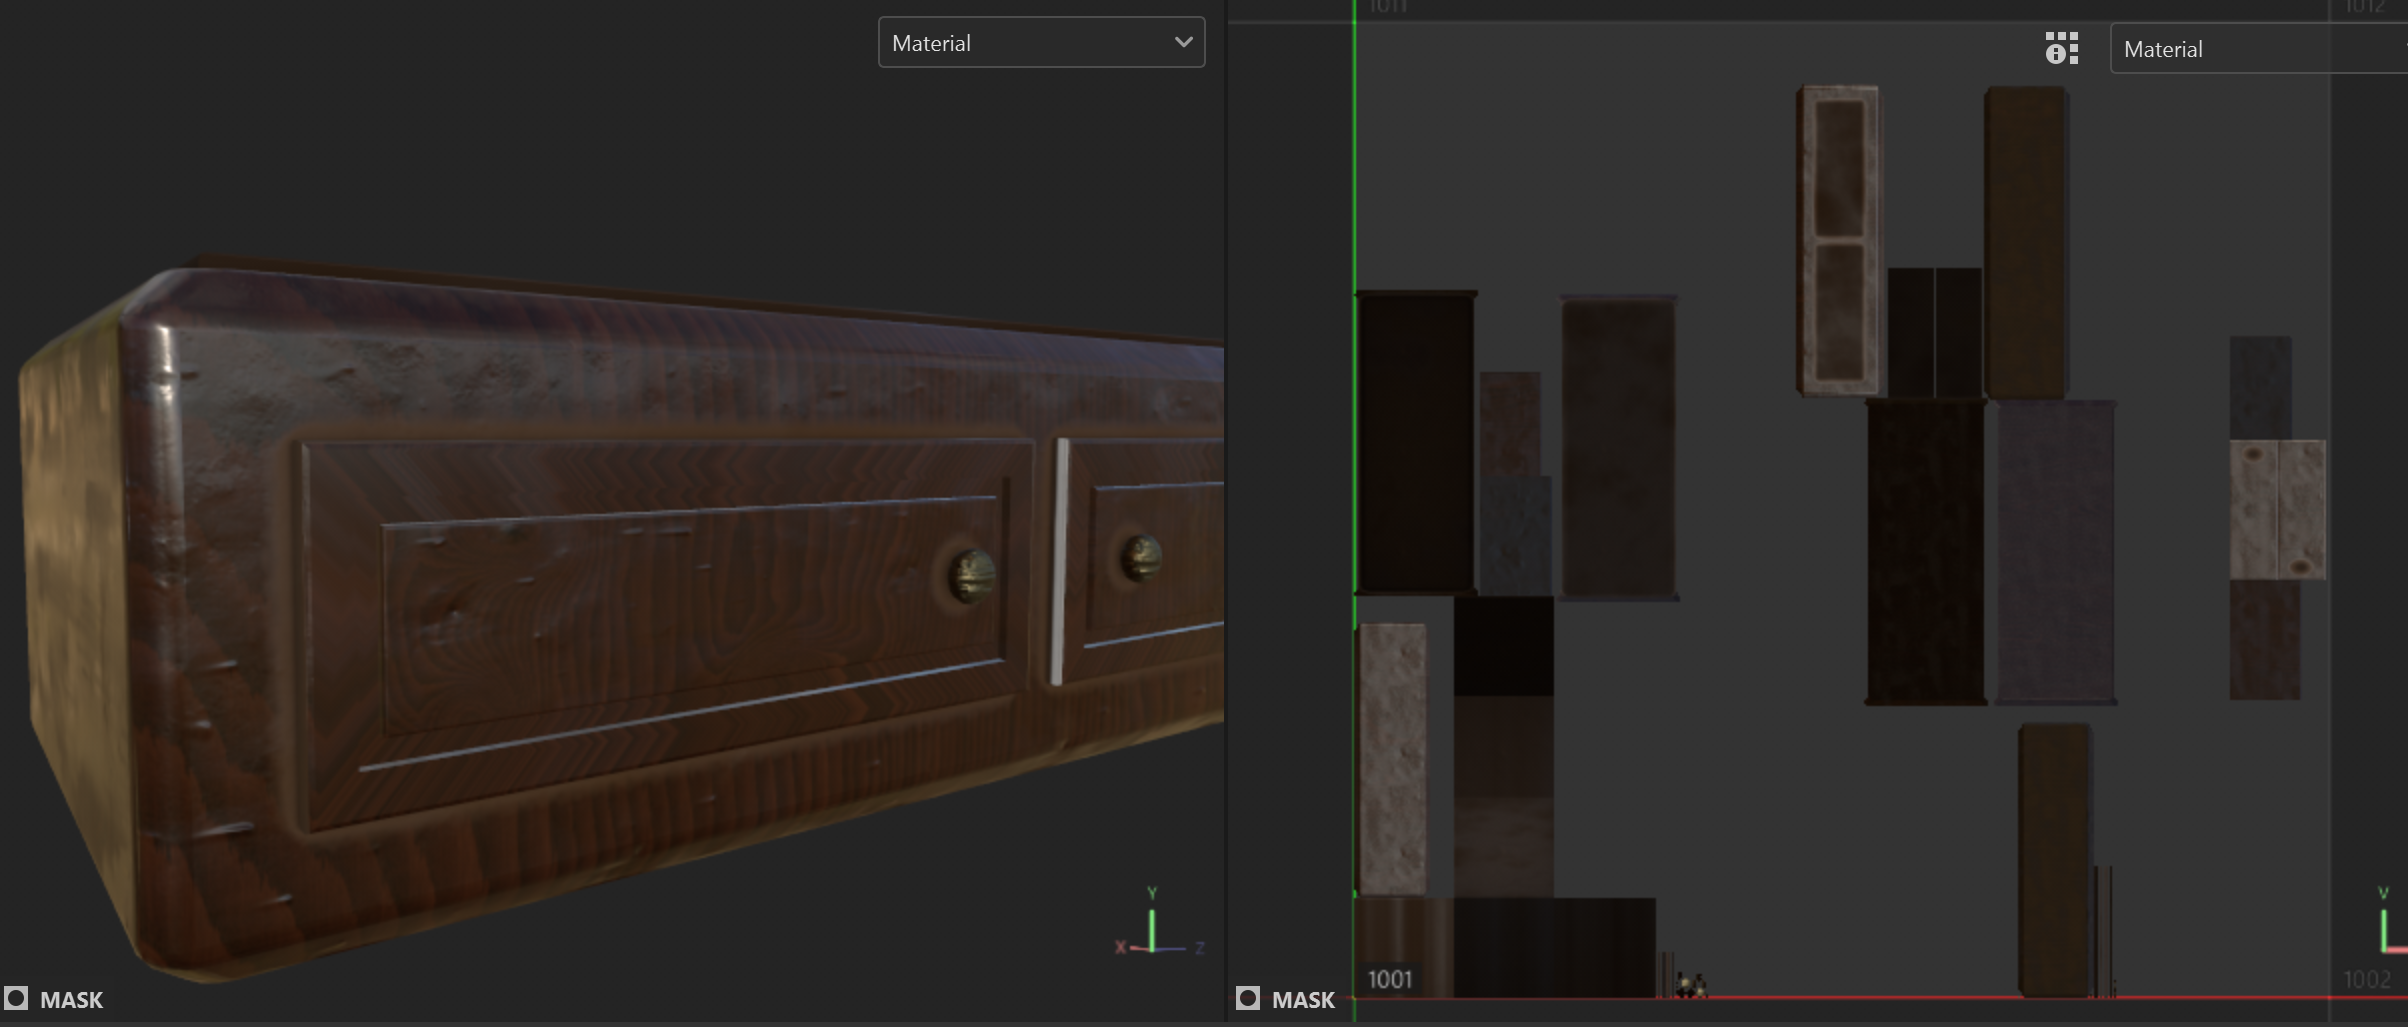
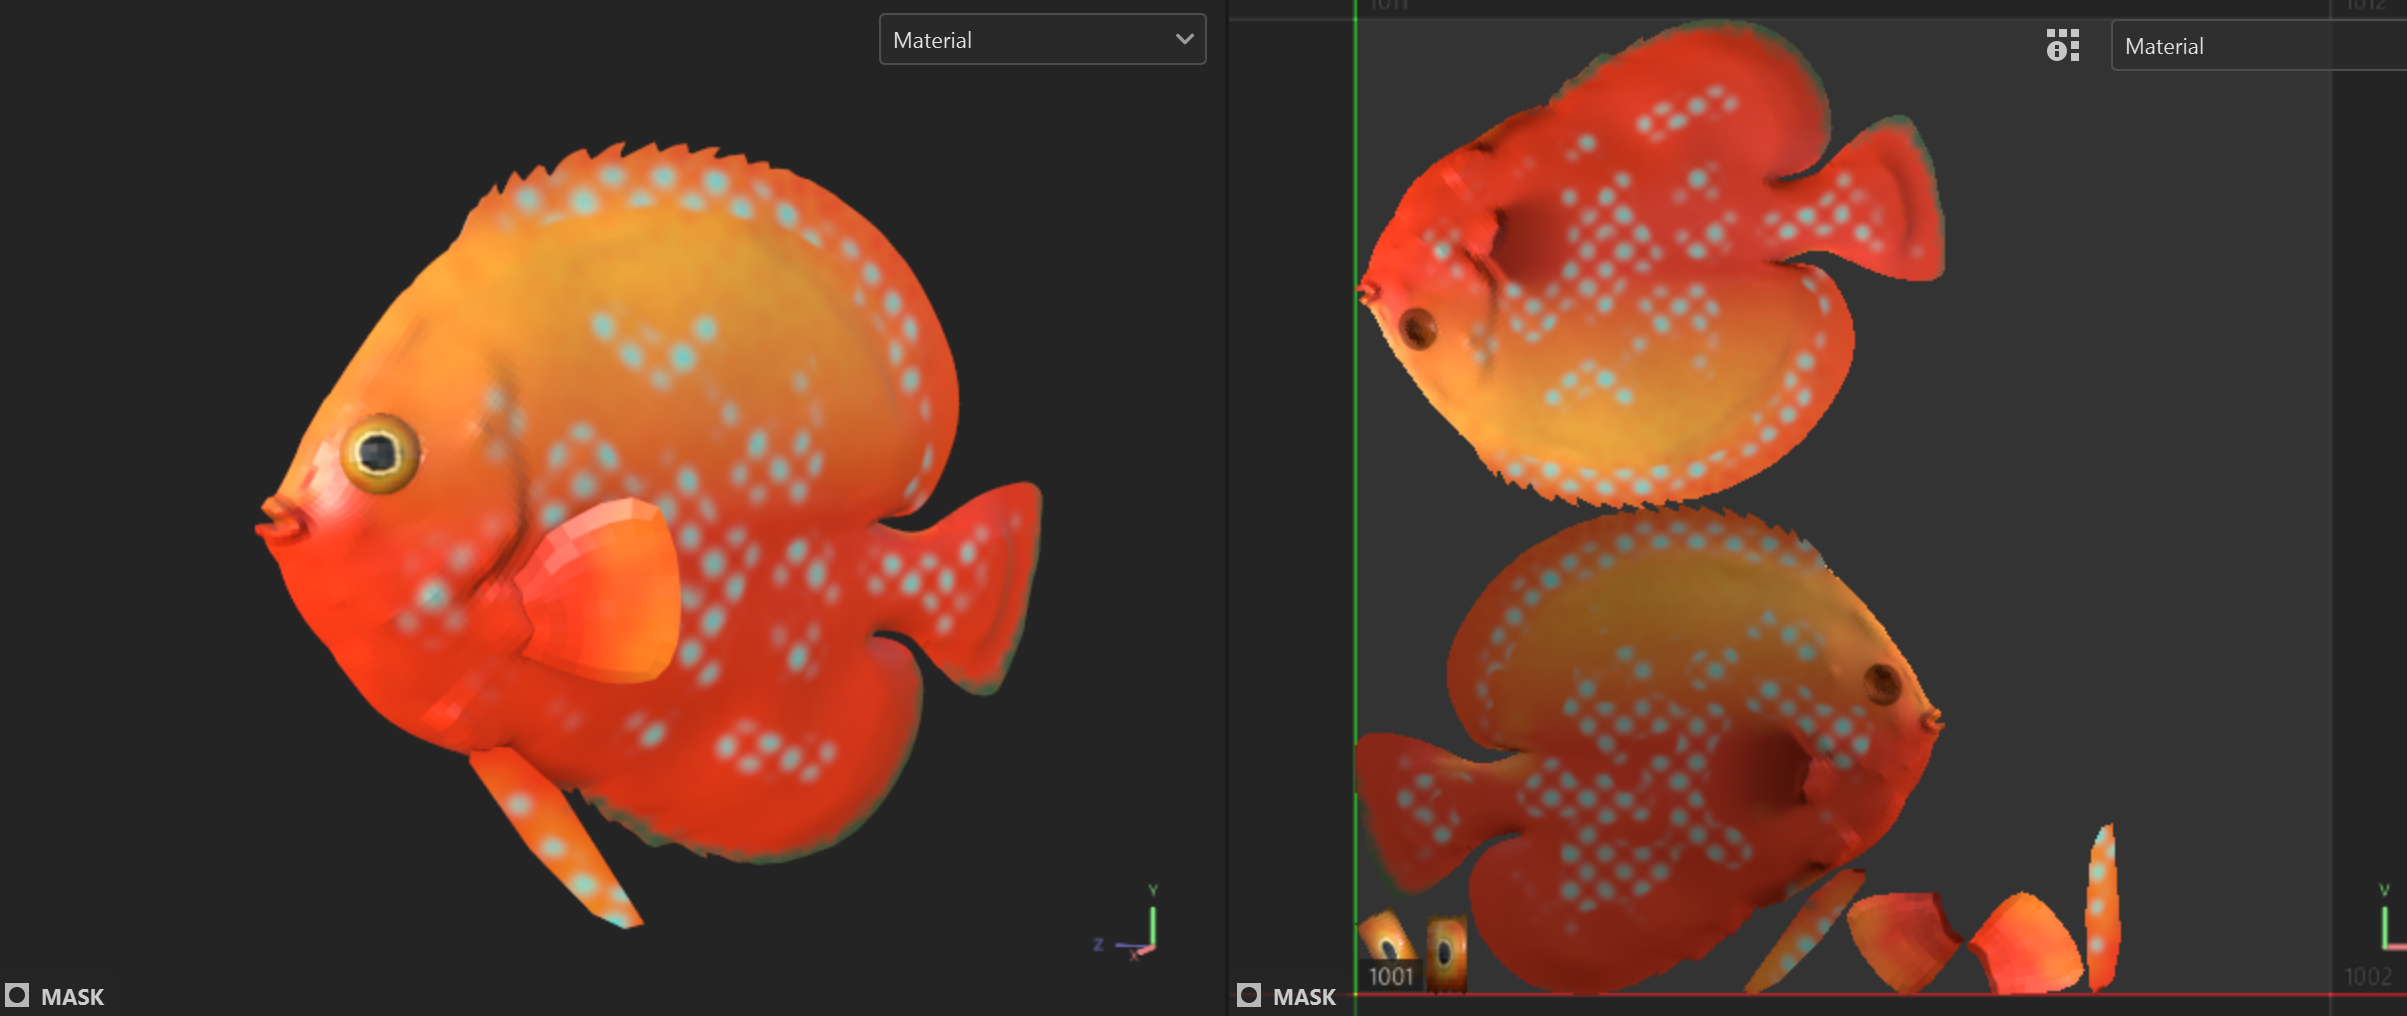
Substance Perspective View + UV
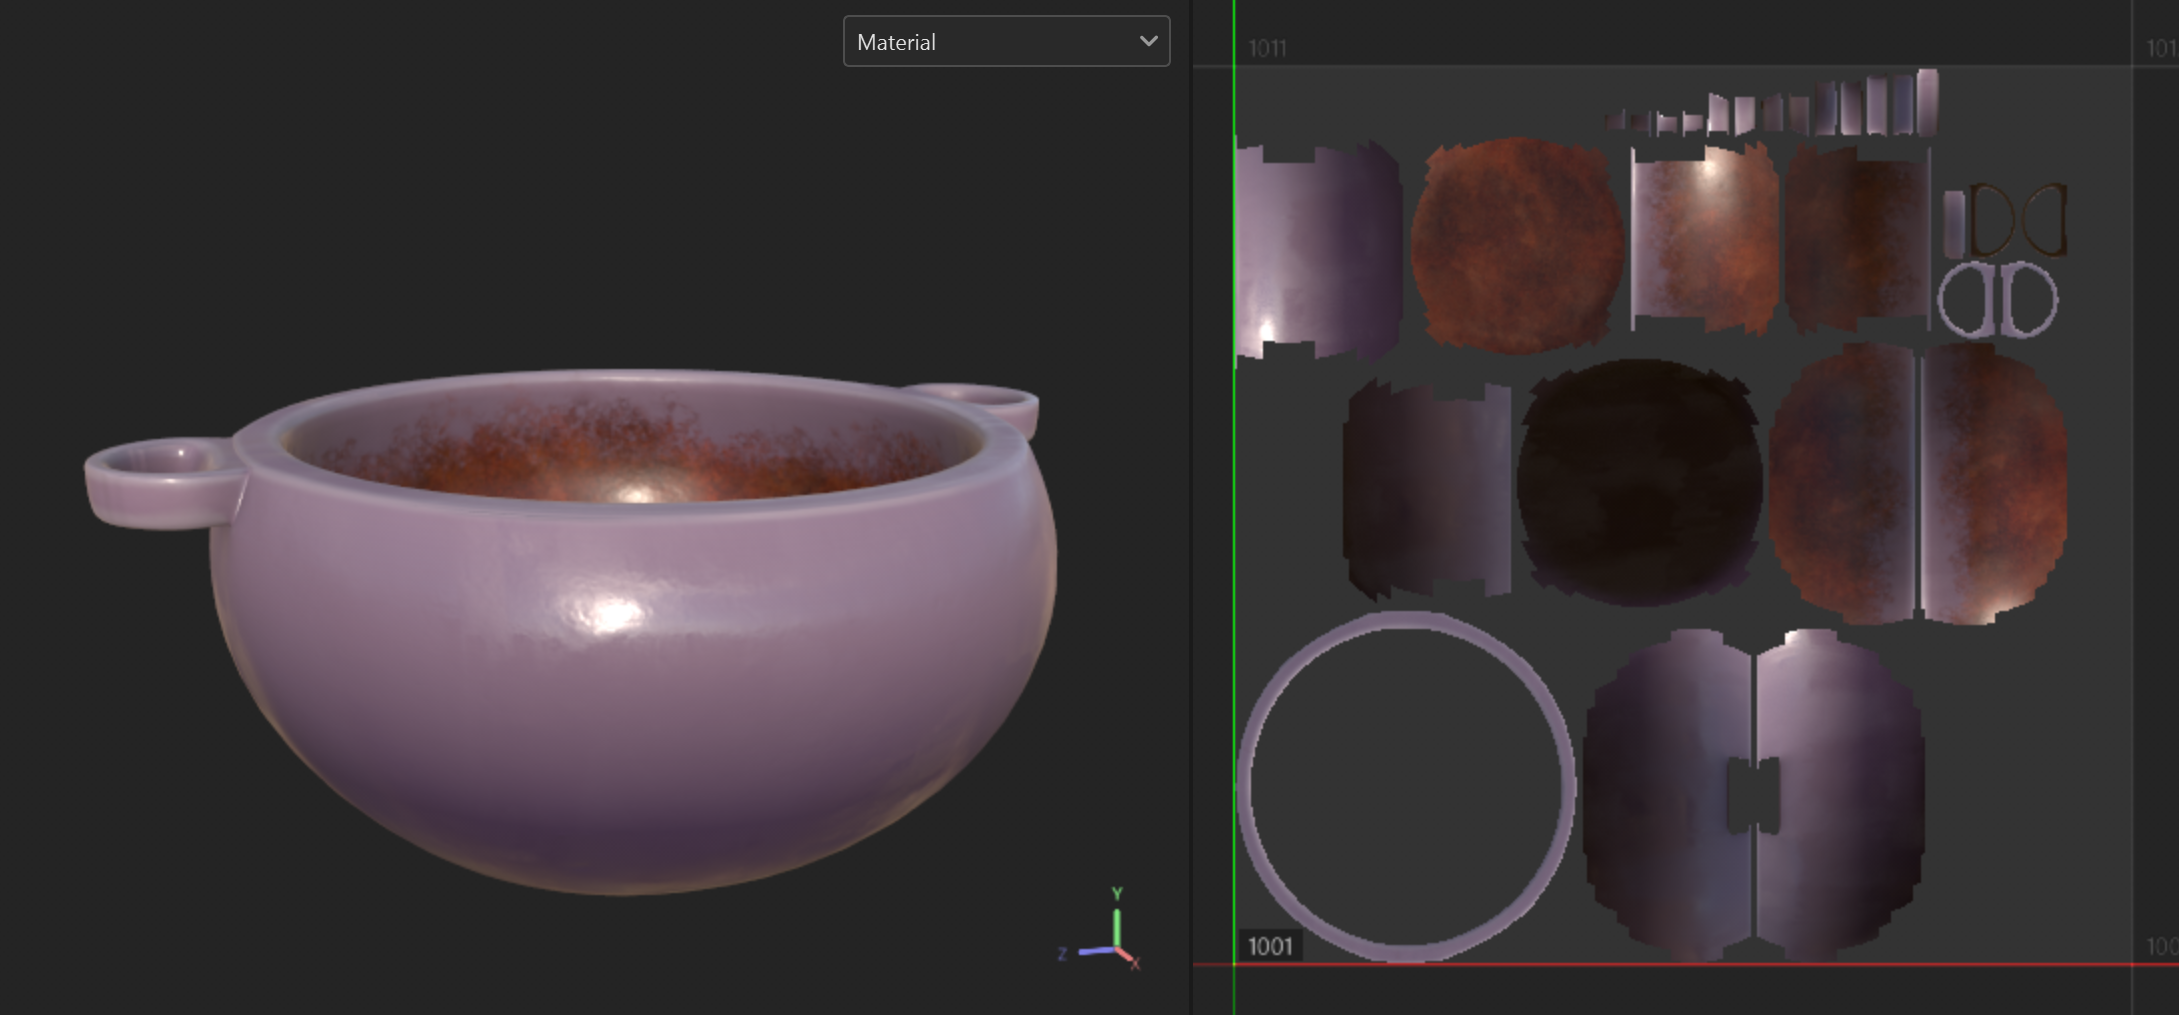
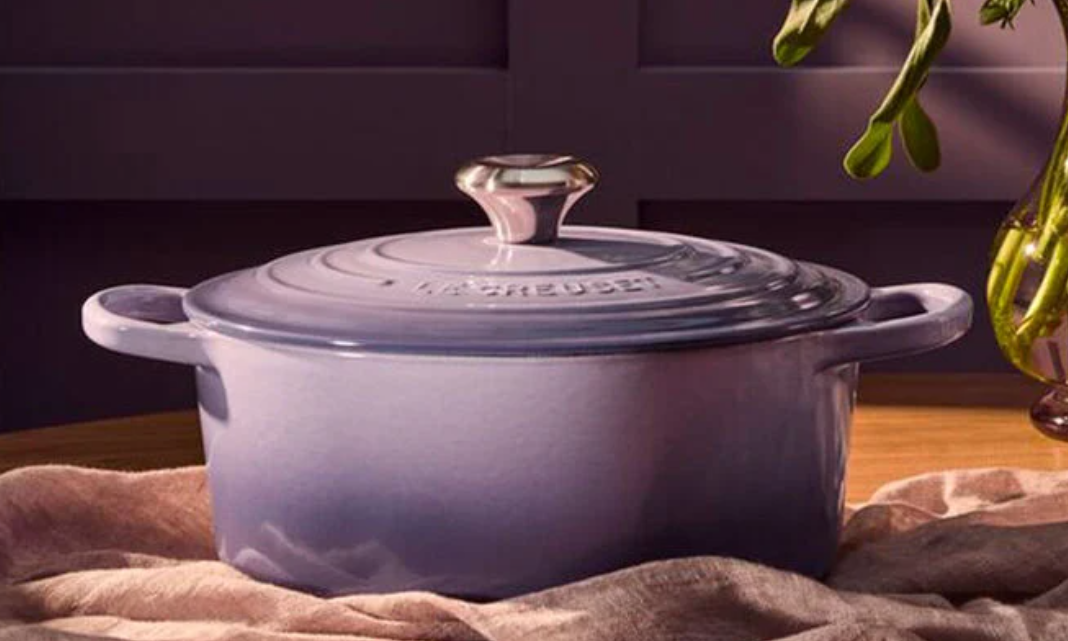
Shot 3 - Pot
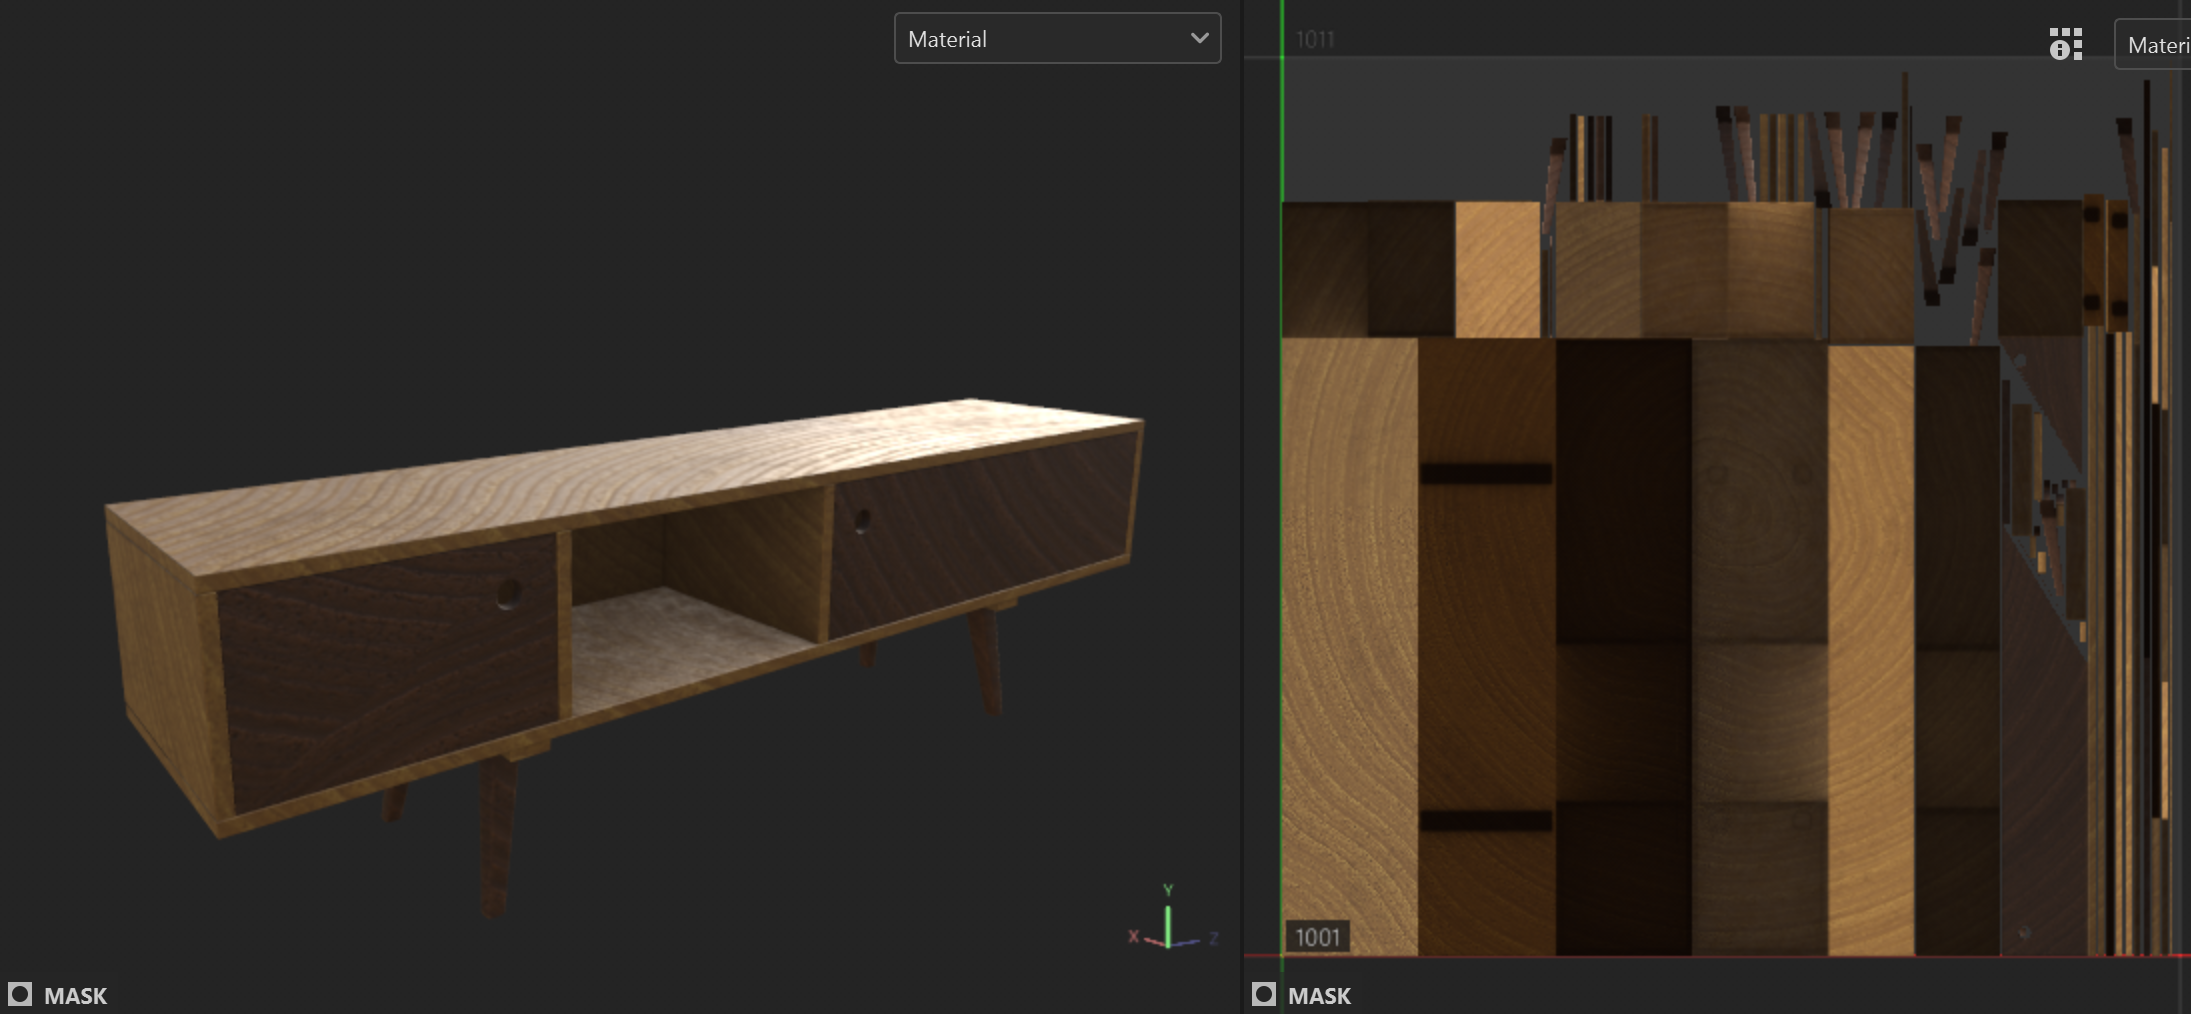
Shot 4 + 5 - Credenza
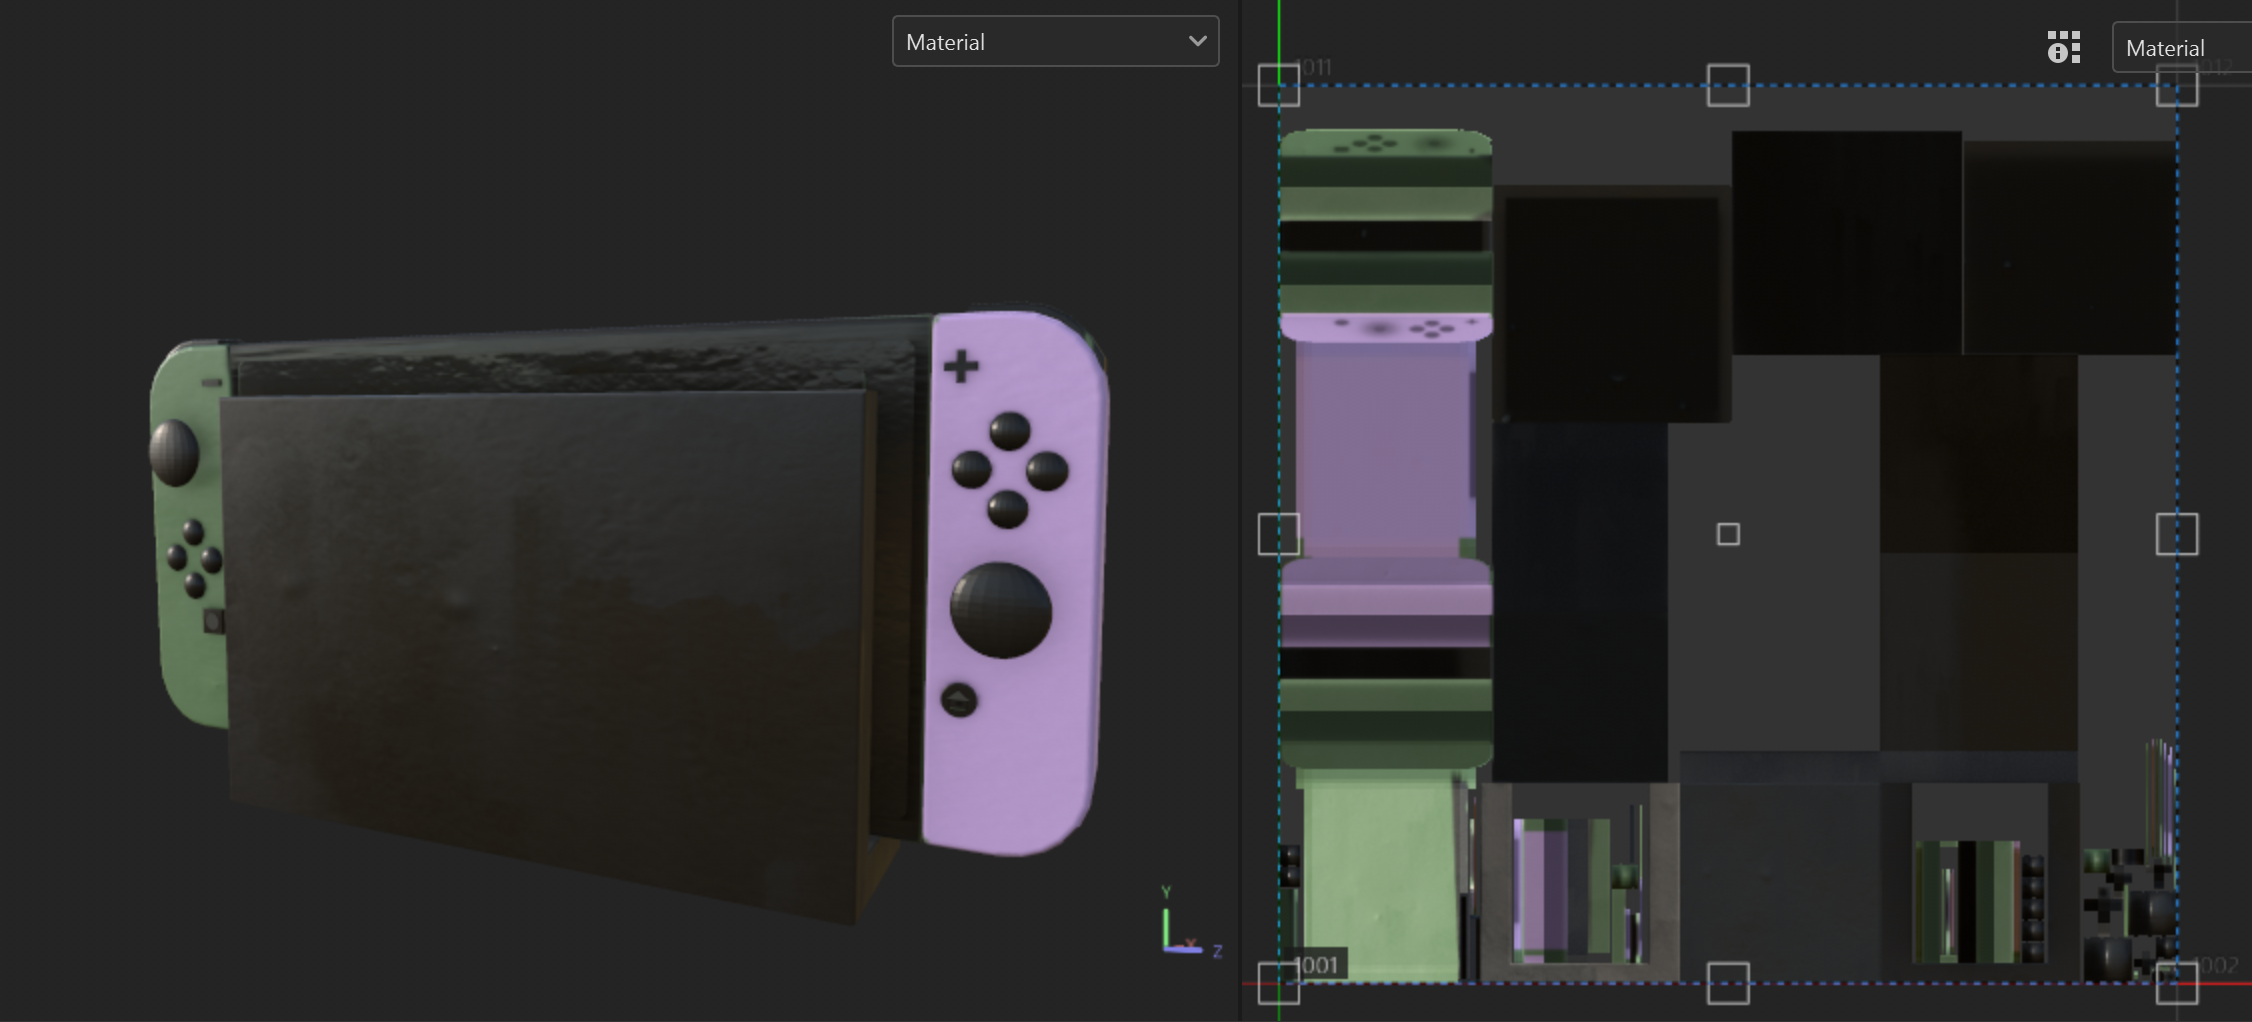
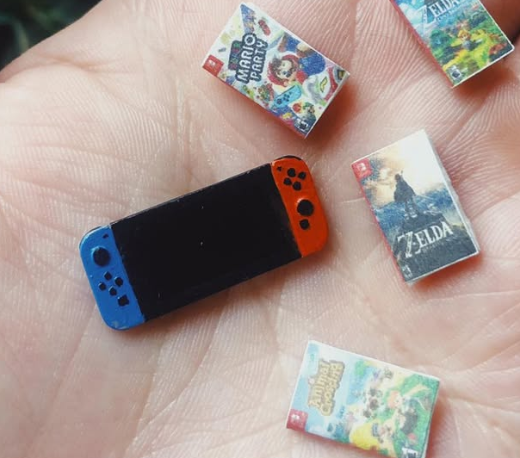
Shot 4 + 5 - Nintendo Switch
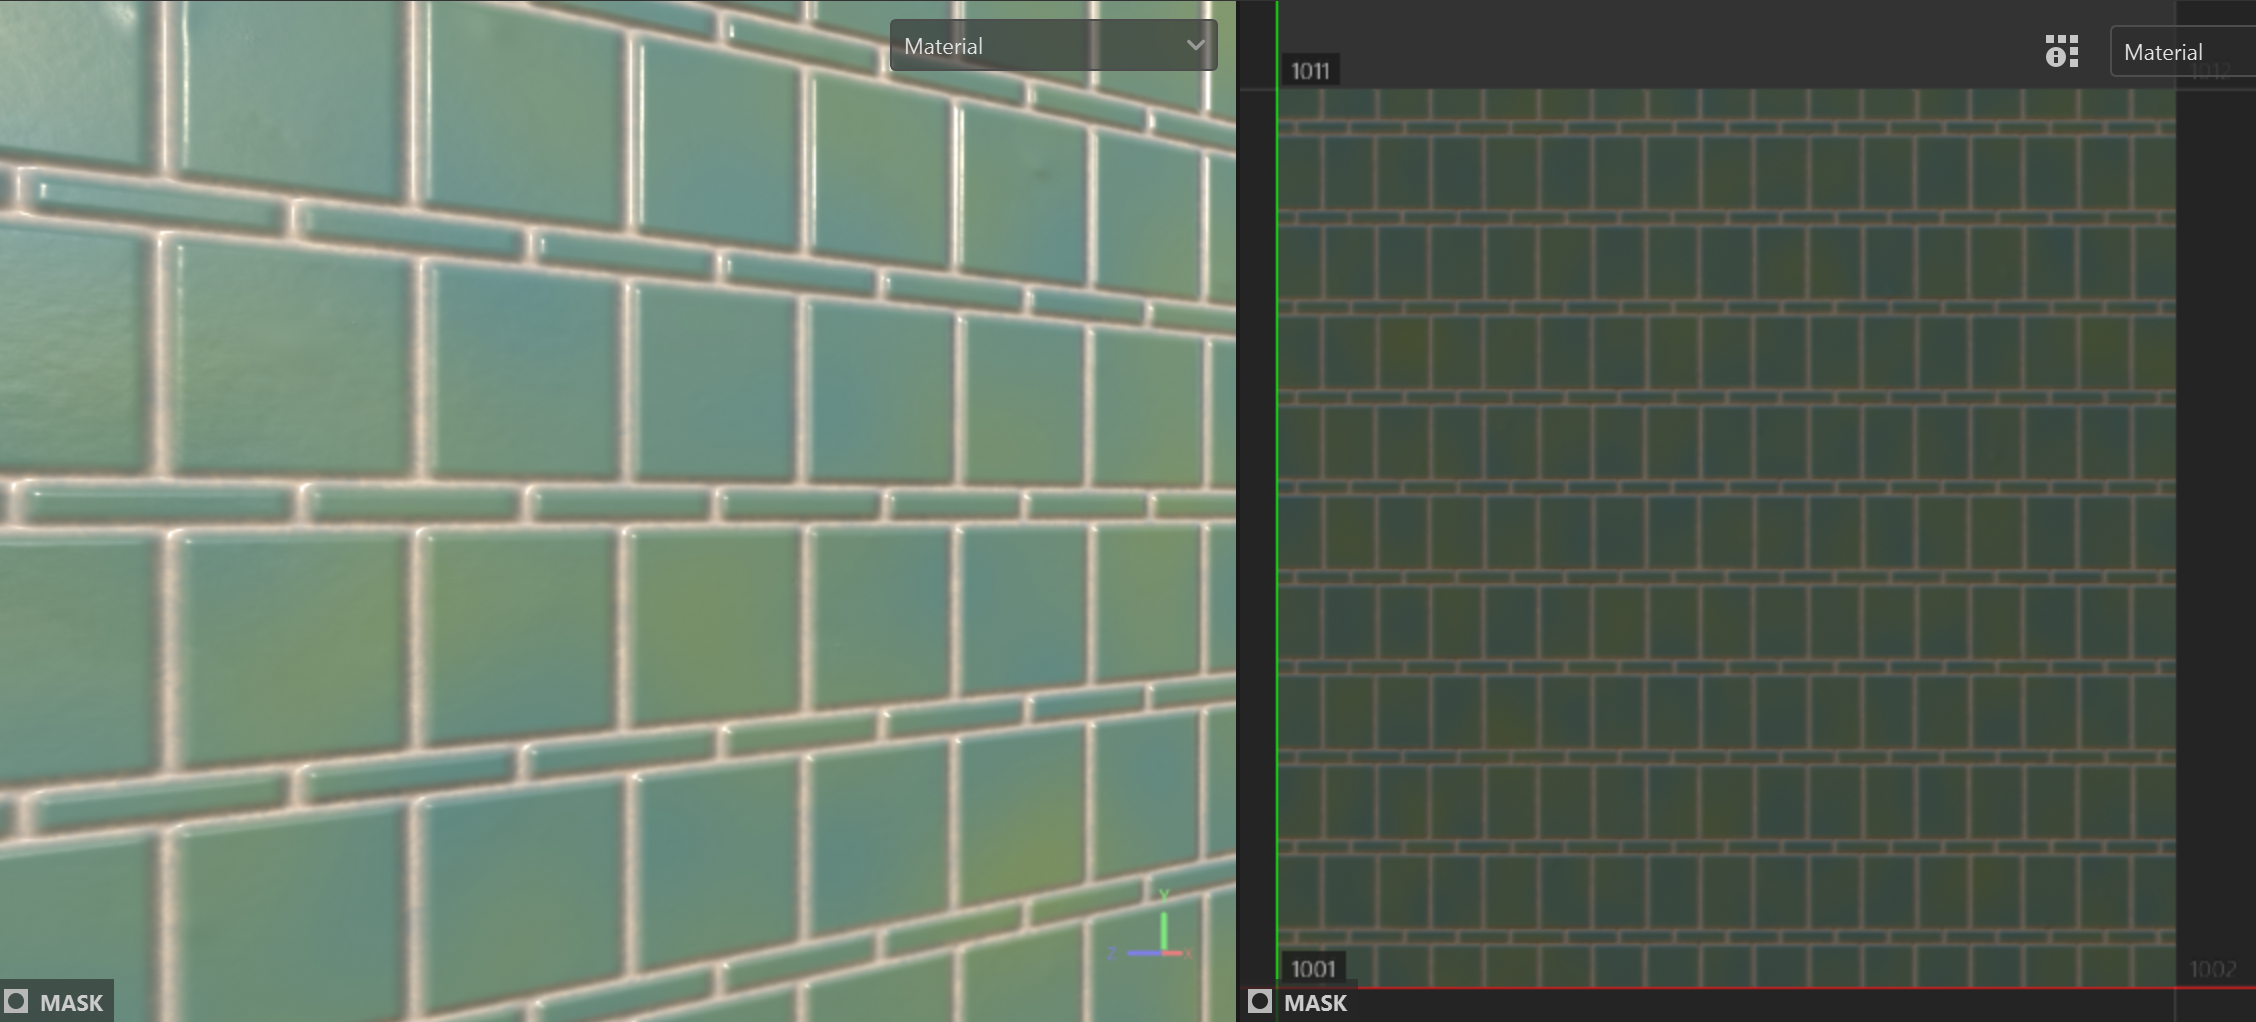
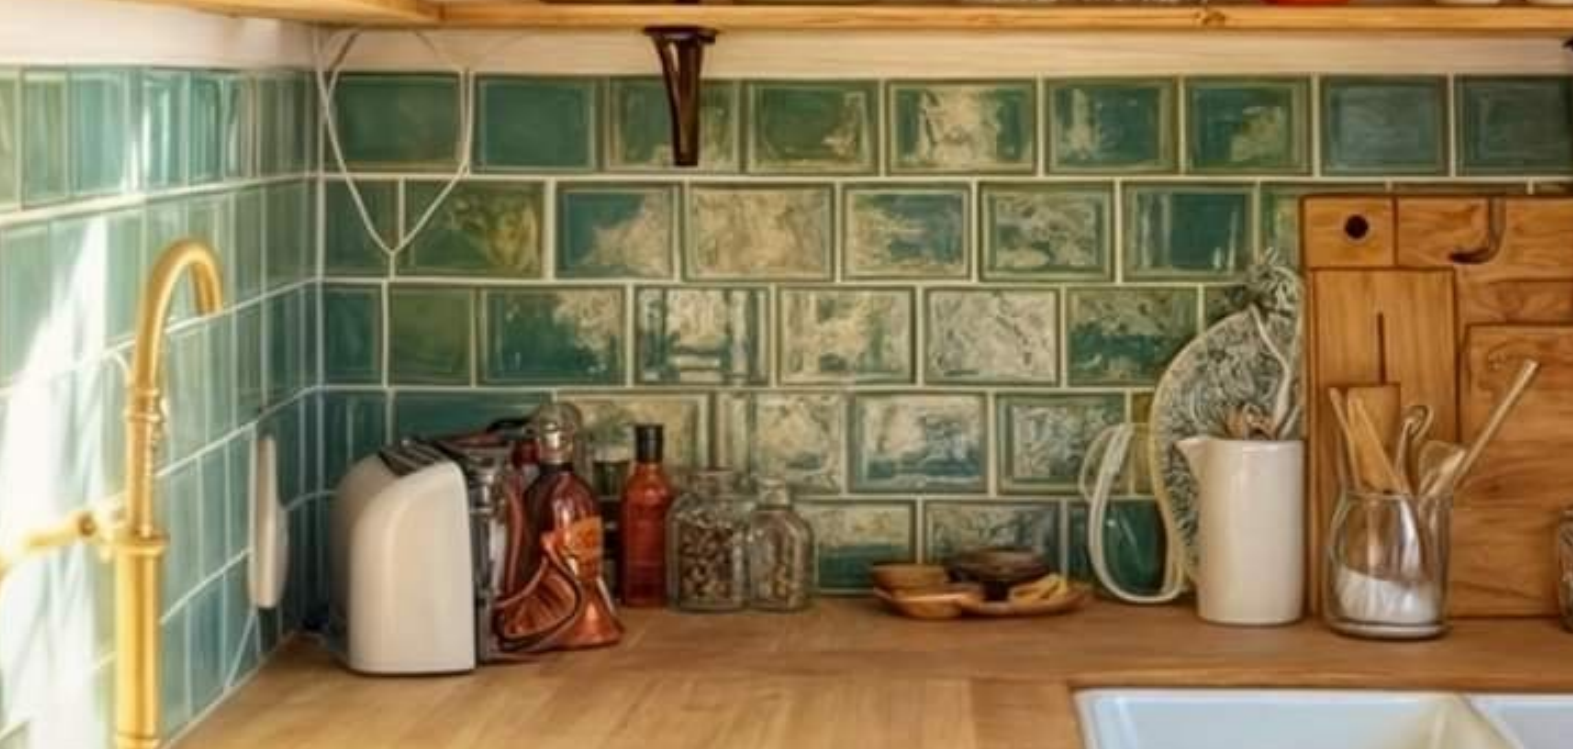
Shot 3 - Backsplash Tile
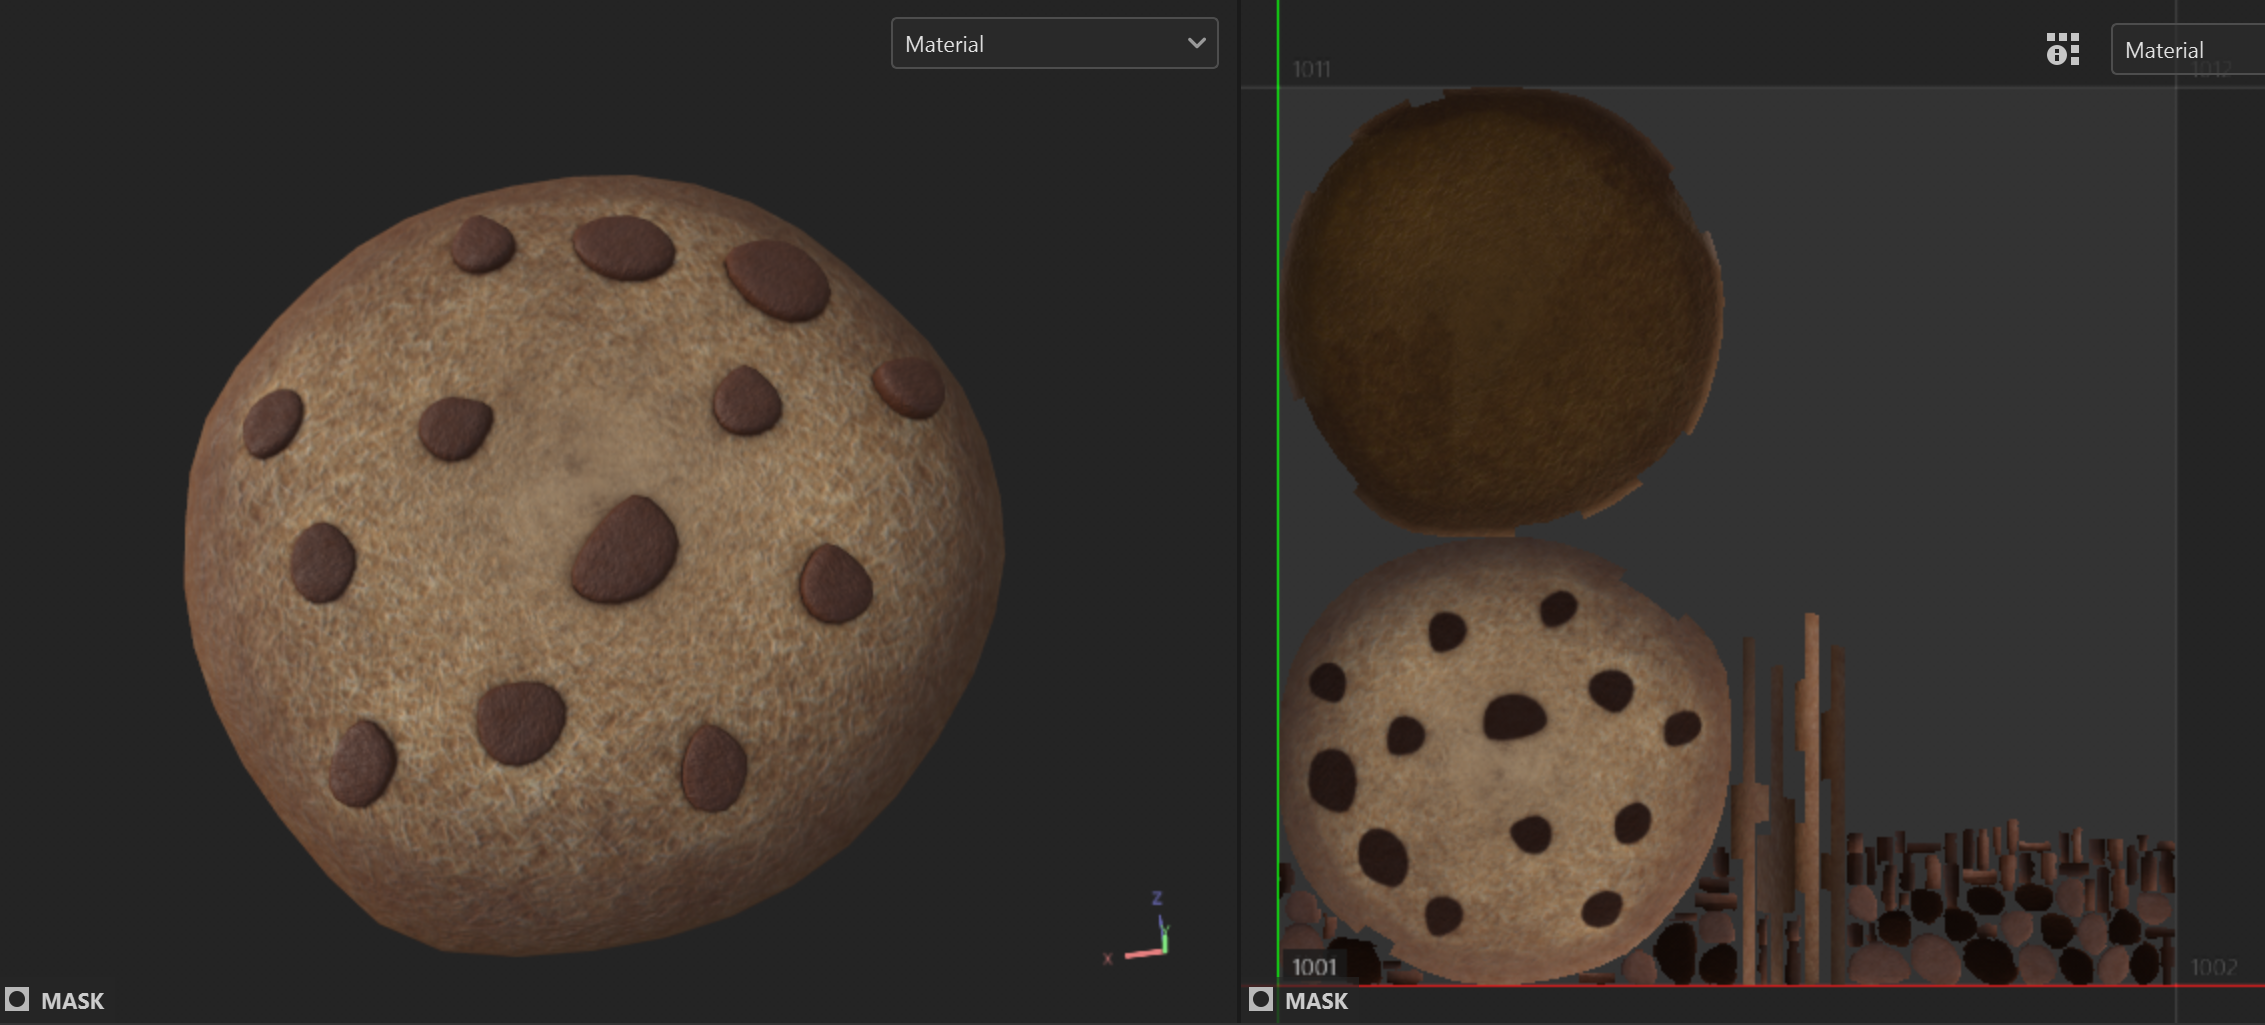
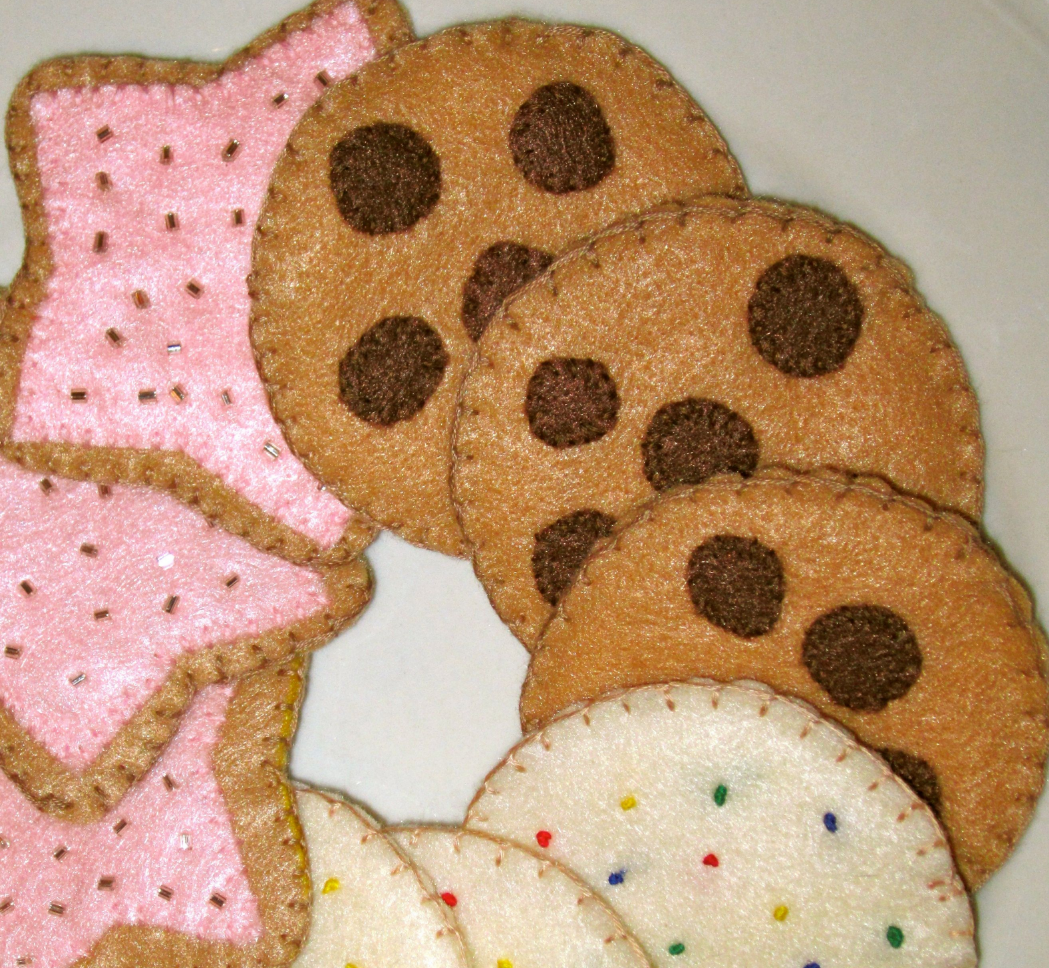
Shot 4 + 5 - Cookie
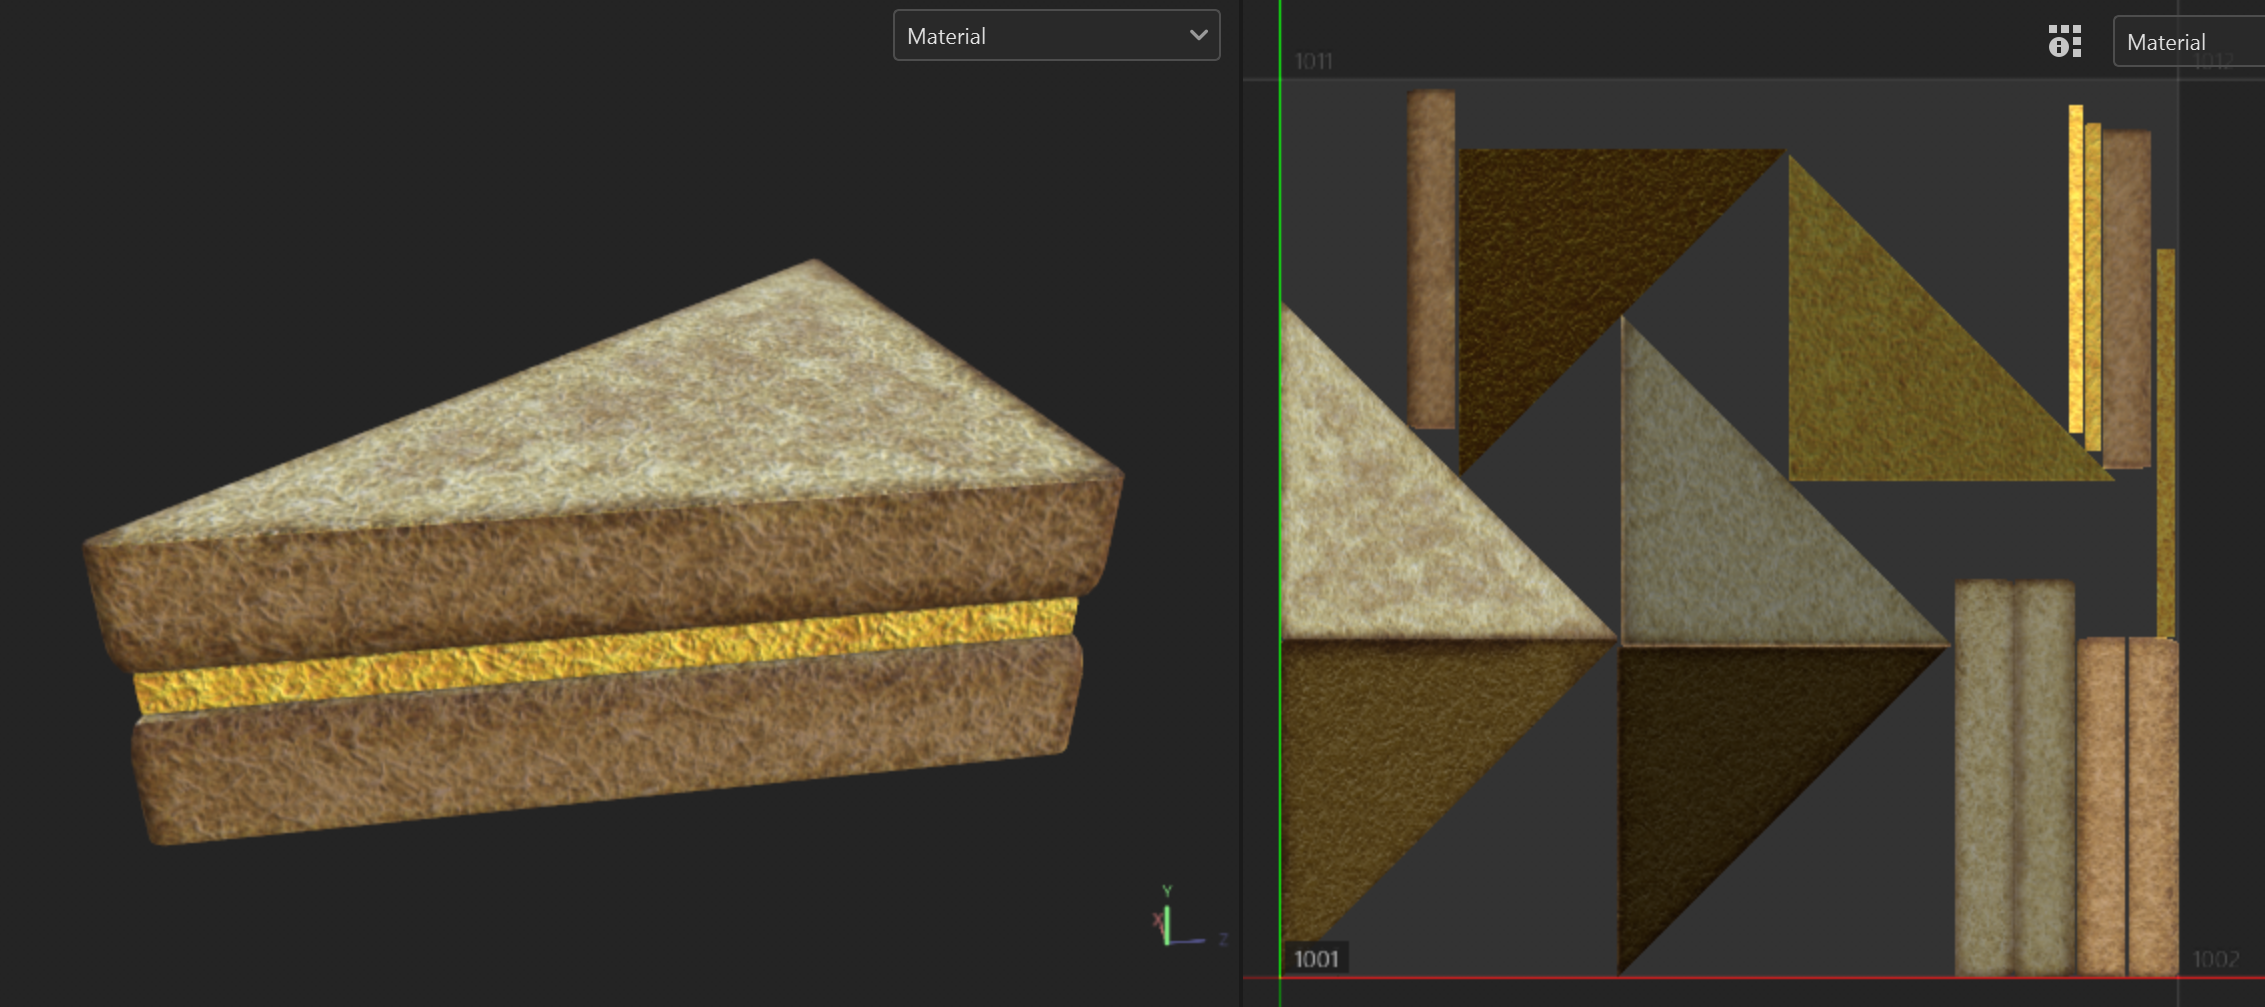
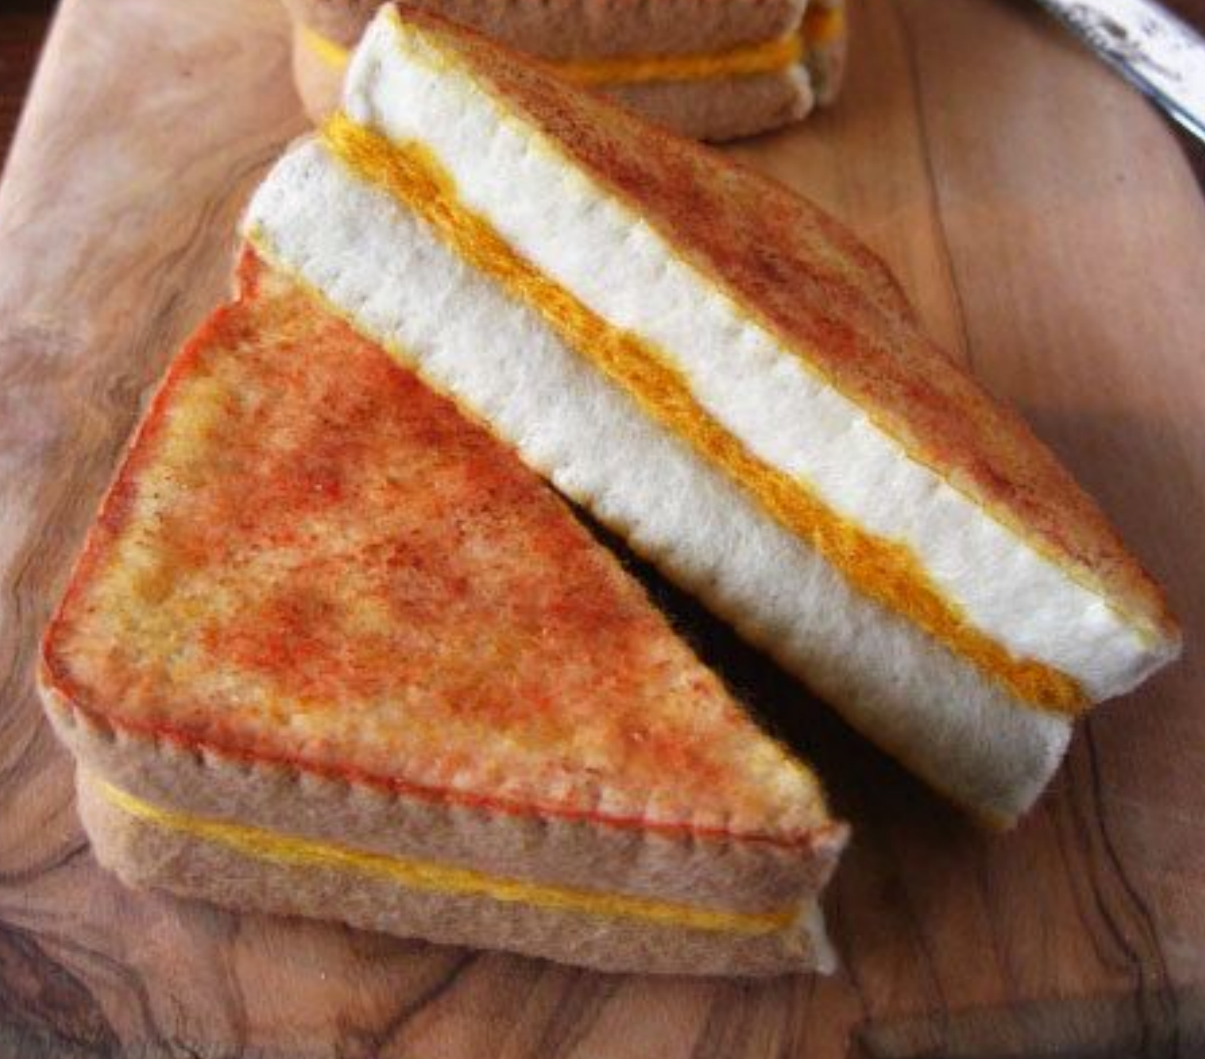
Shot 3 - Grilled Cheese

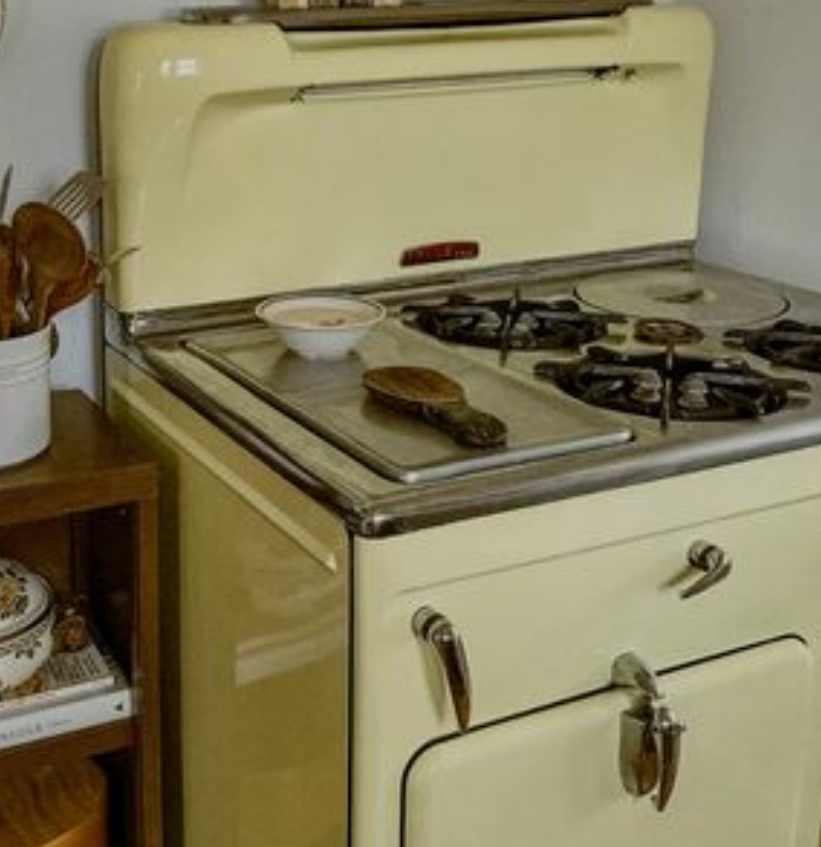
Shot 3 - Stove
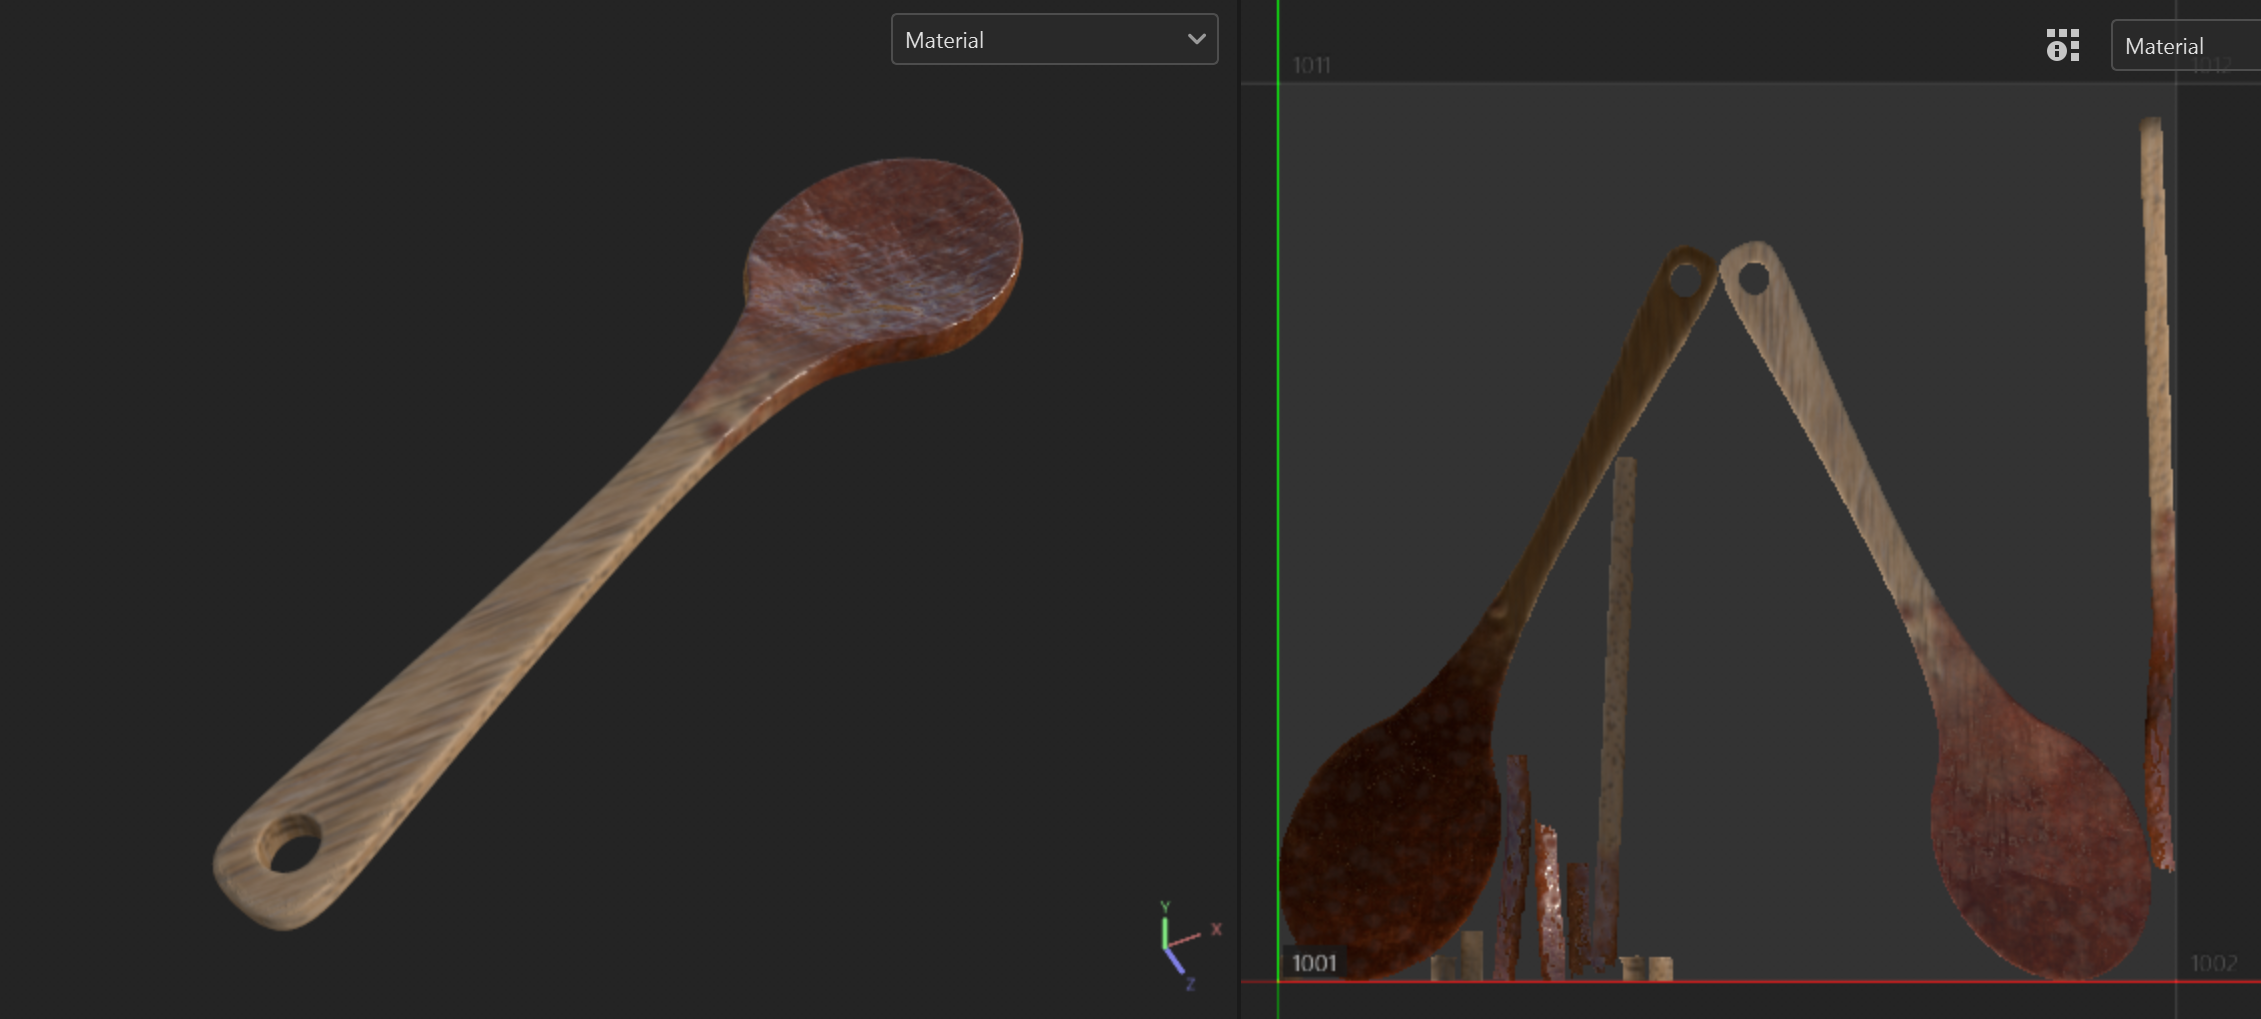
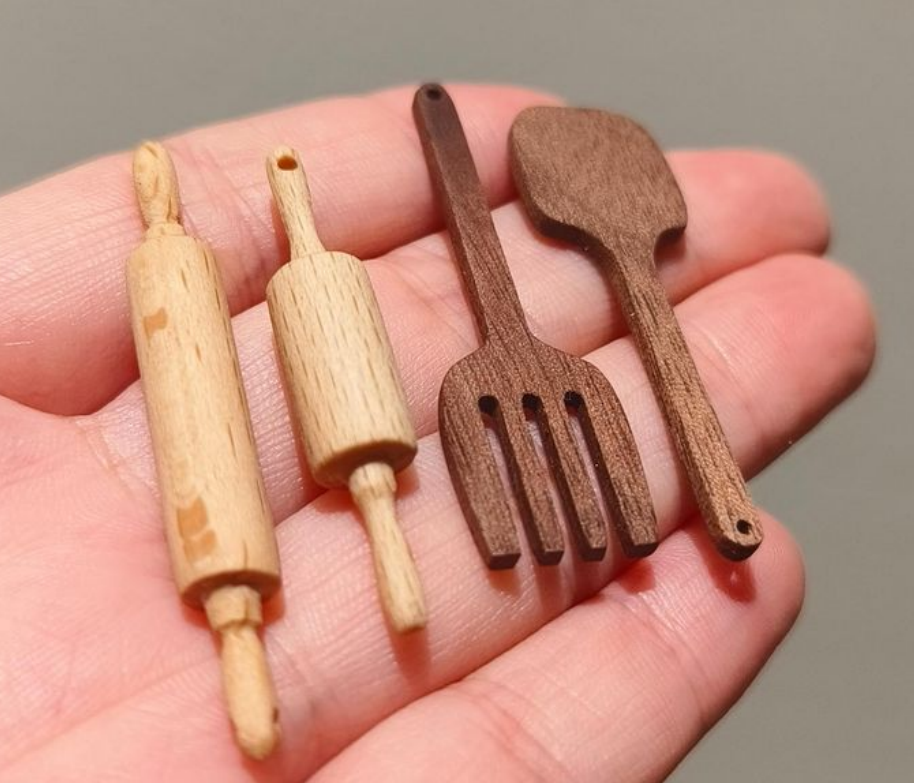
Shot 3 - Wooden Spoon
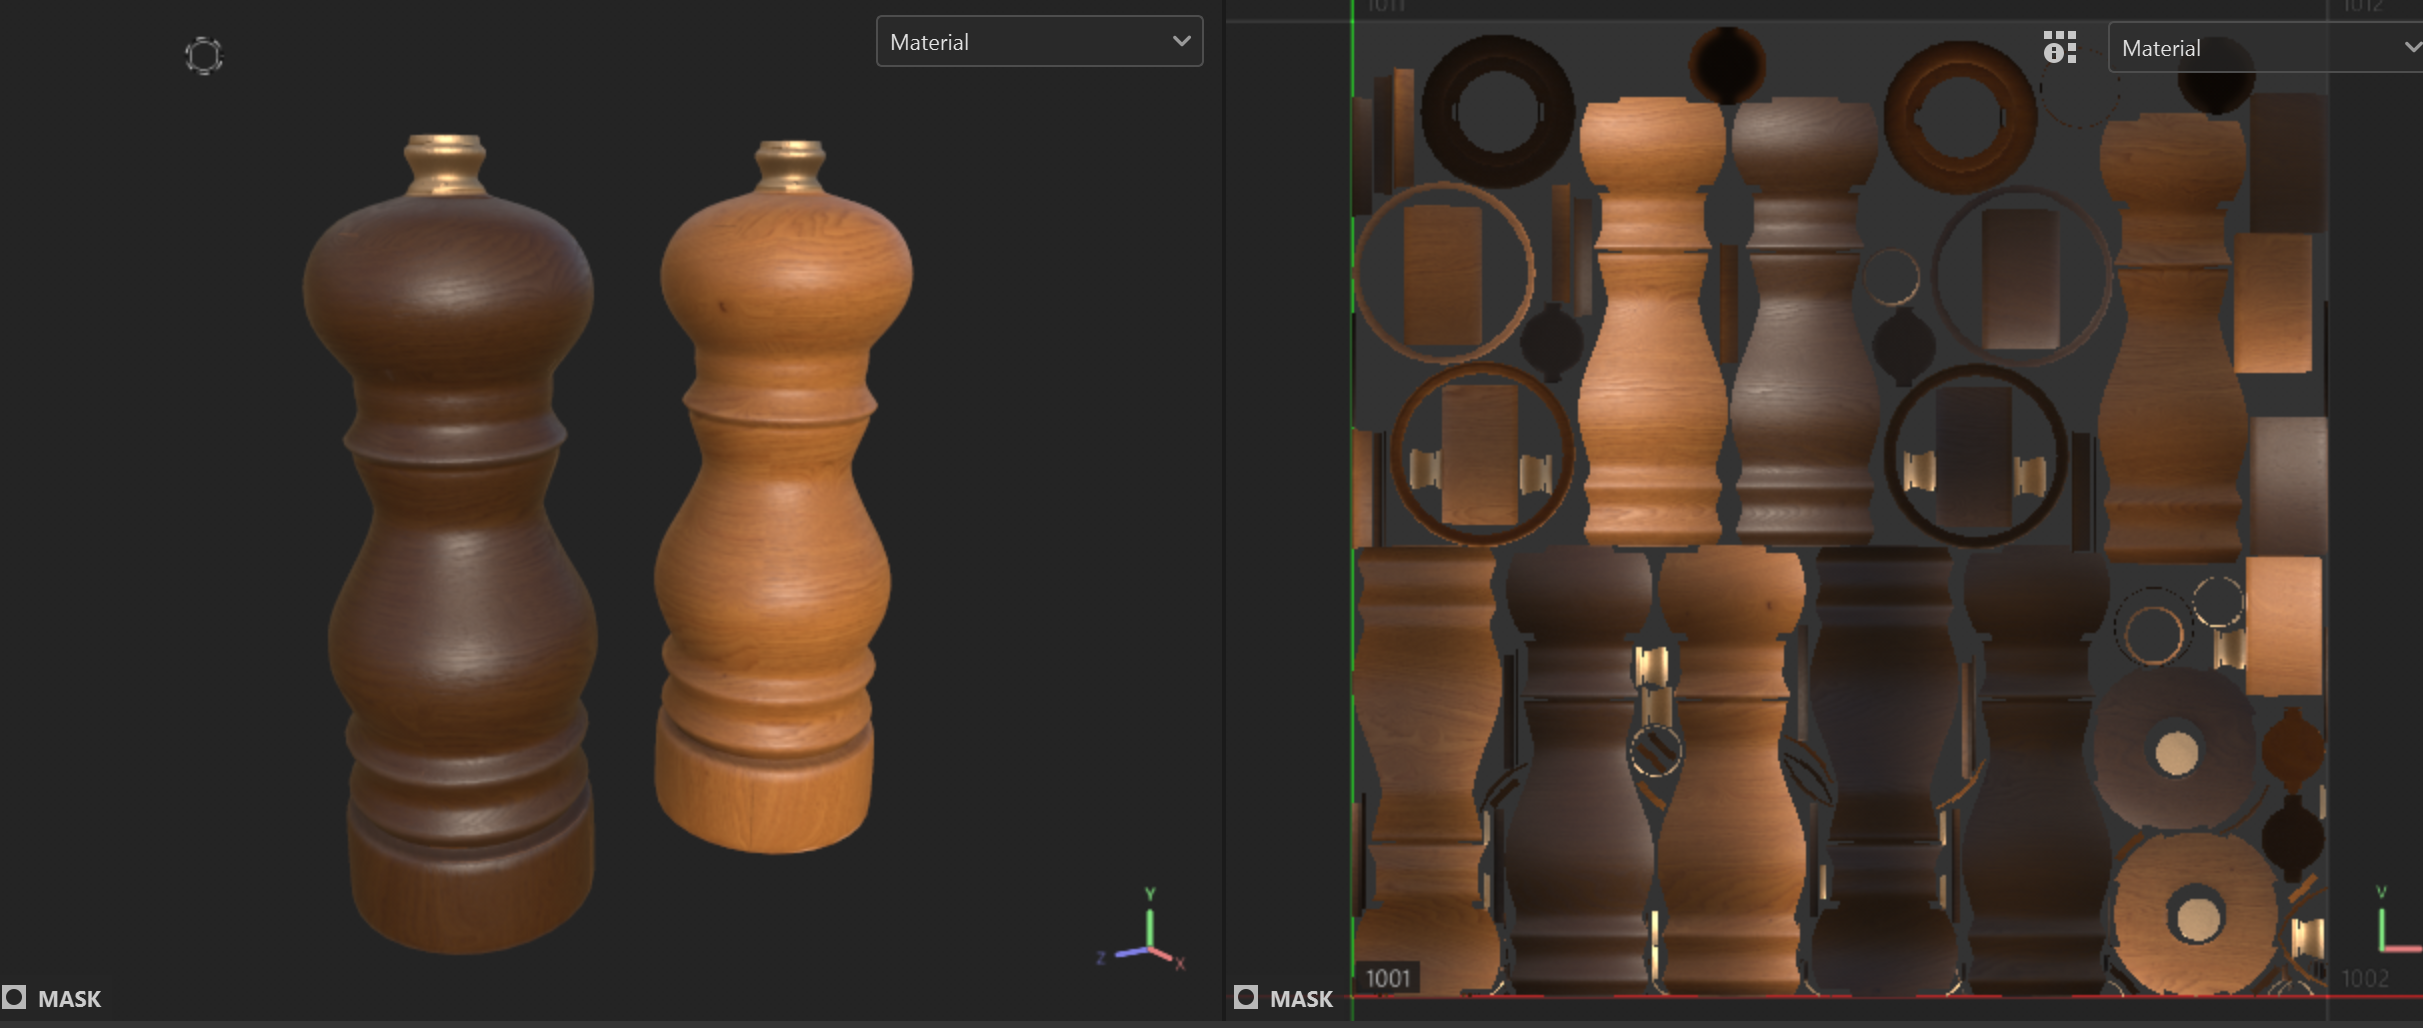
Shot 3 - Salt and Pepper
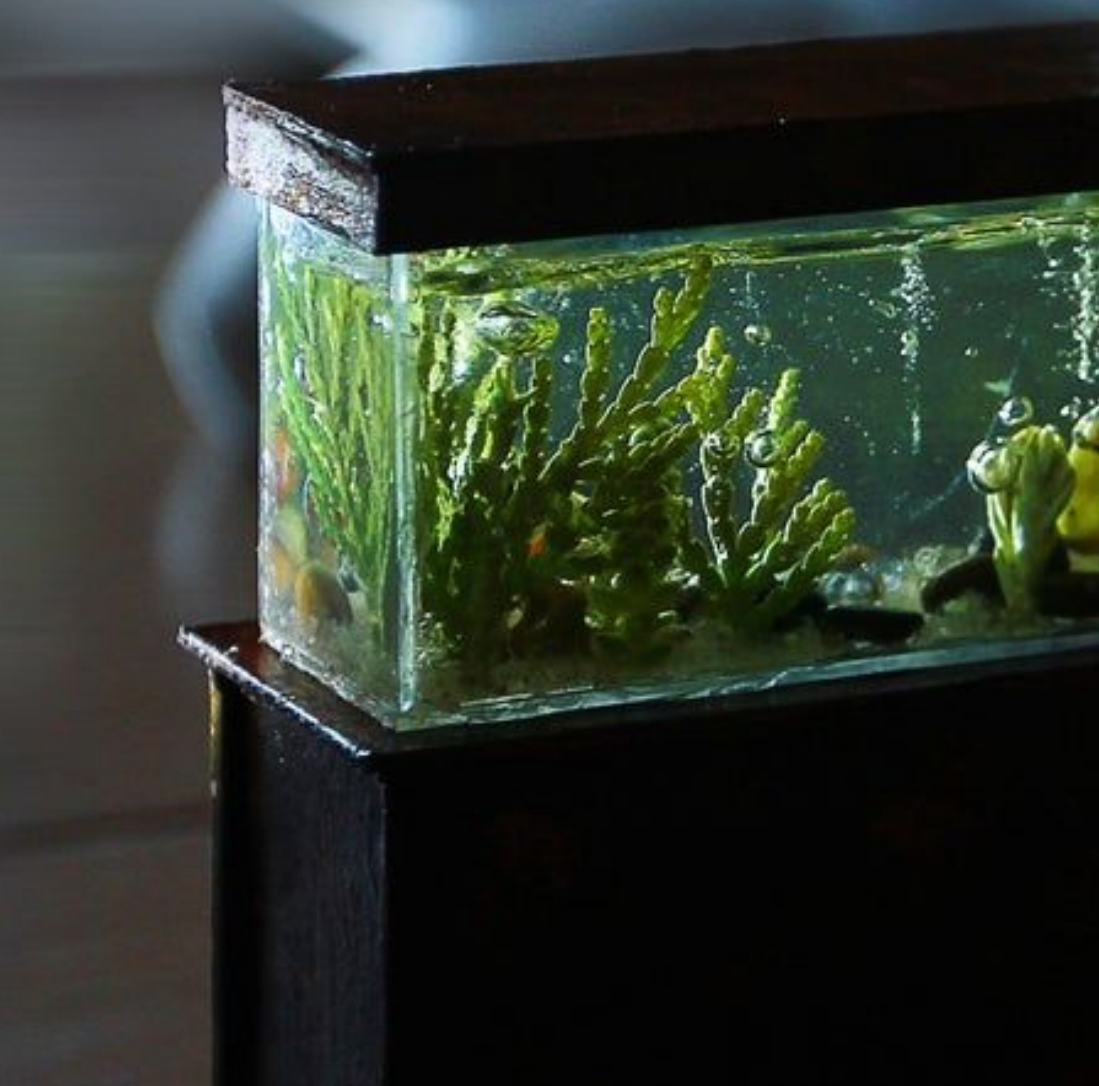
Shot 2 - Fish Tank
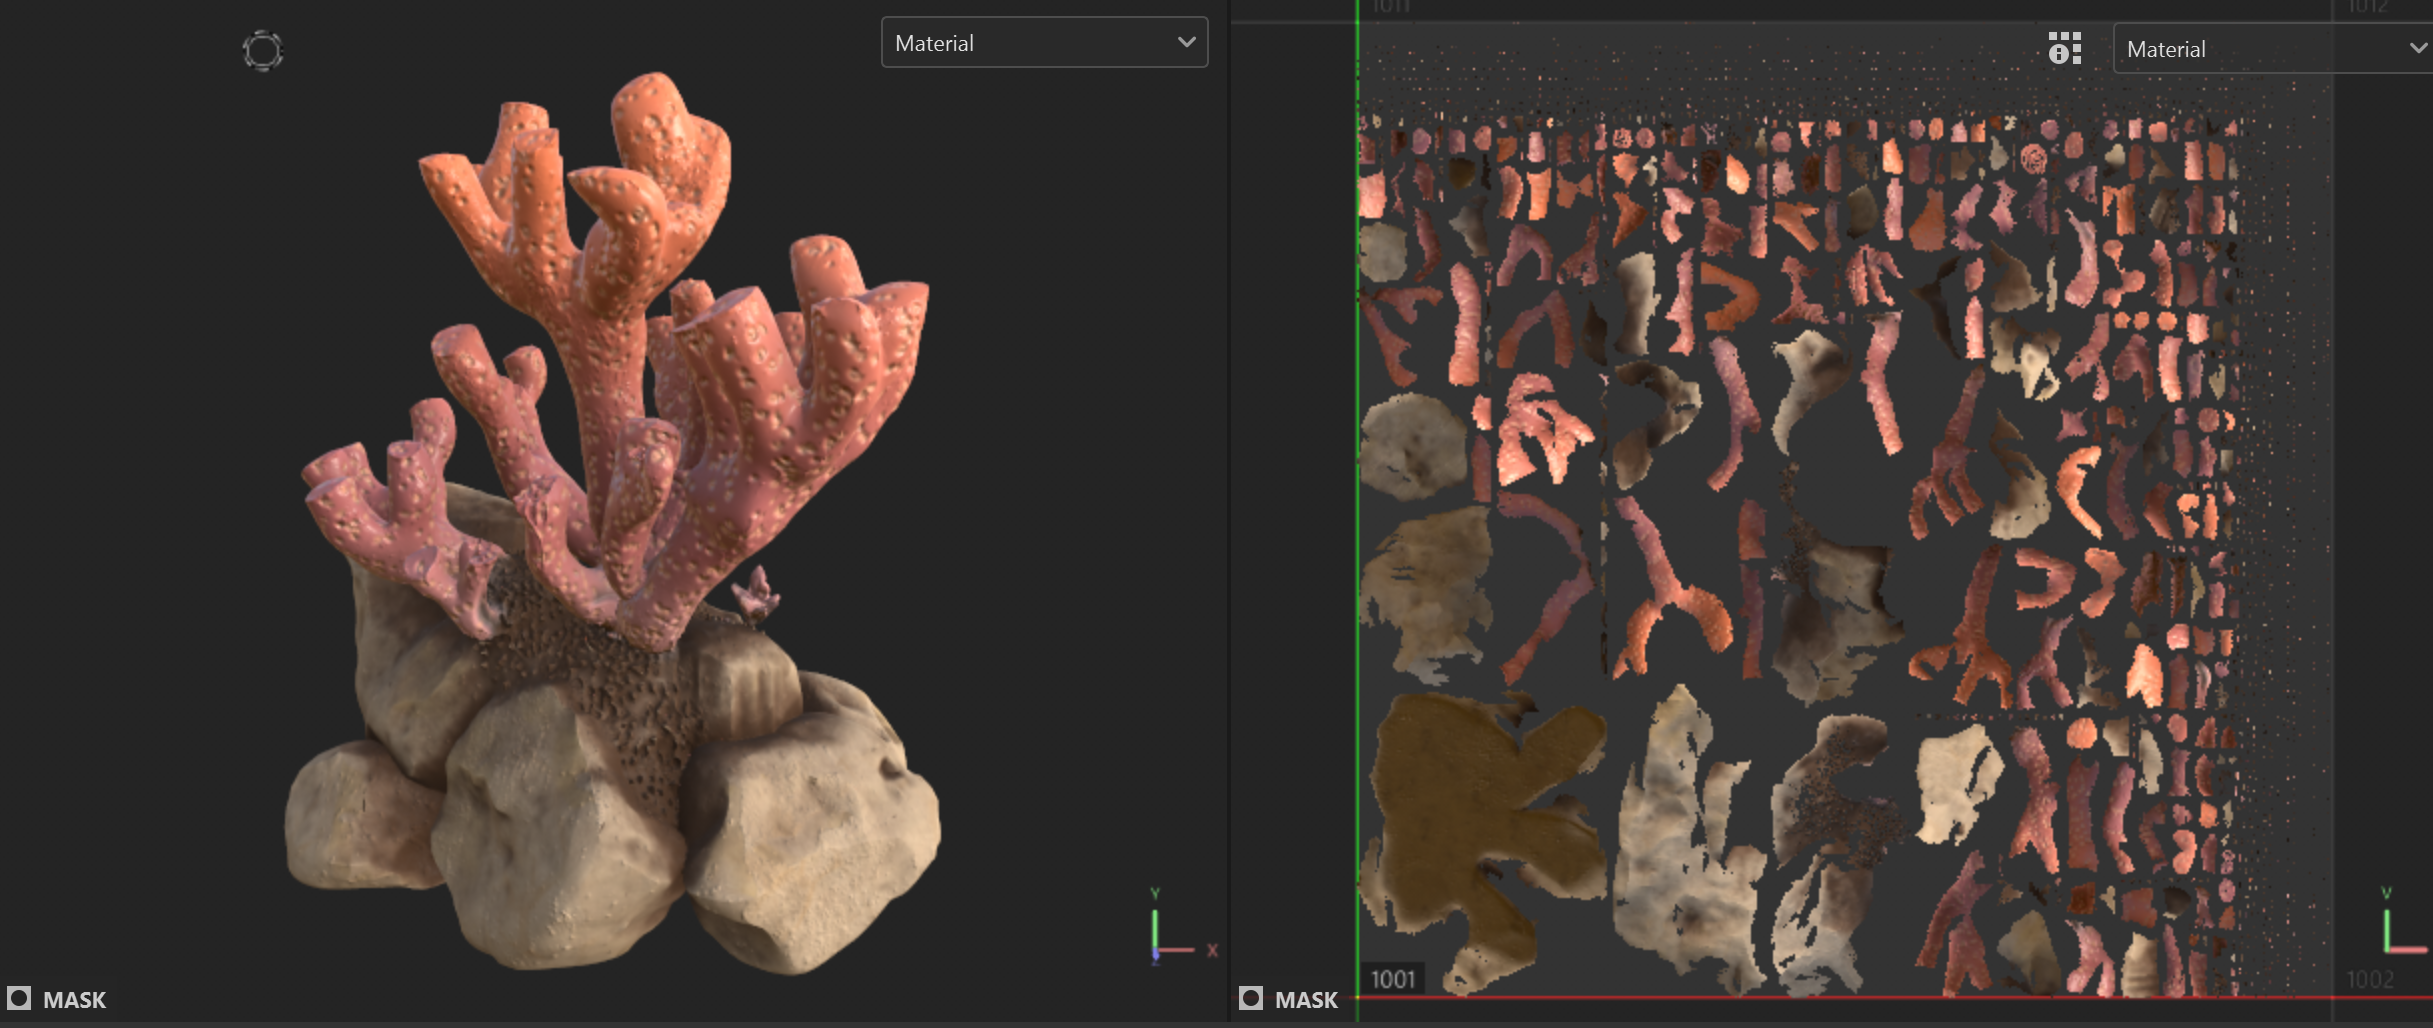
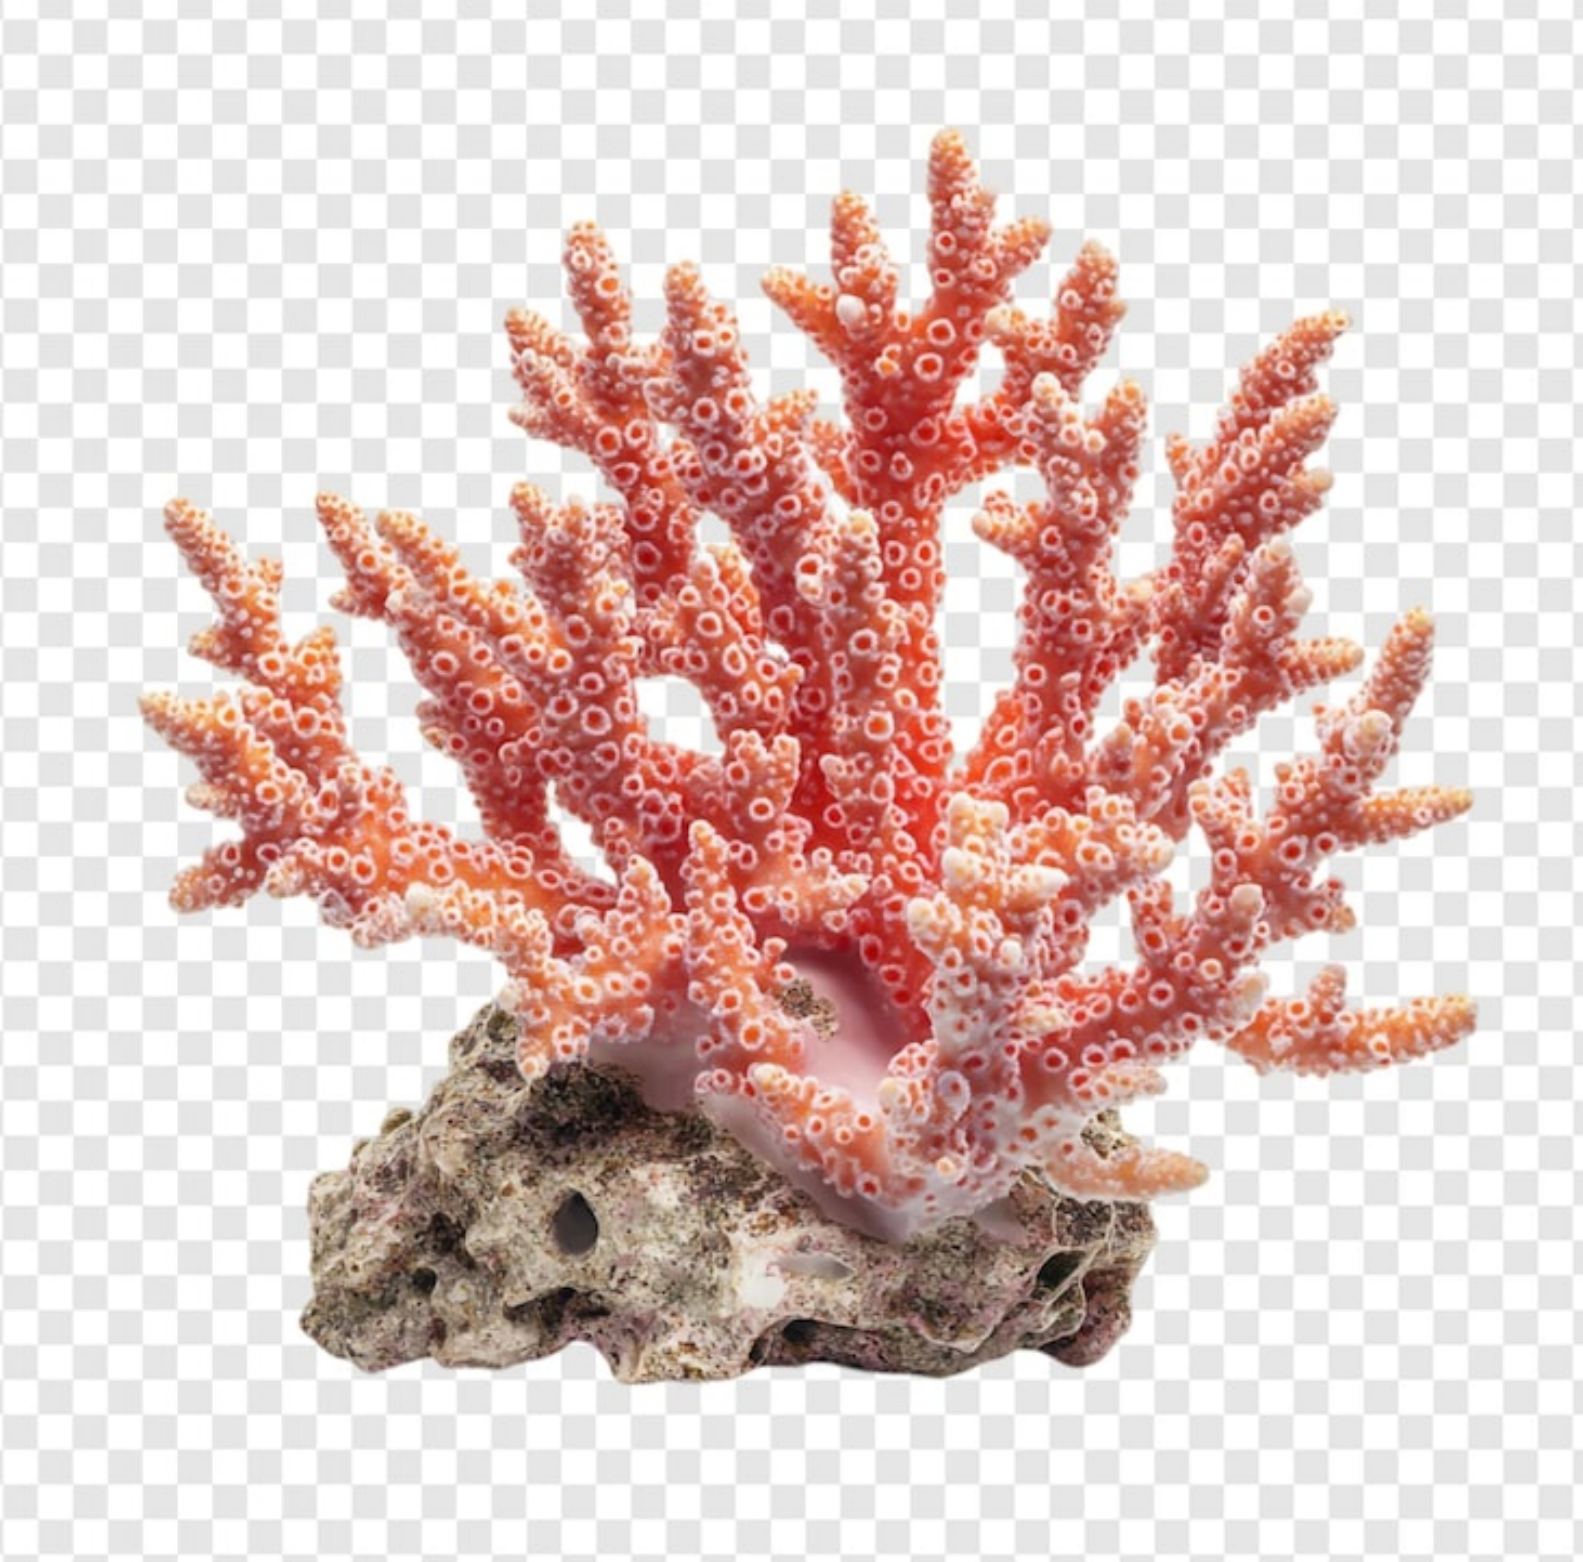
Shot 2 - Coral
Shot 2 - Coral
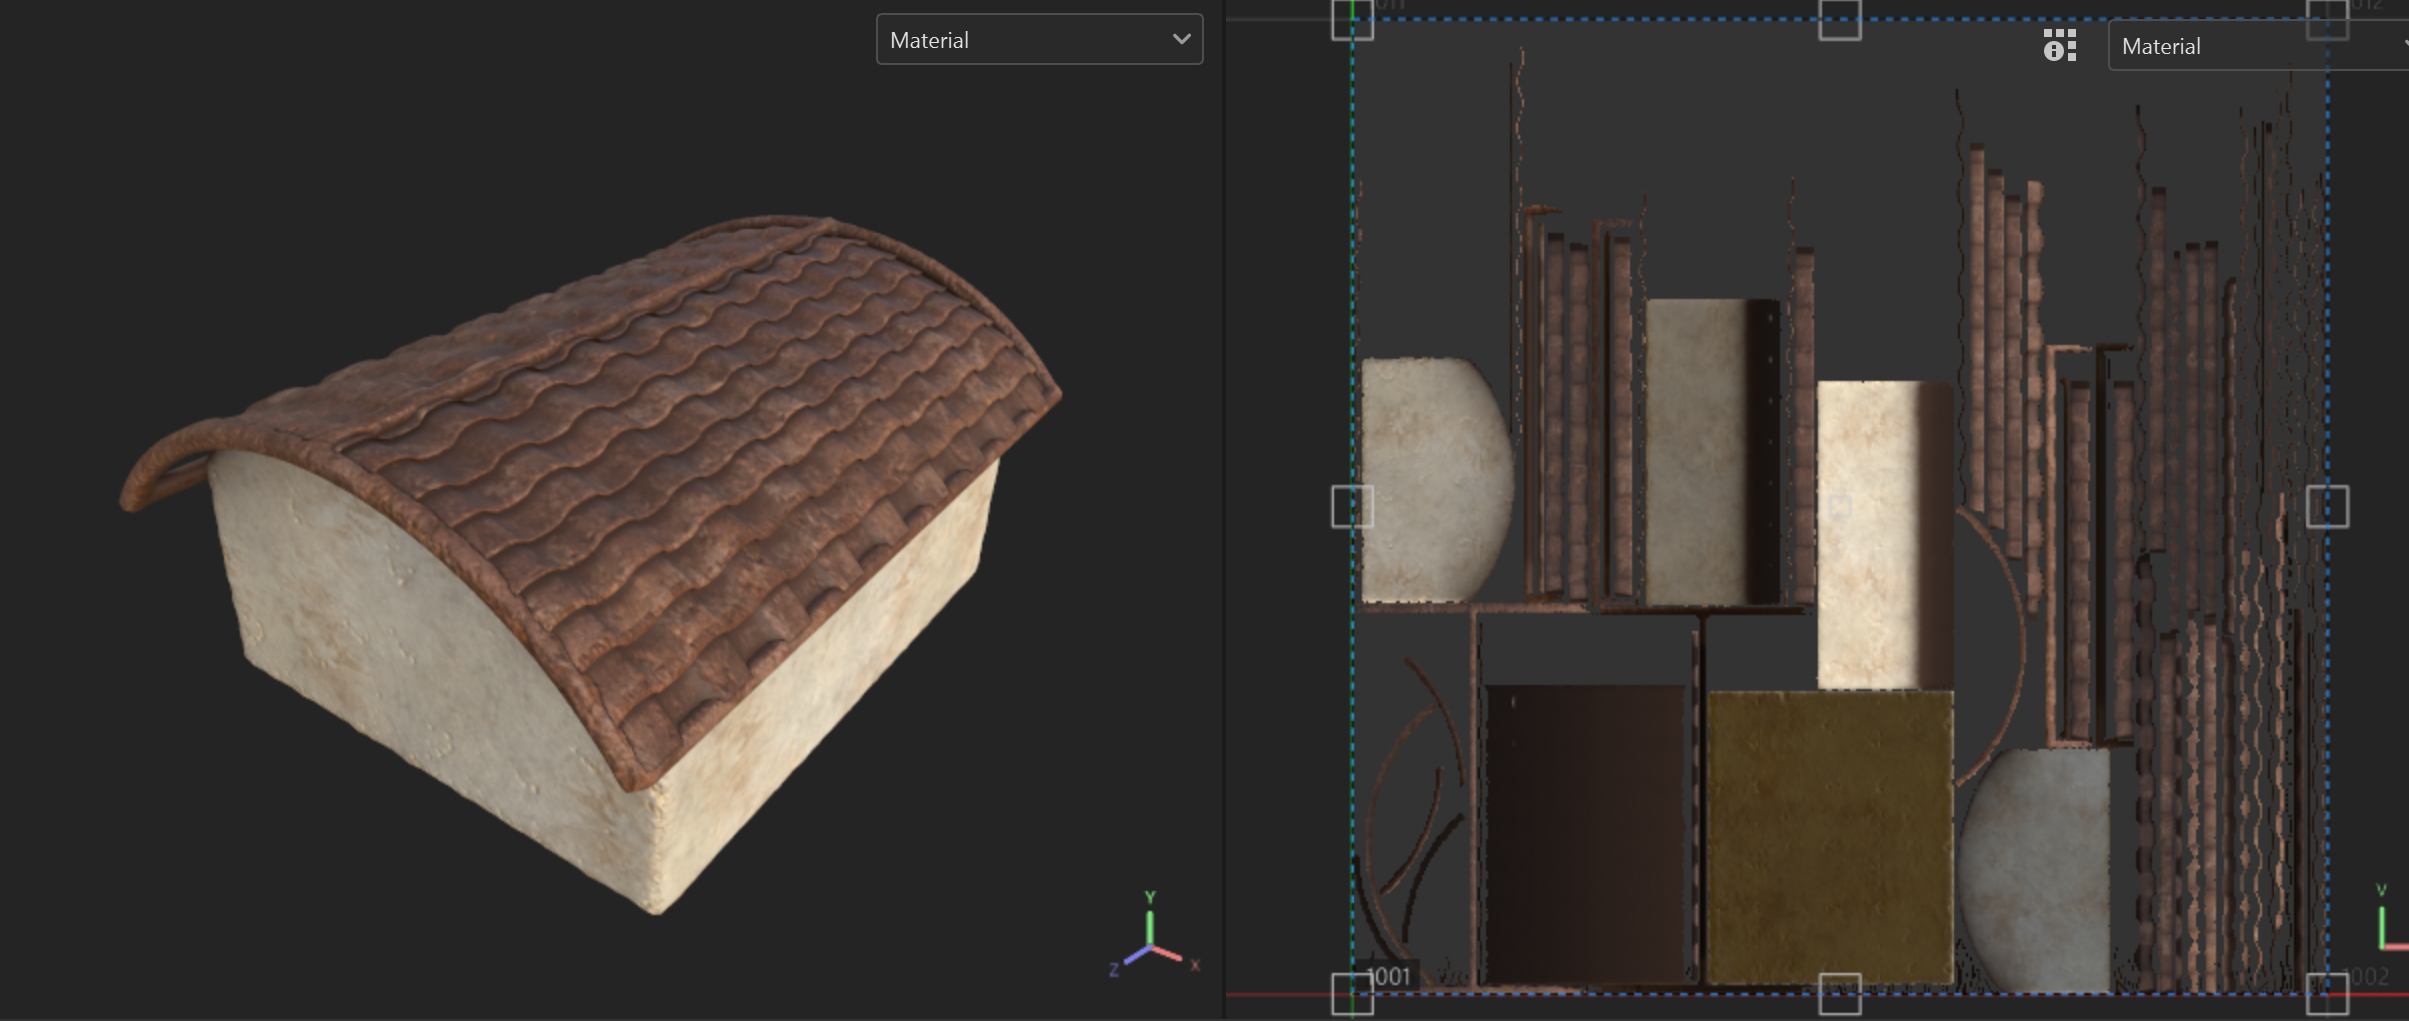
Shot 2 - Coral
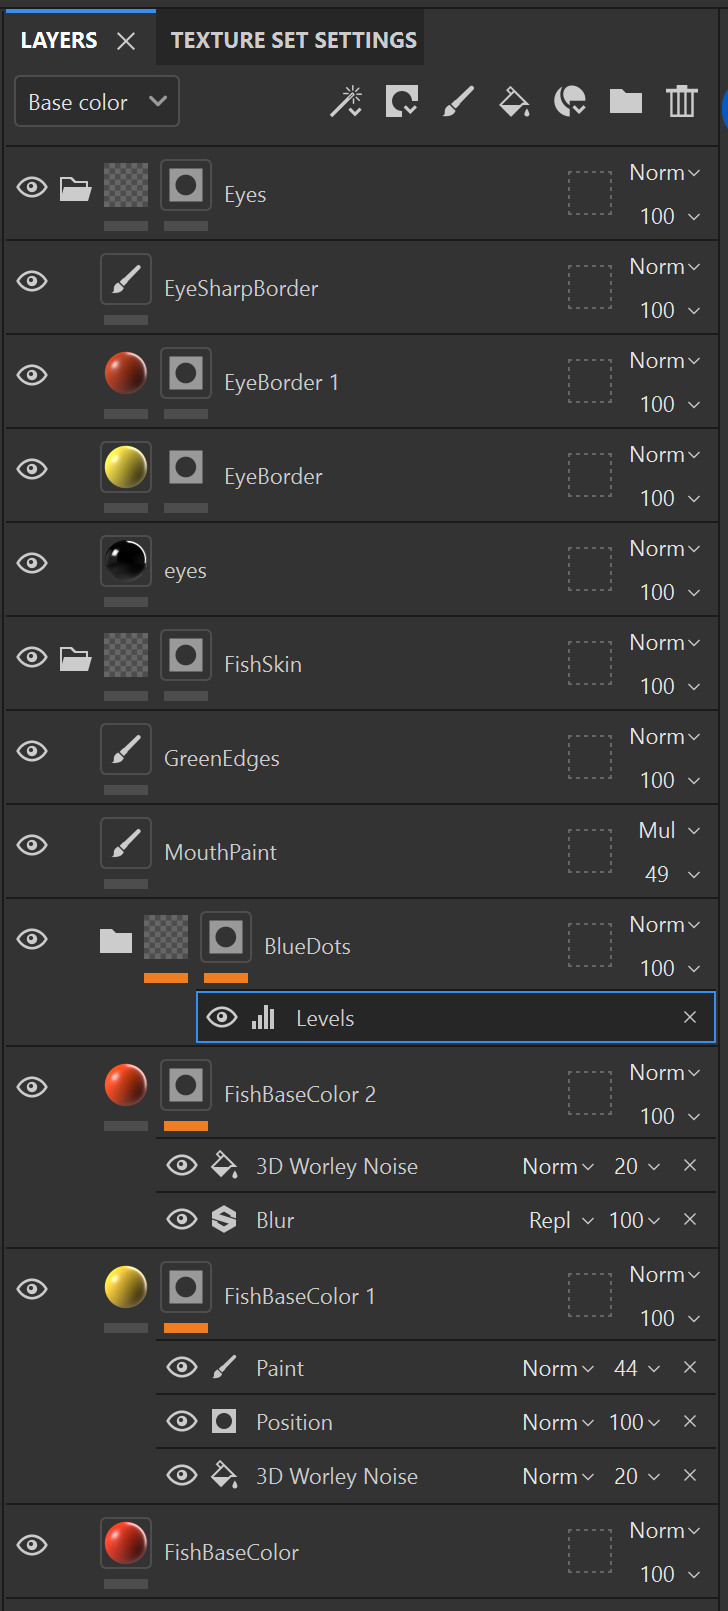
Substance Layers
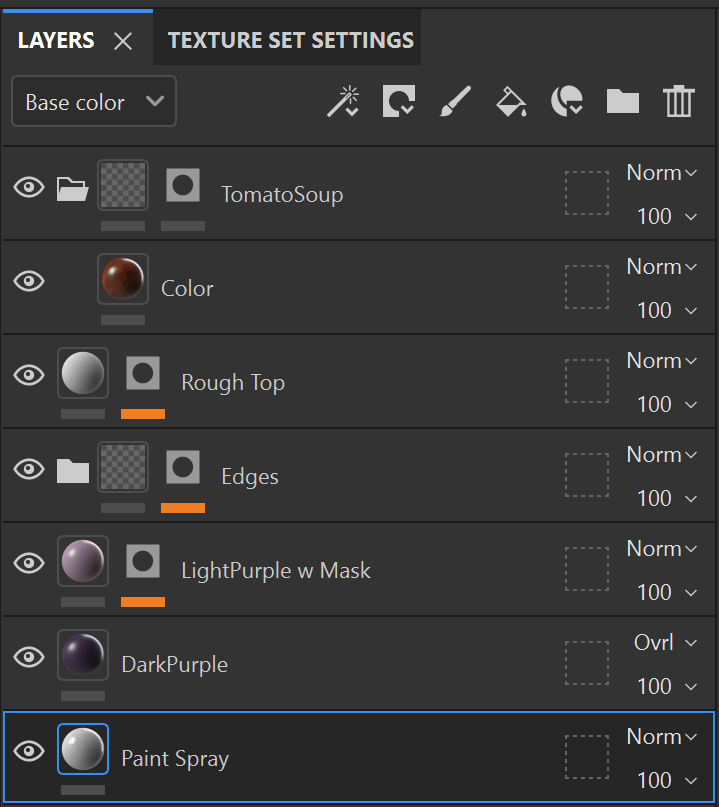
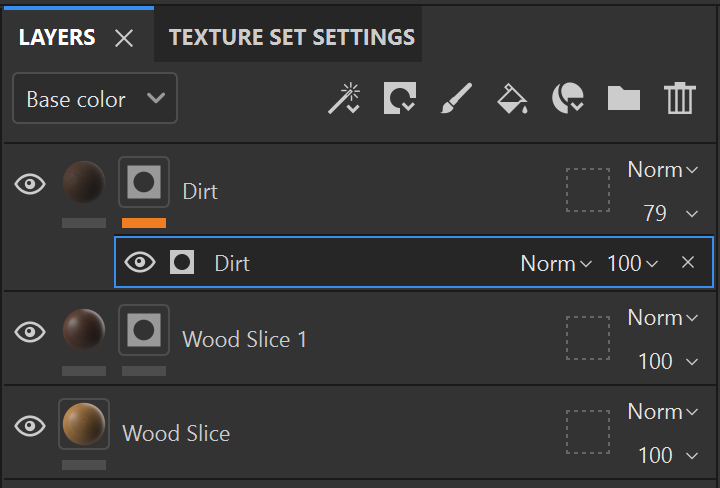
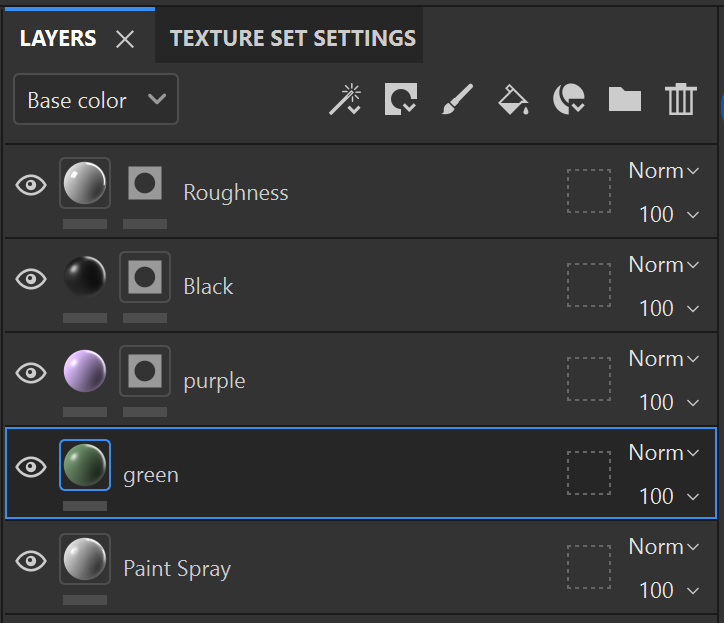
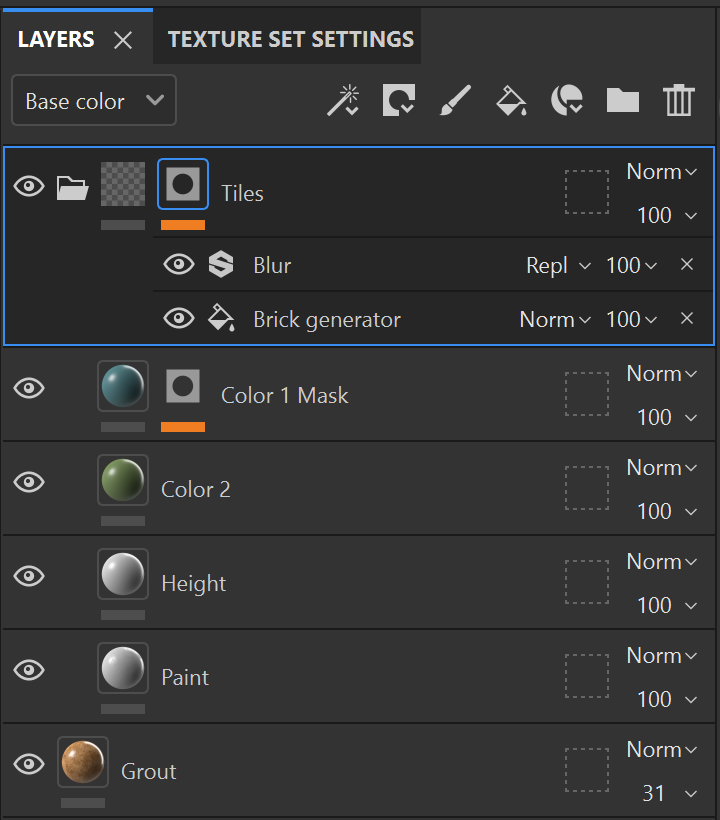
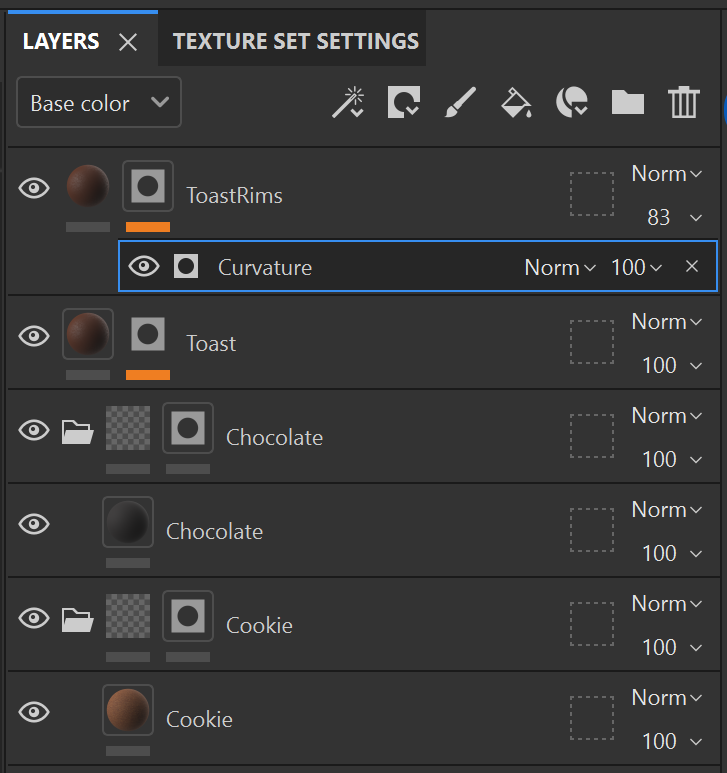
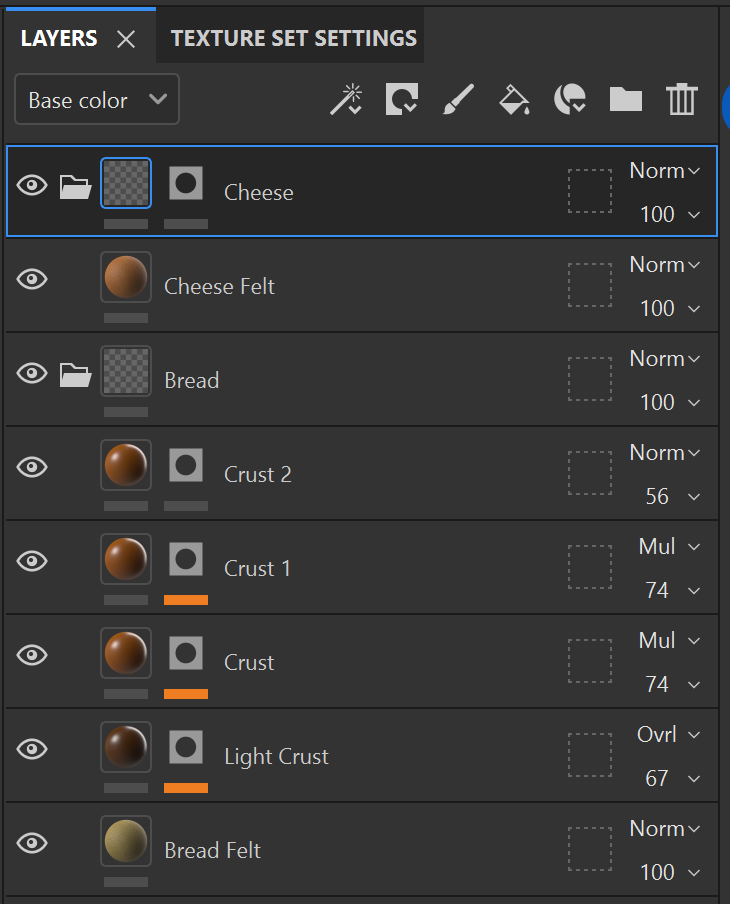
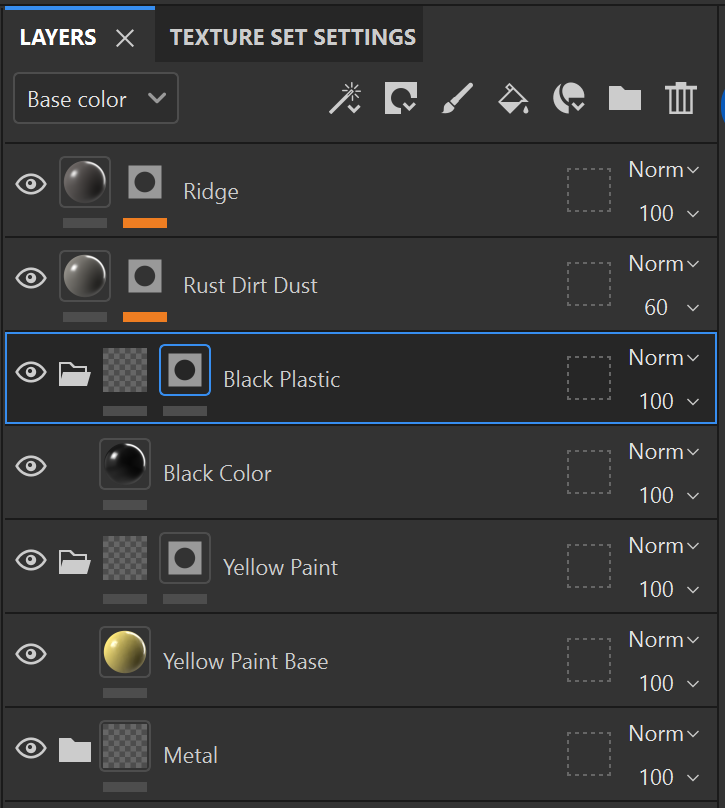
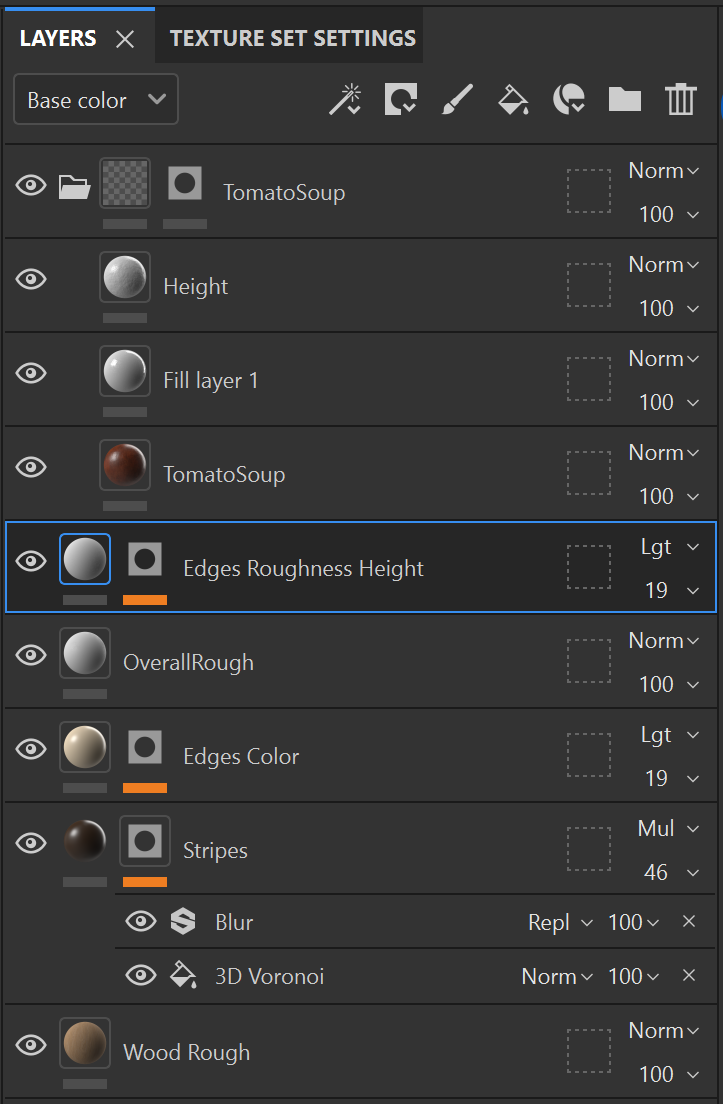
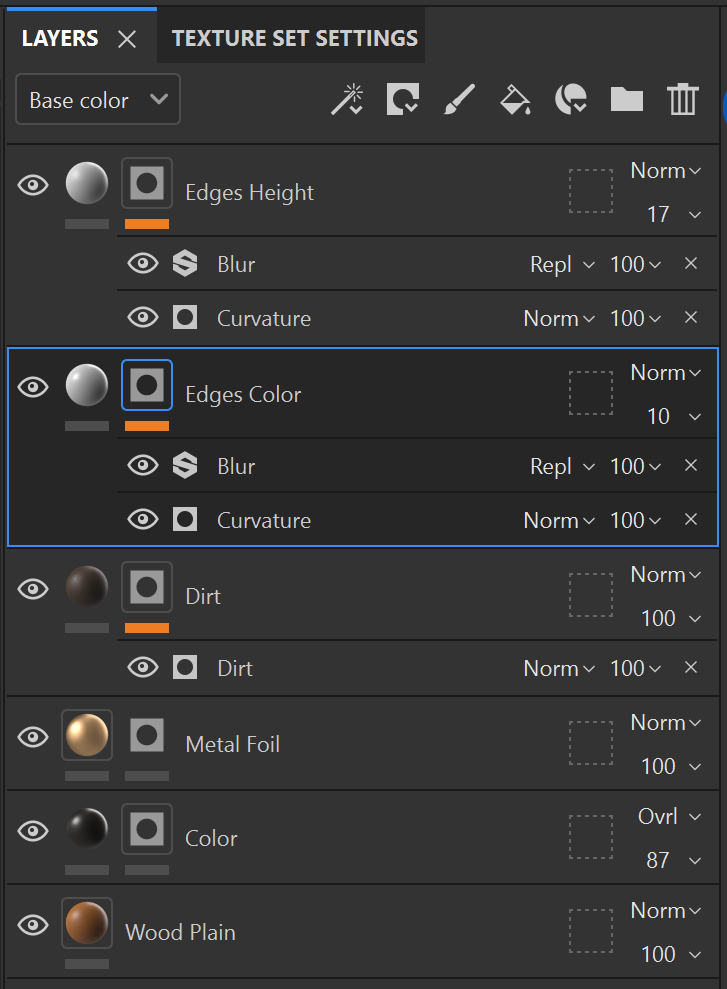
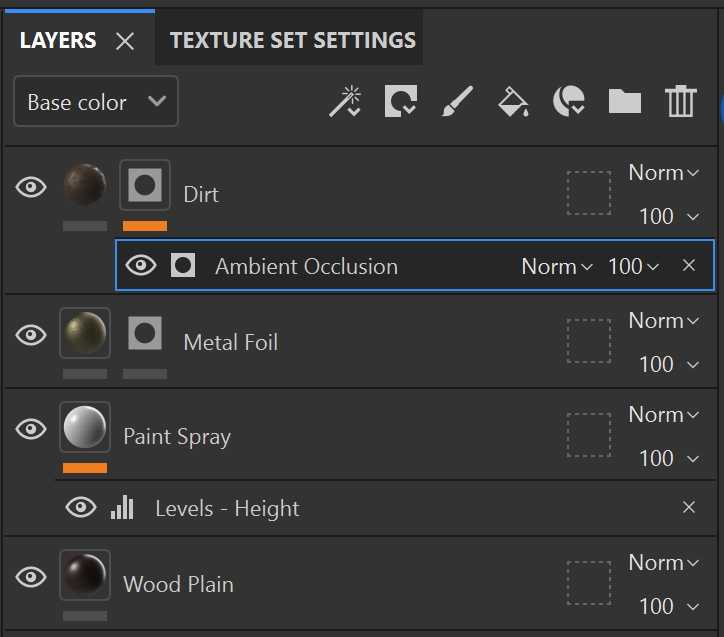
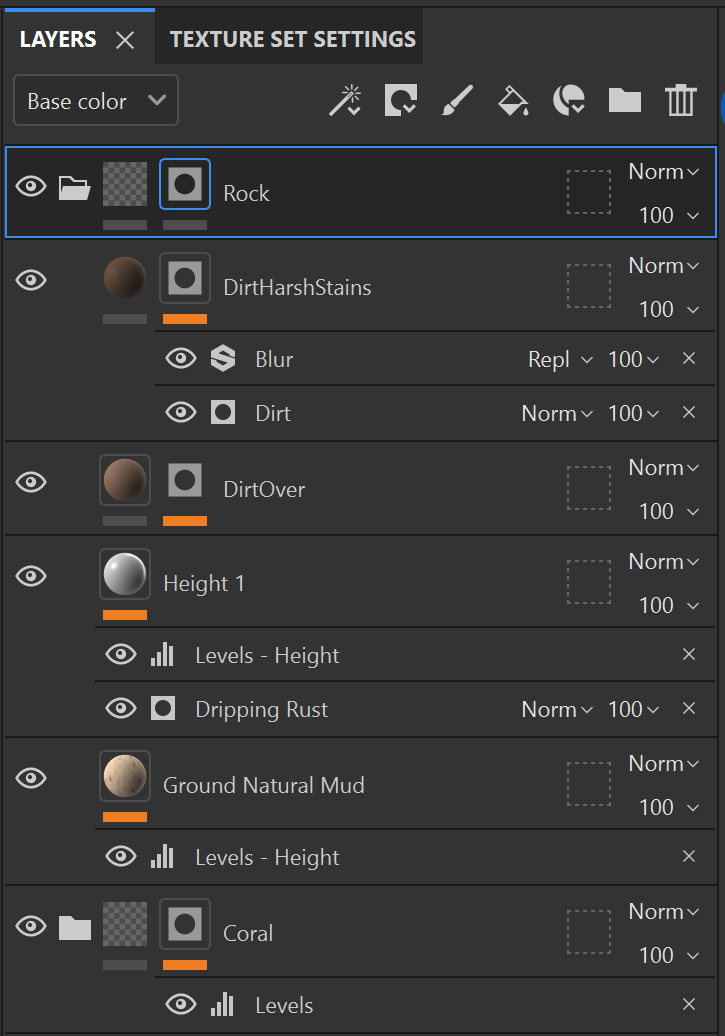
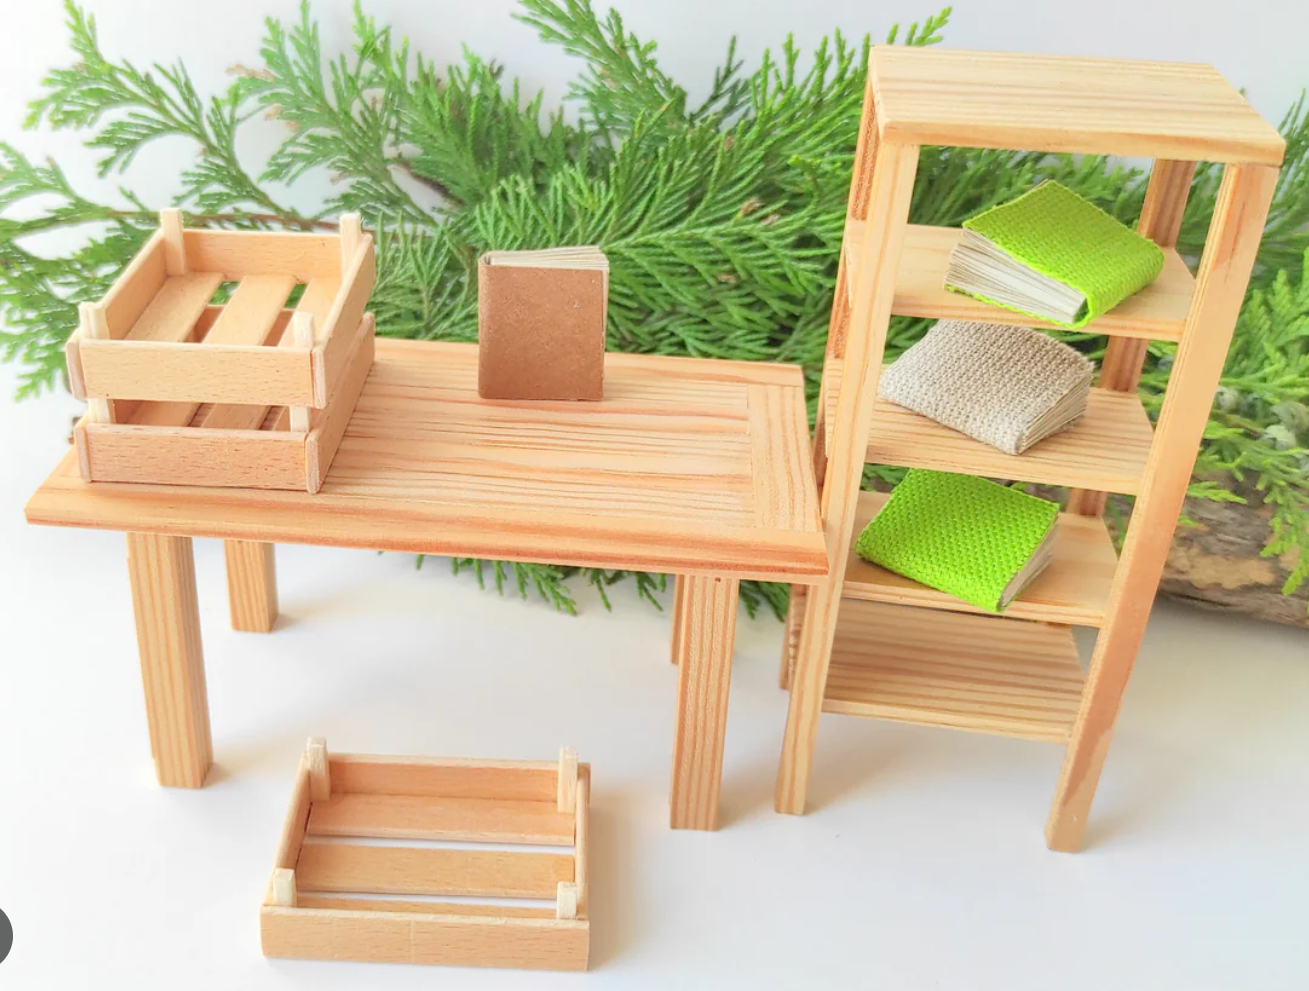
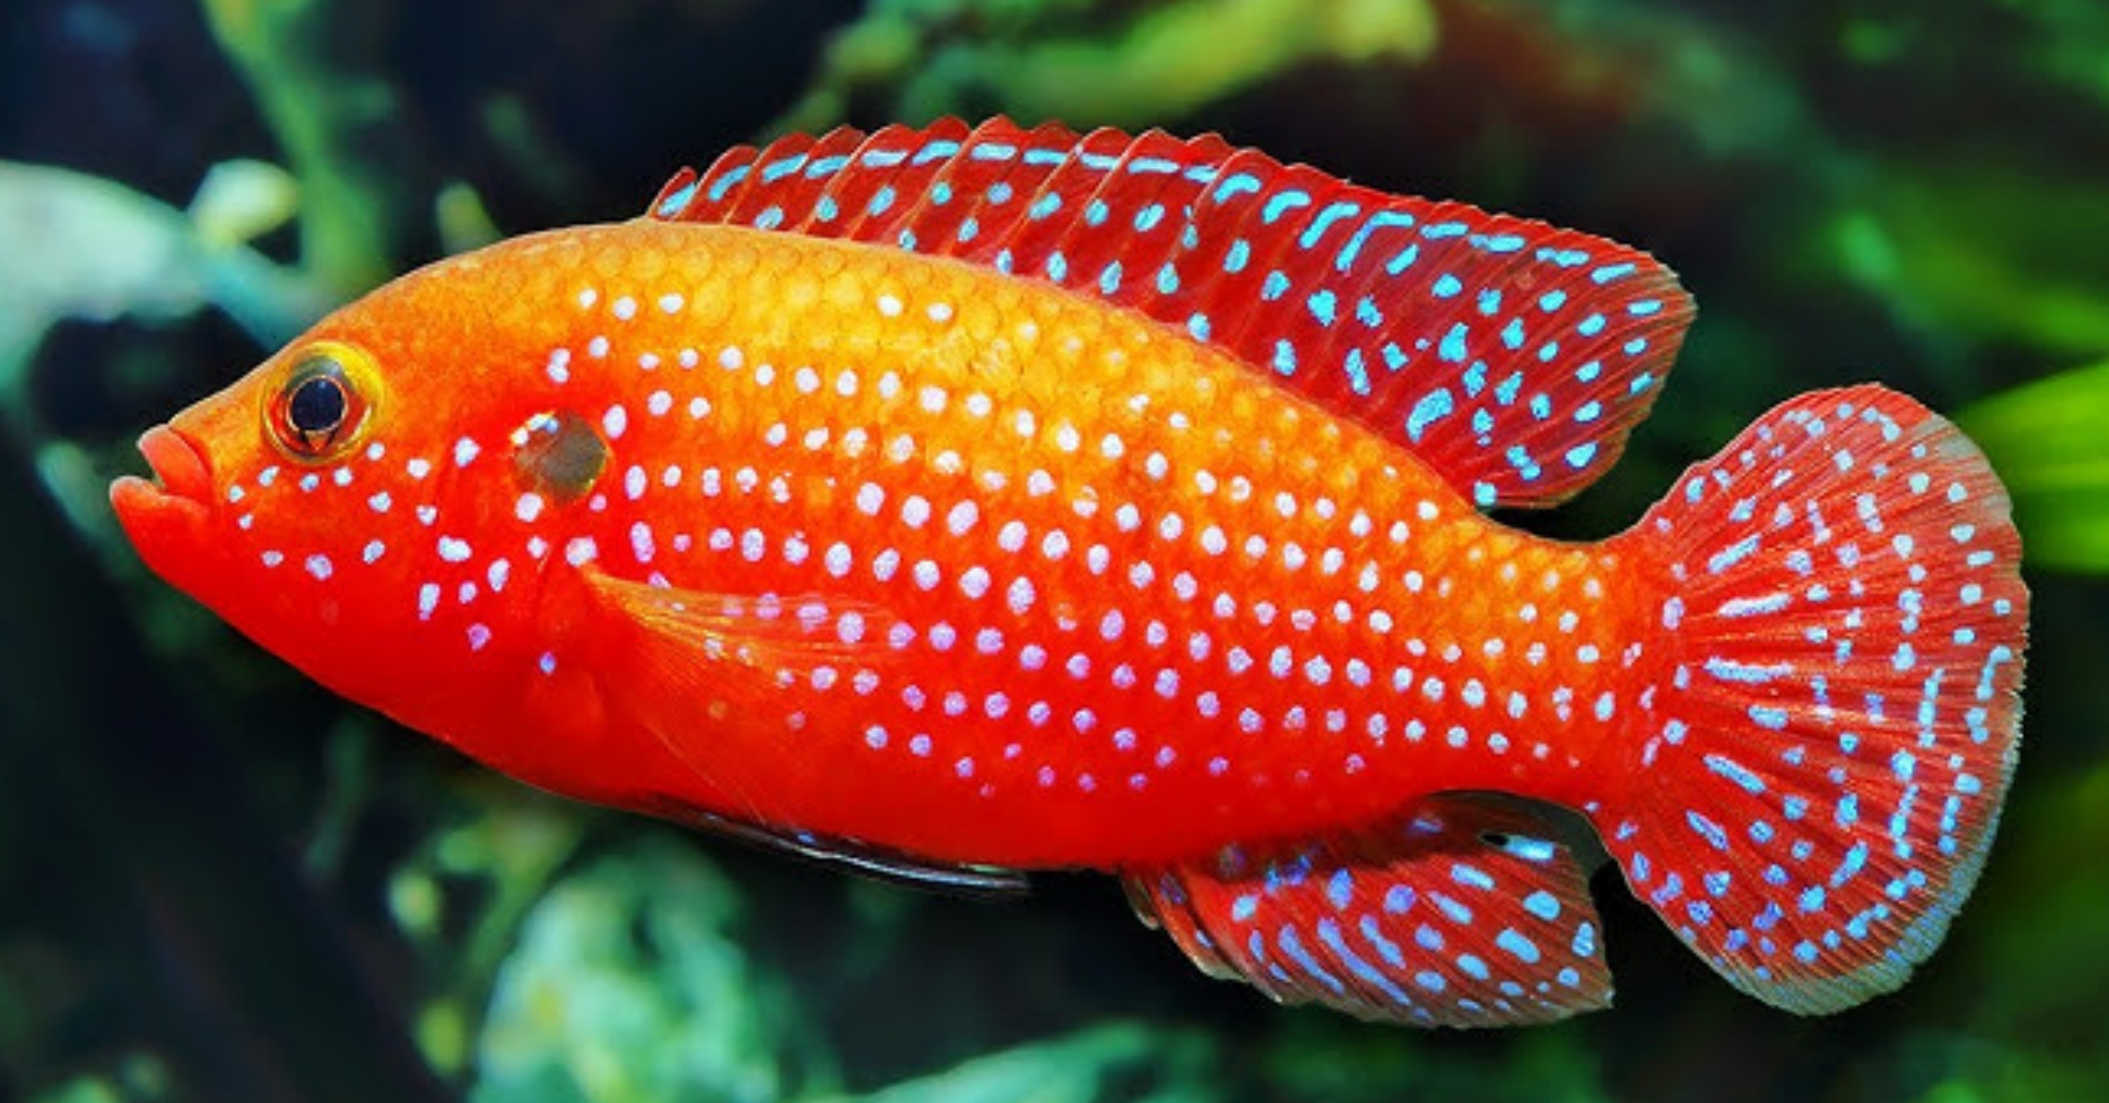
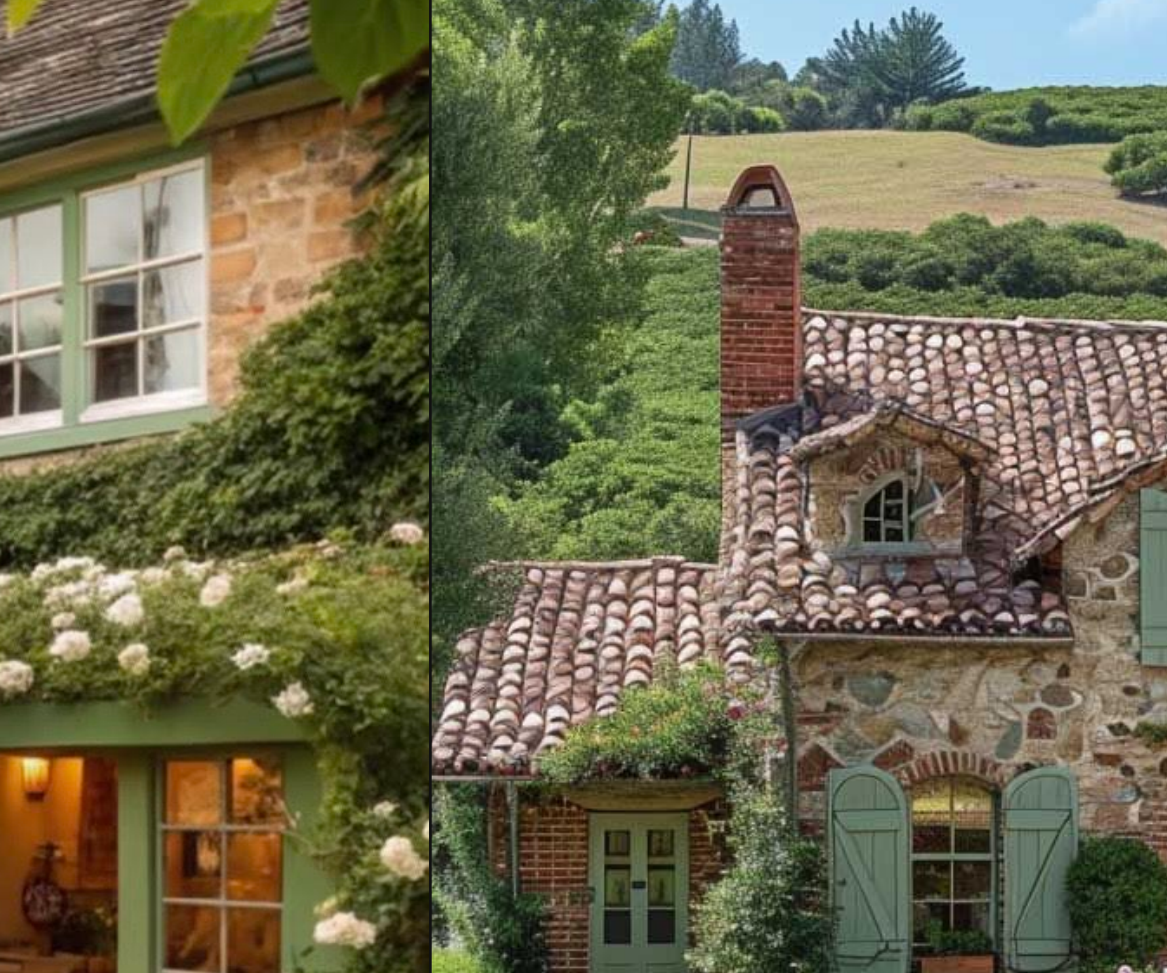
Main Reference Image
Update #1
4/14/26
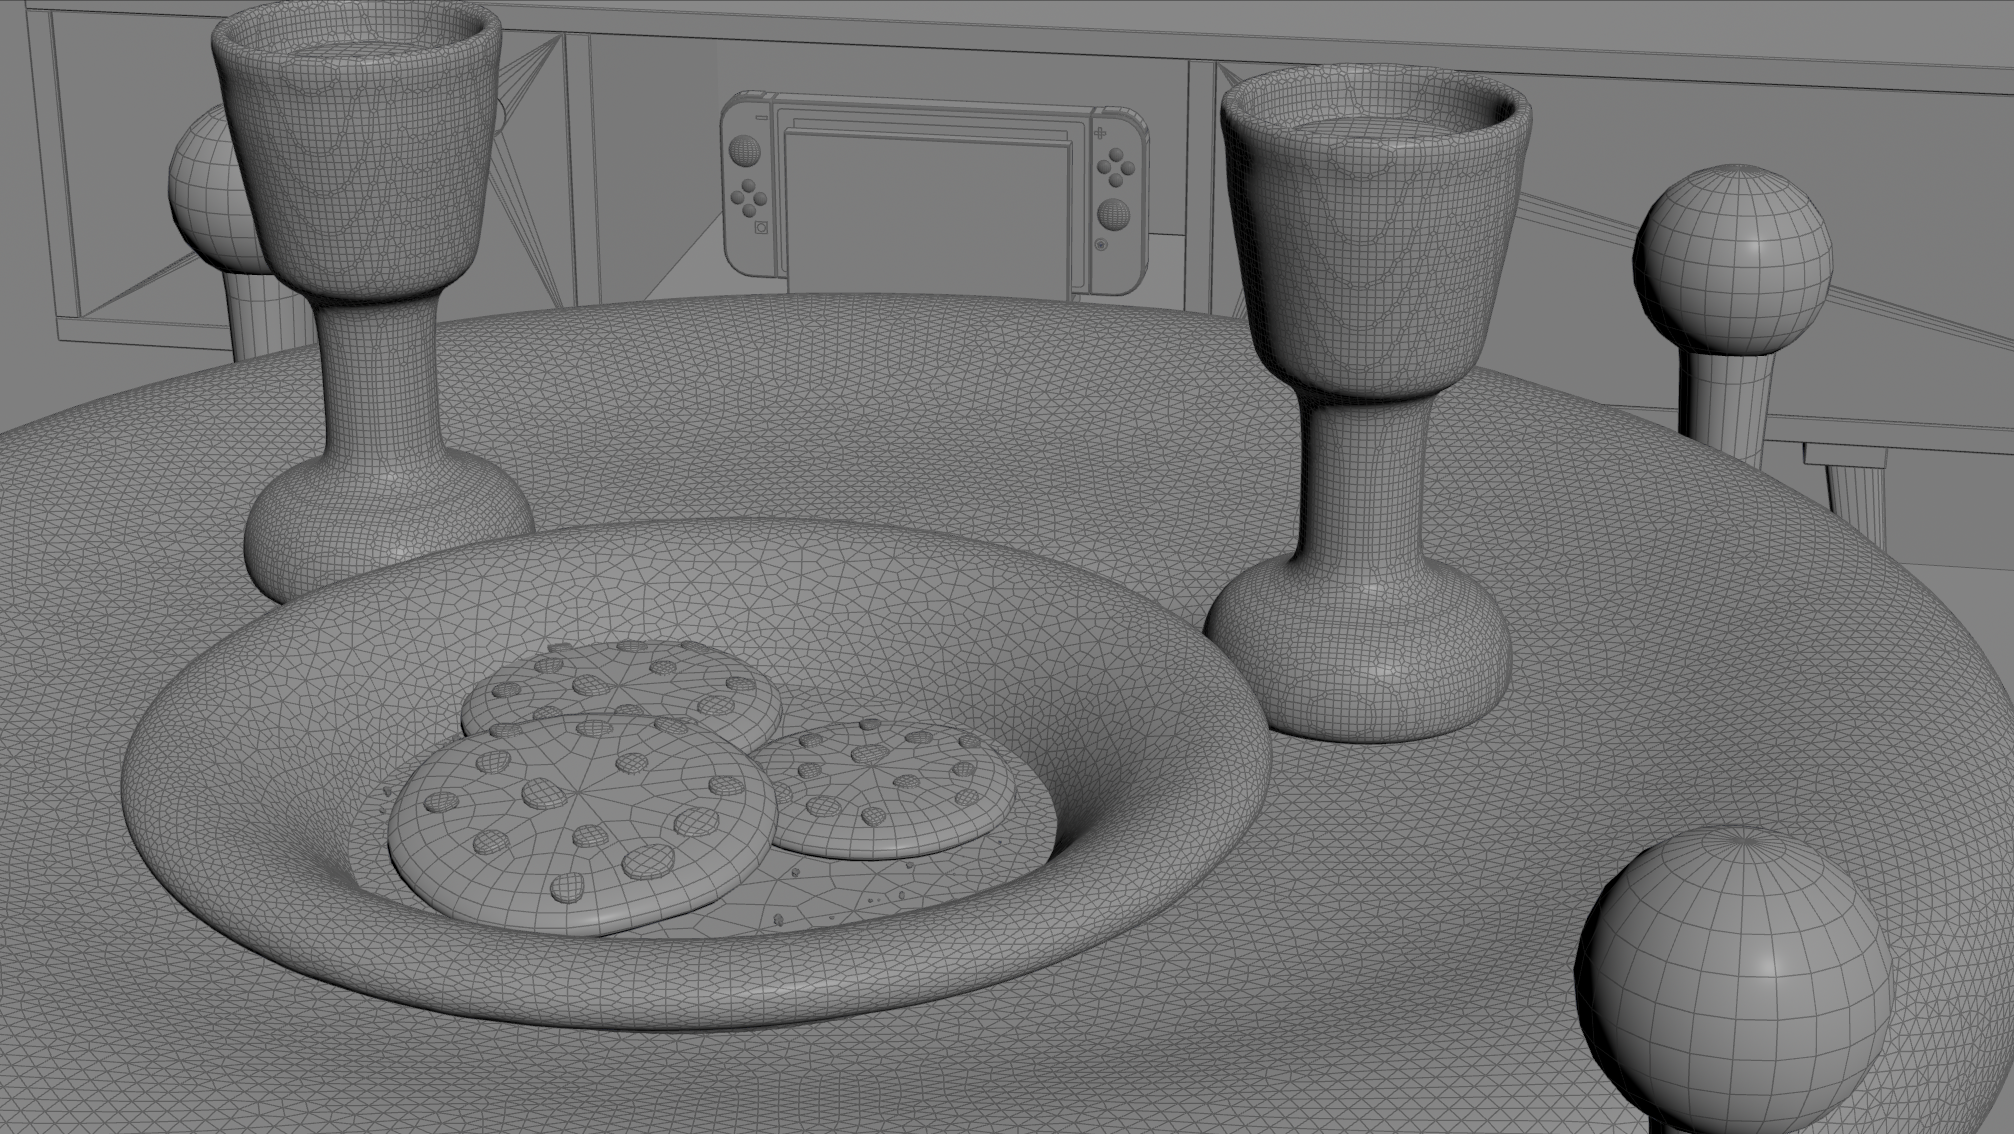
So for each shot I have been working on the 3D set up and kit-bashing, to be able to dive in to texturing and know exactly what I need or don’t need. Below you can see my current progress with the layout for each shot.
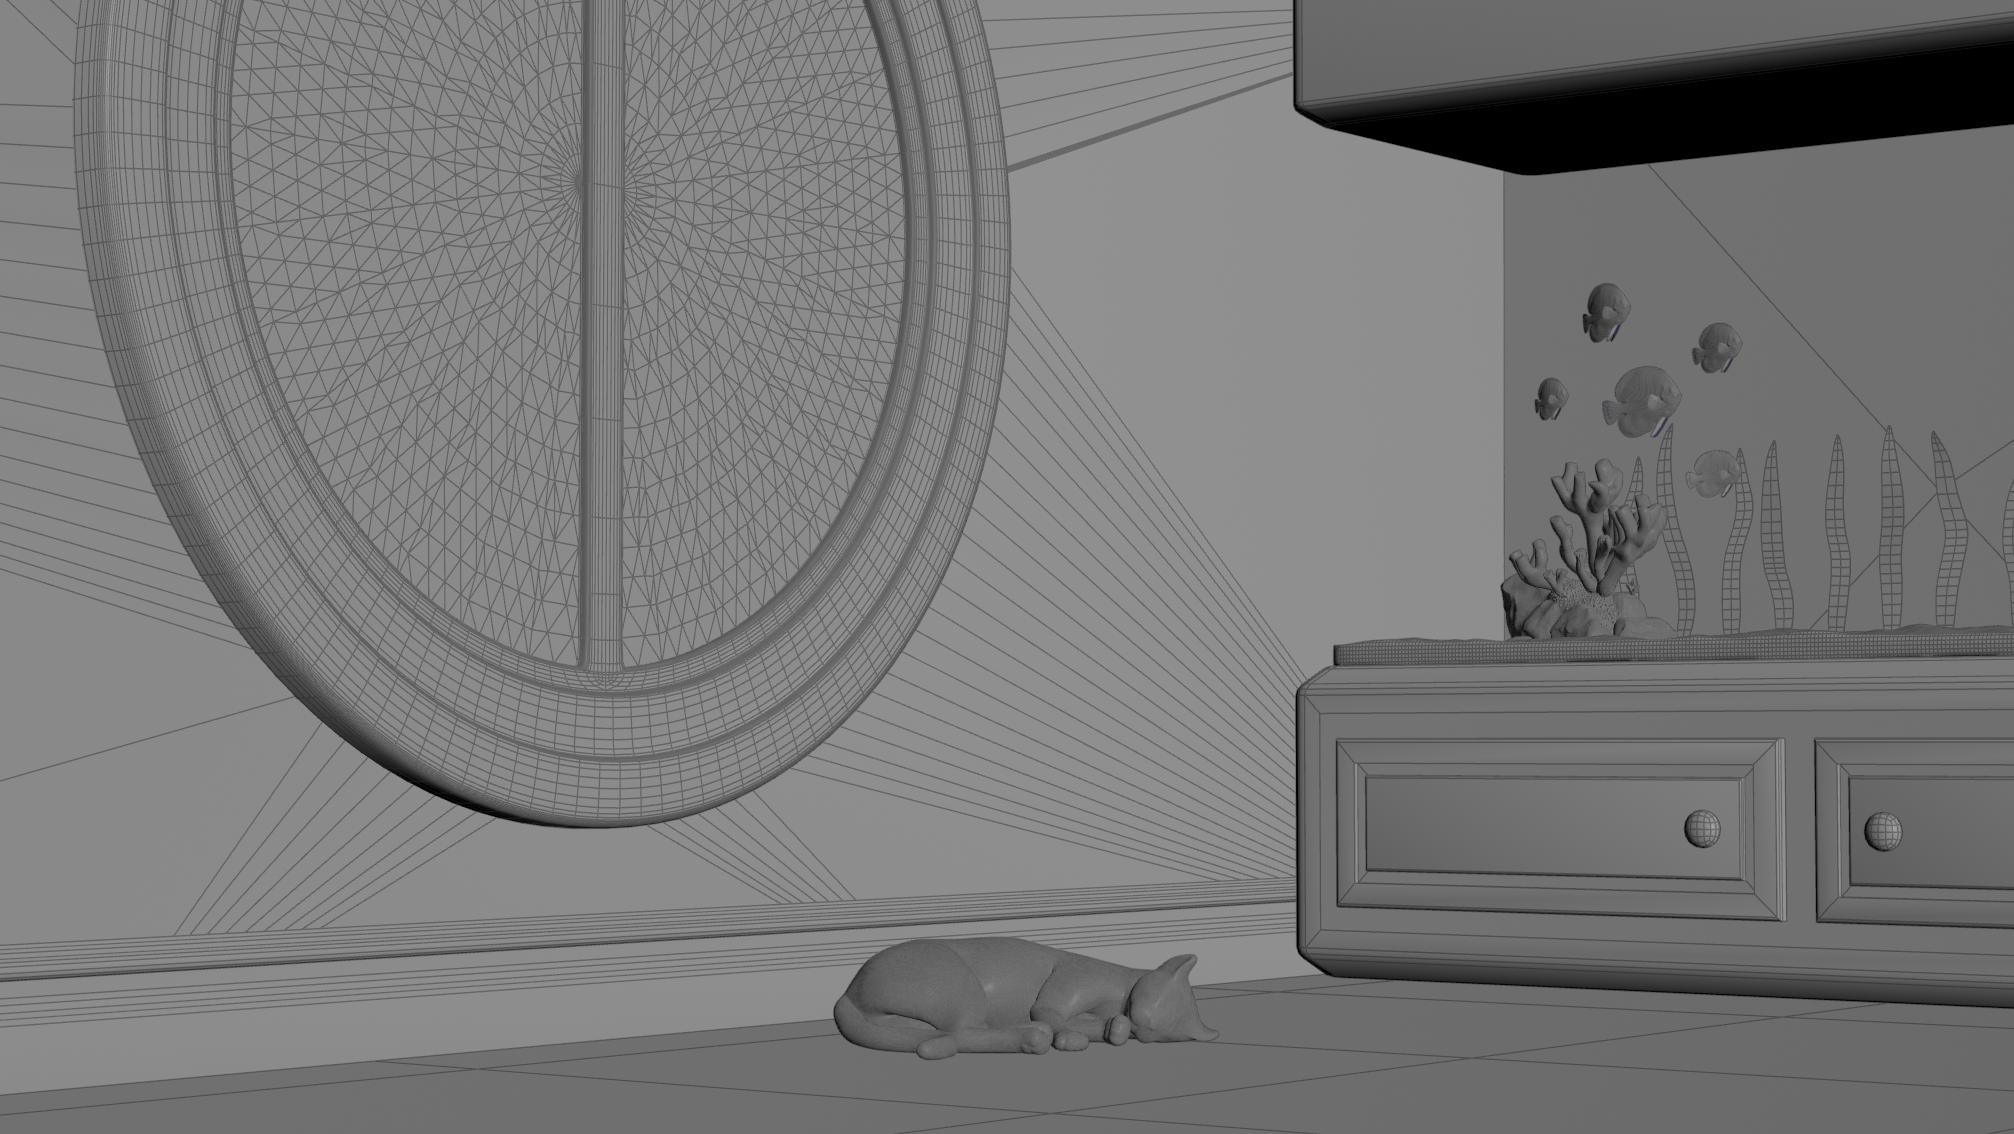
Shot 2
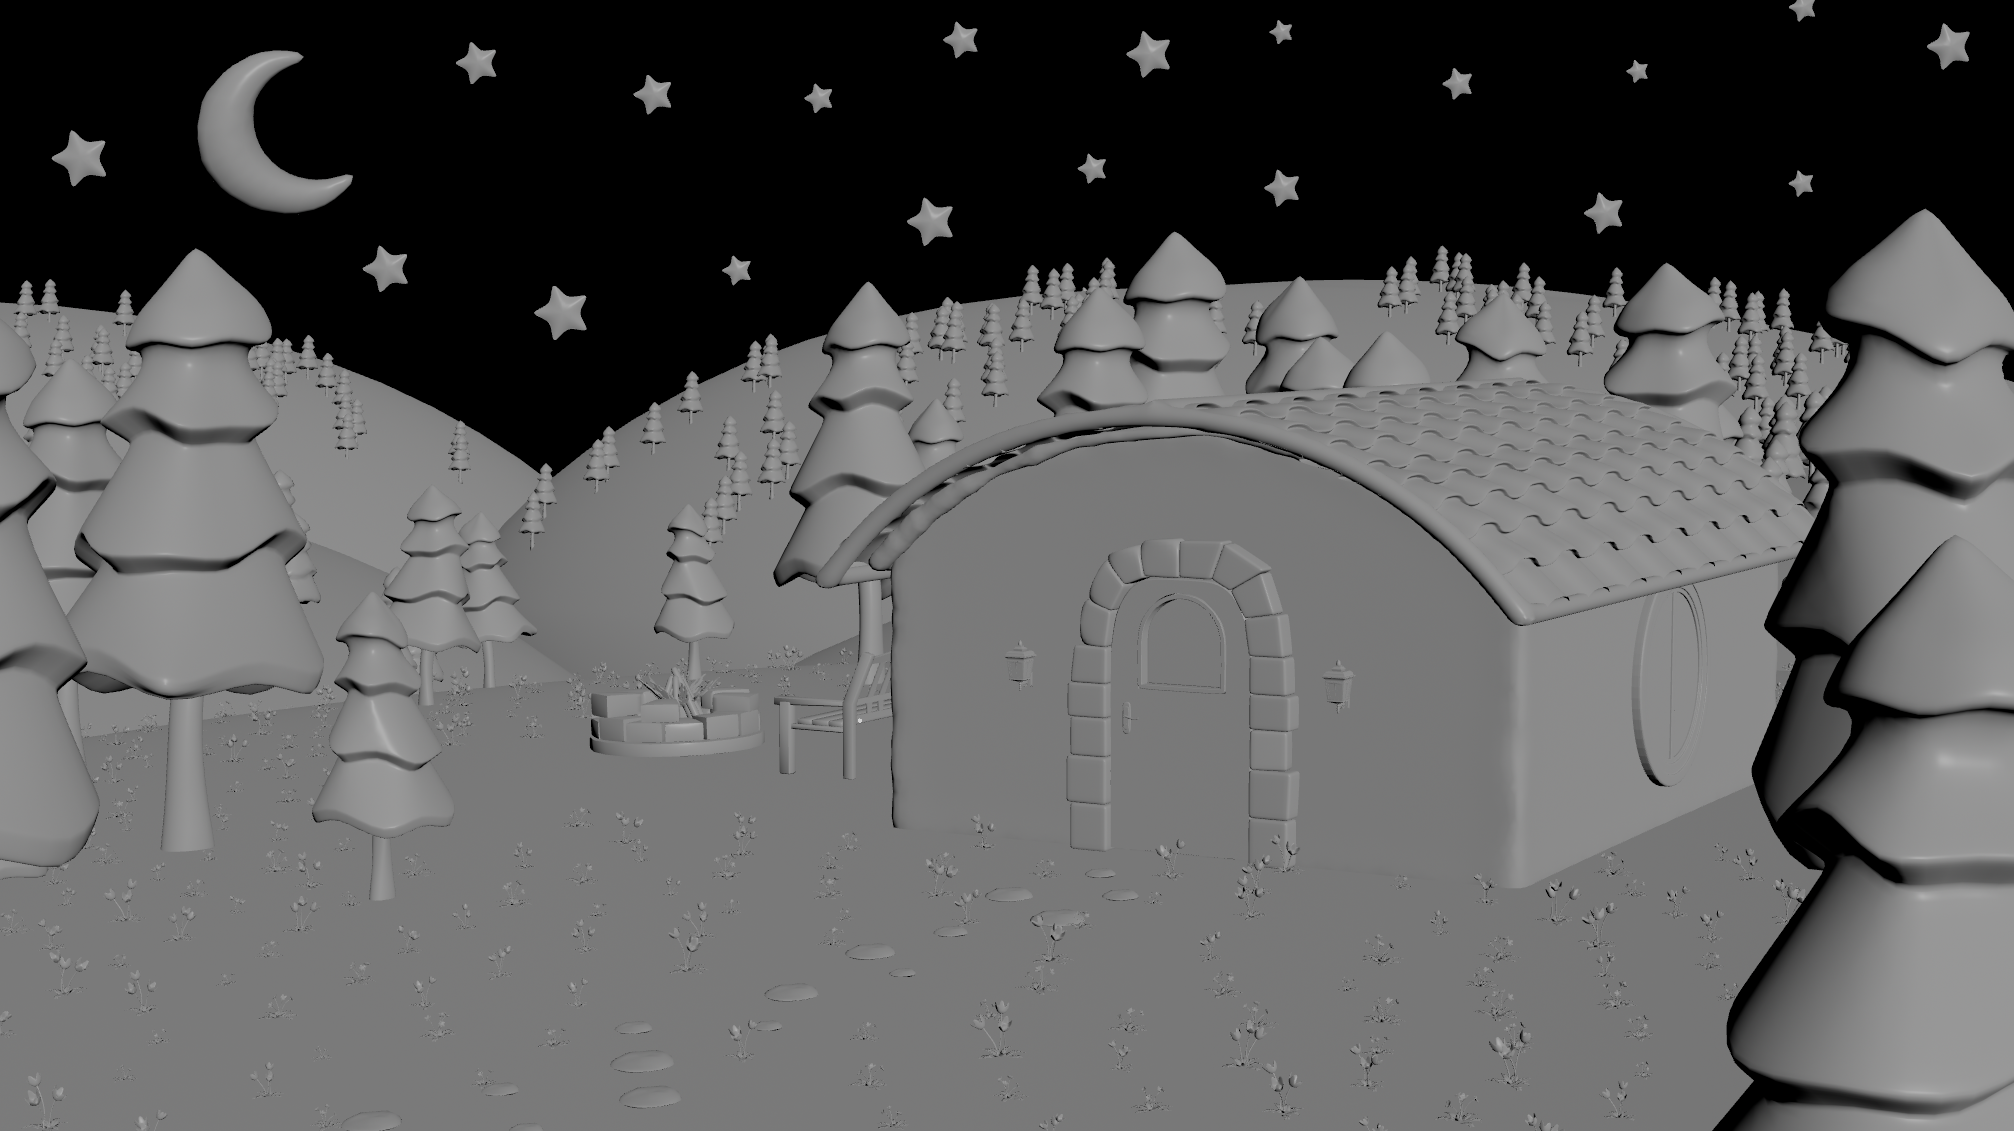
Shot 1
3D Set Up
Before and After
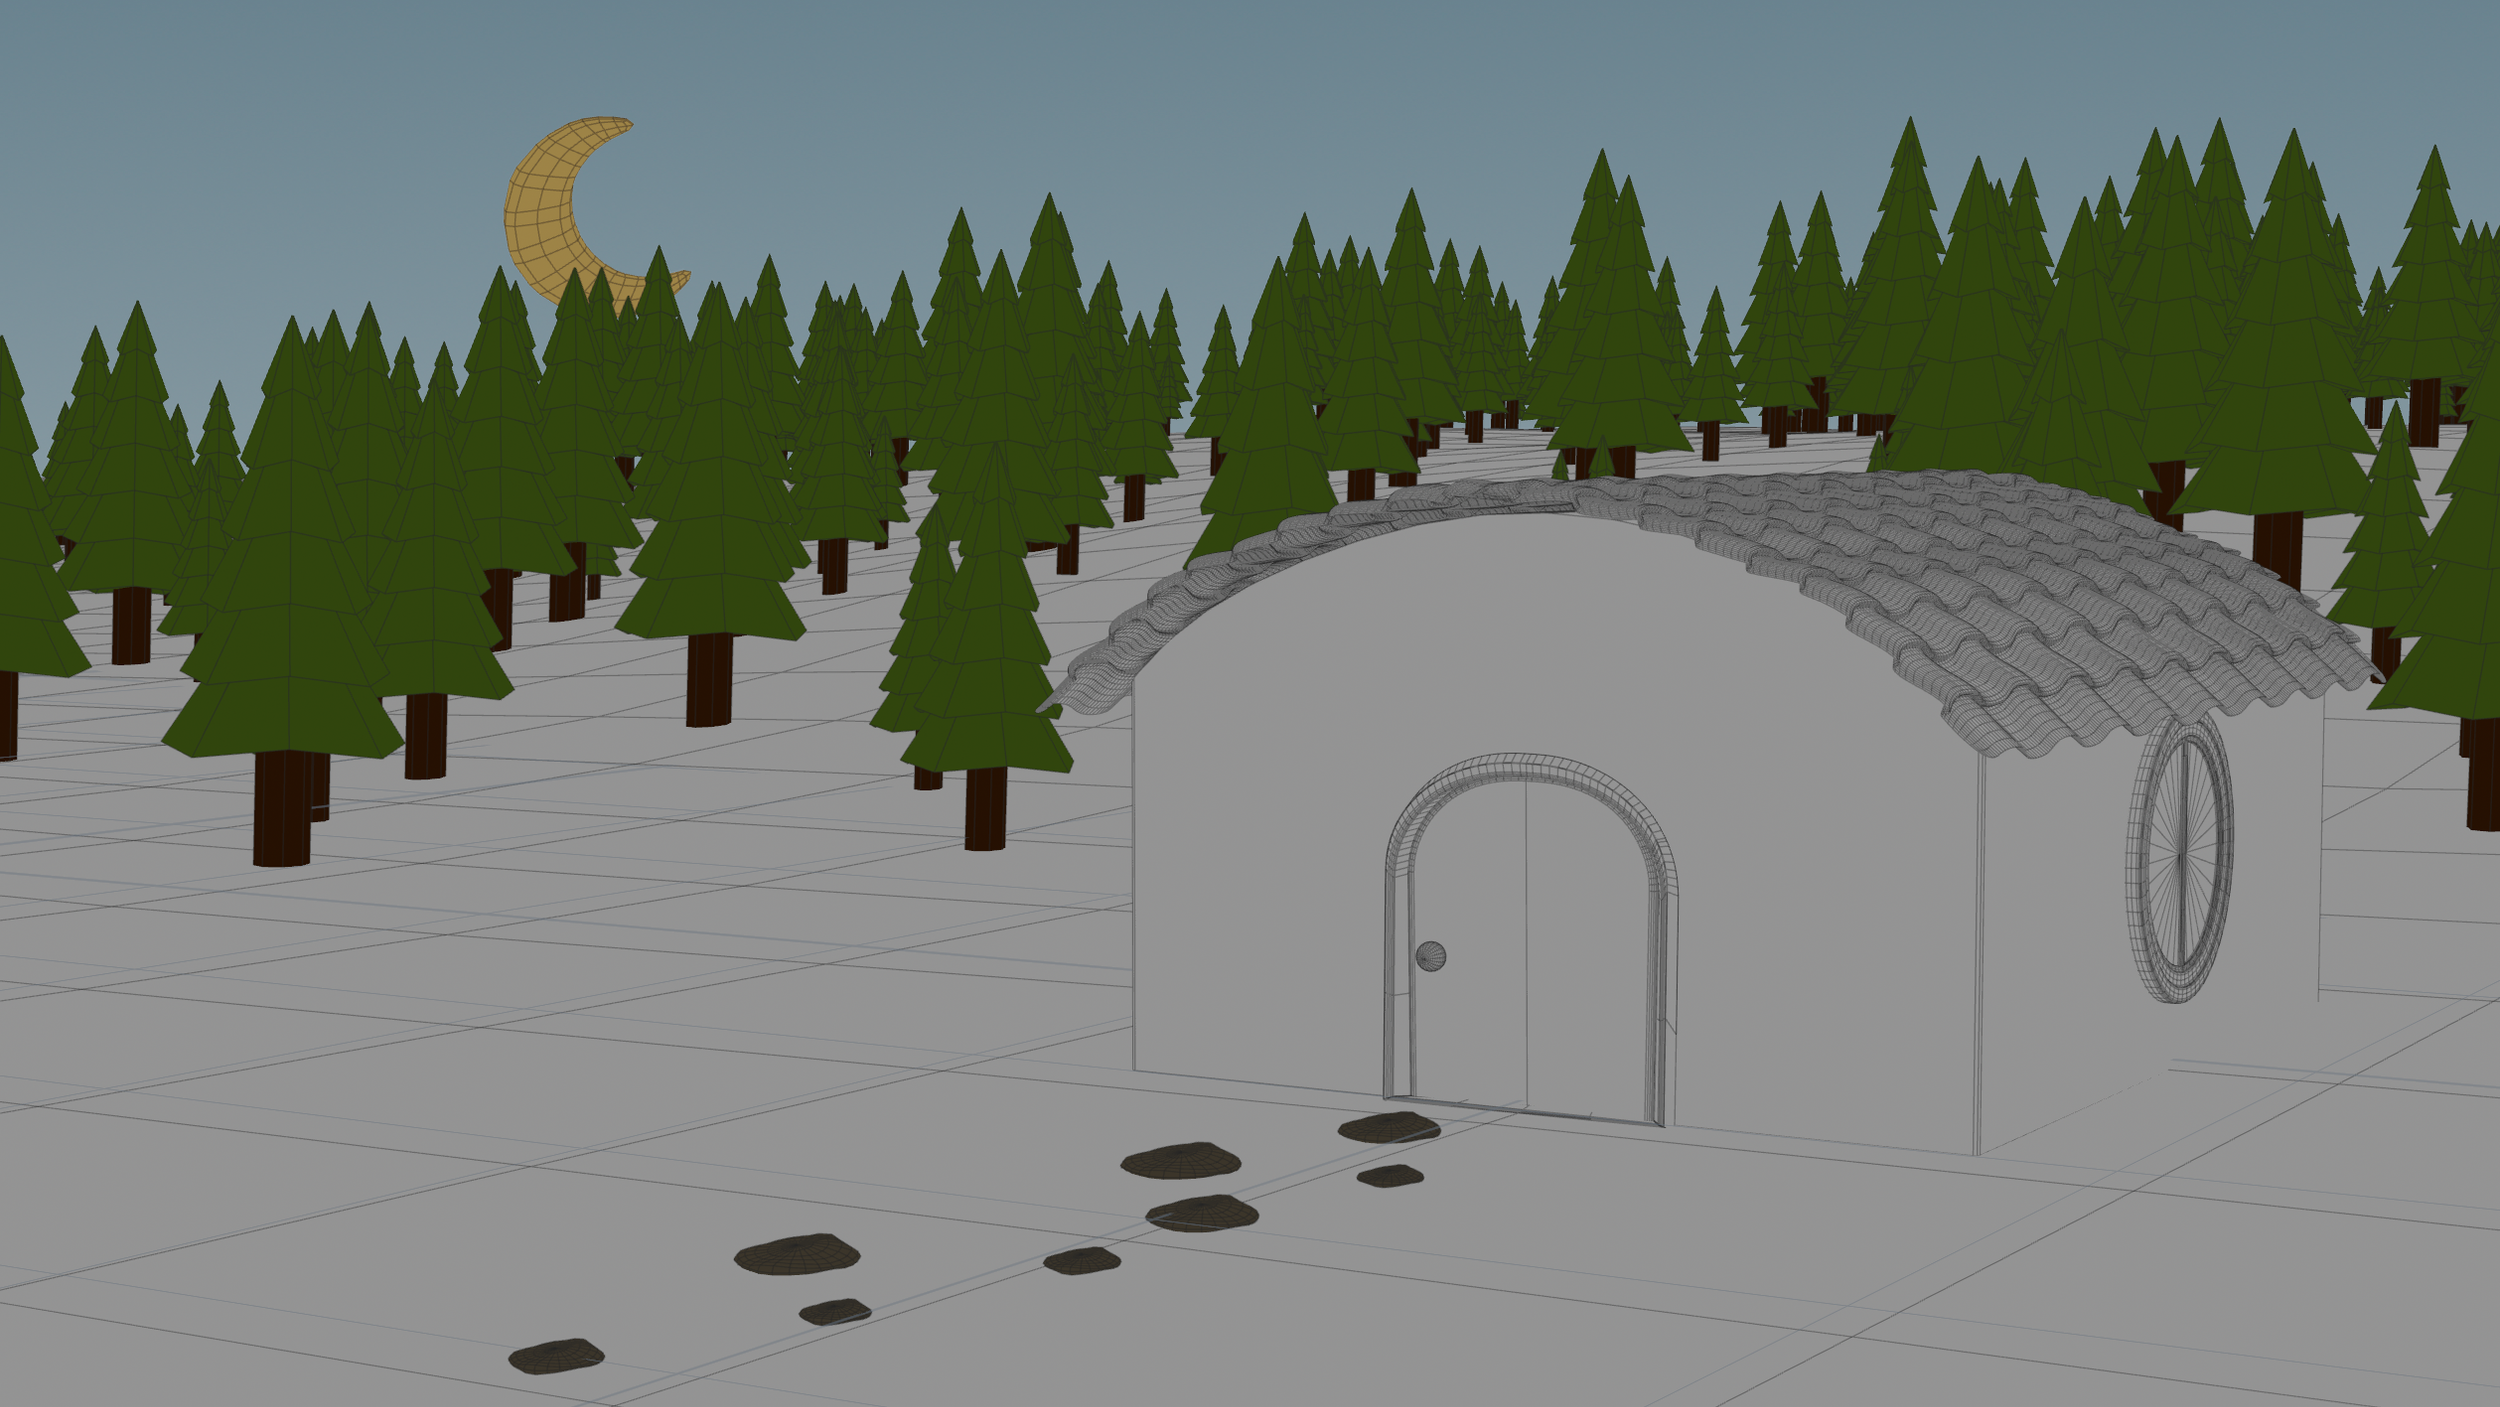
Shot 4
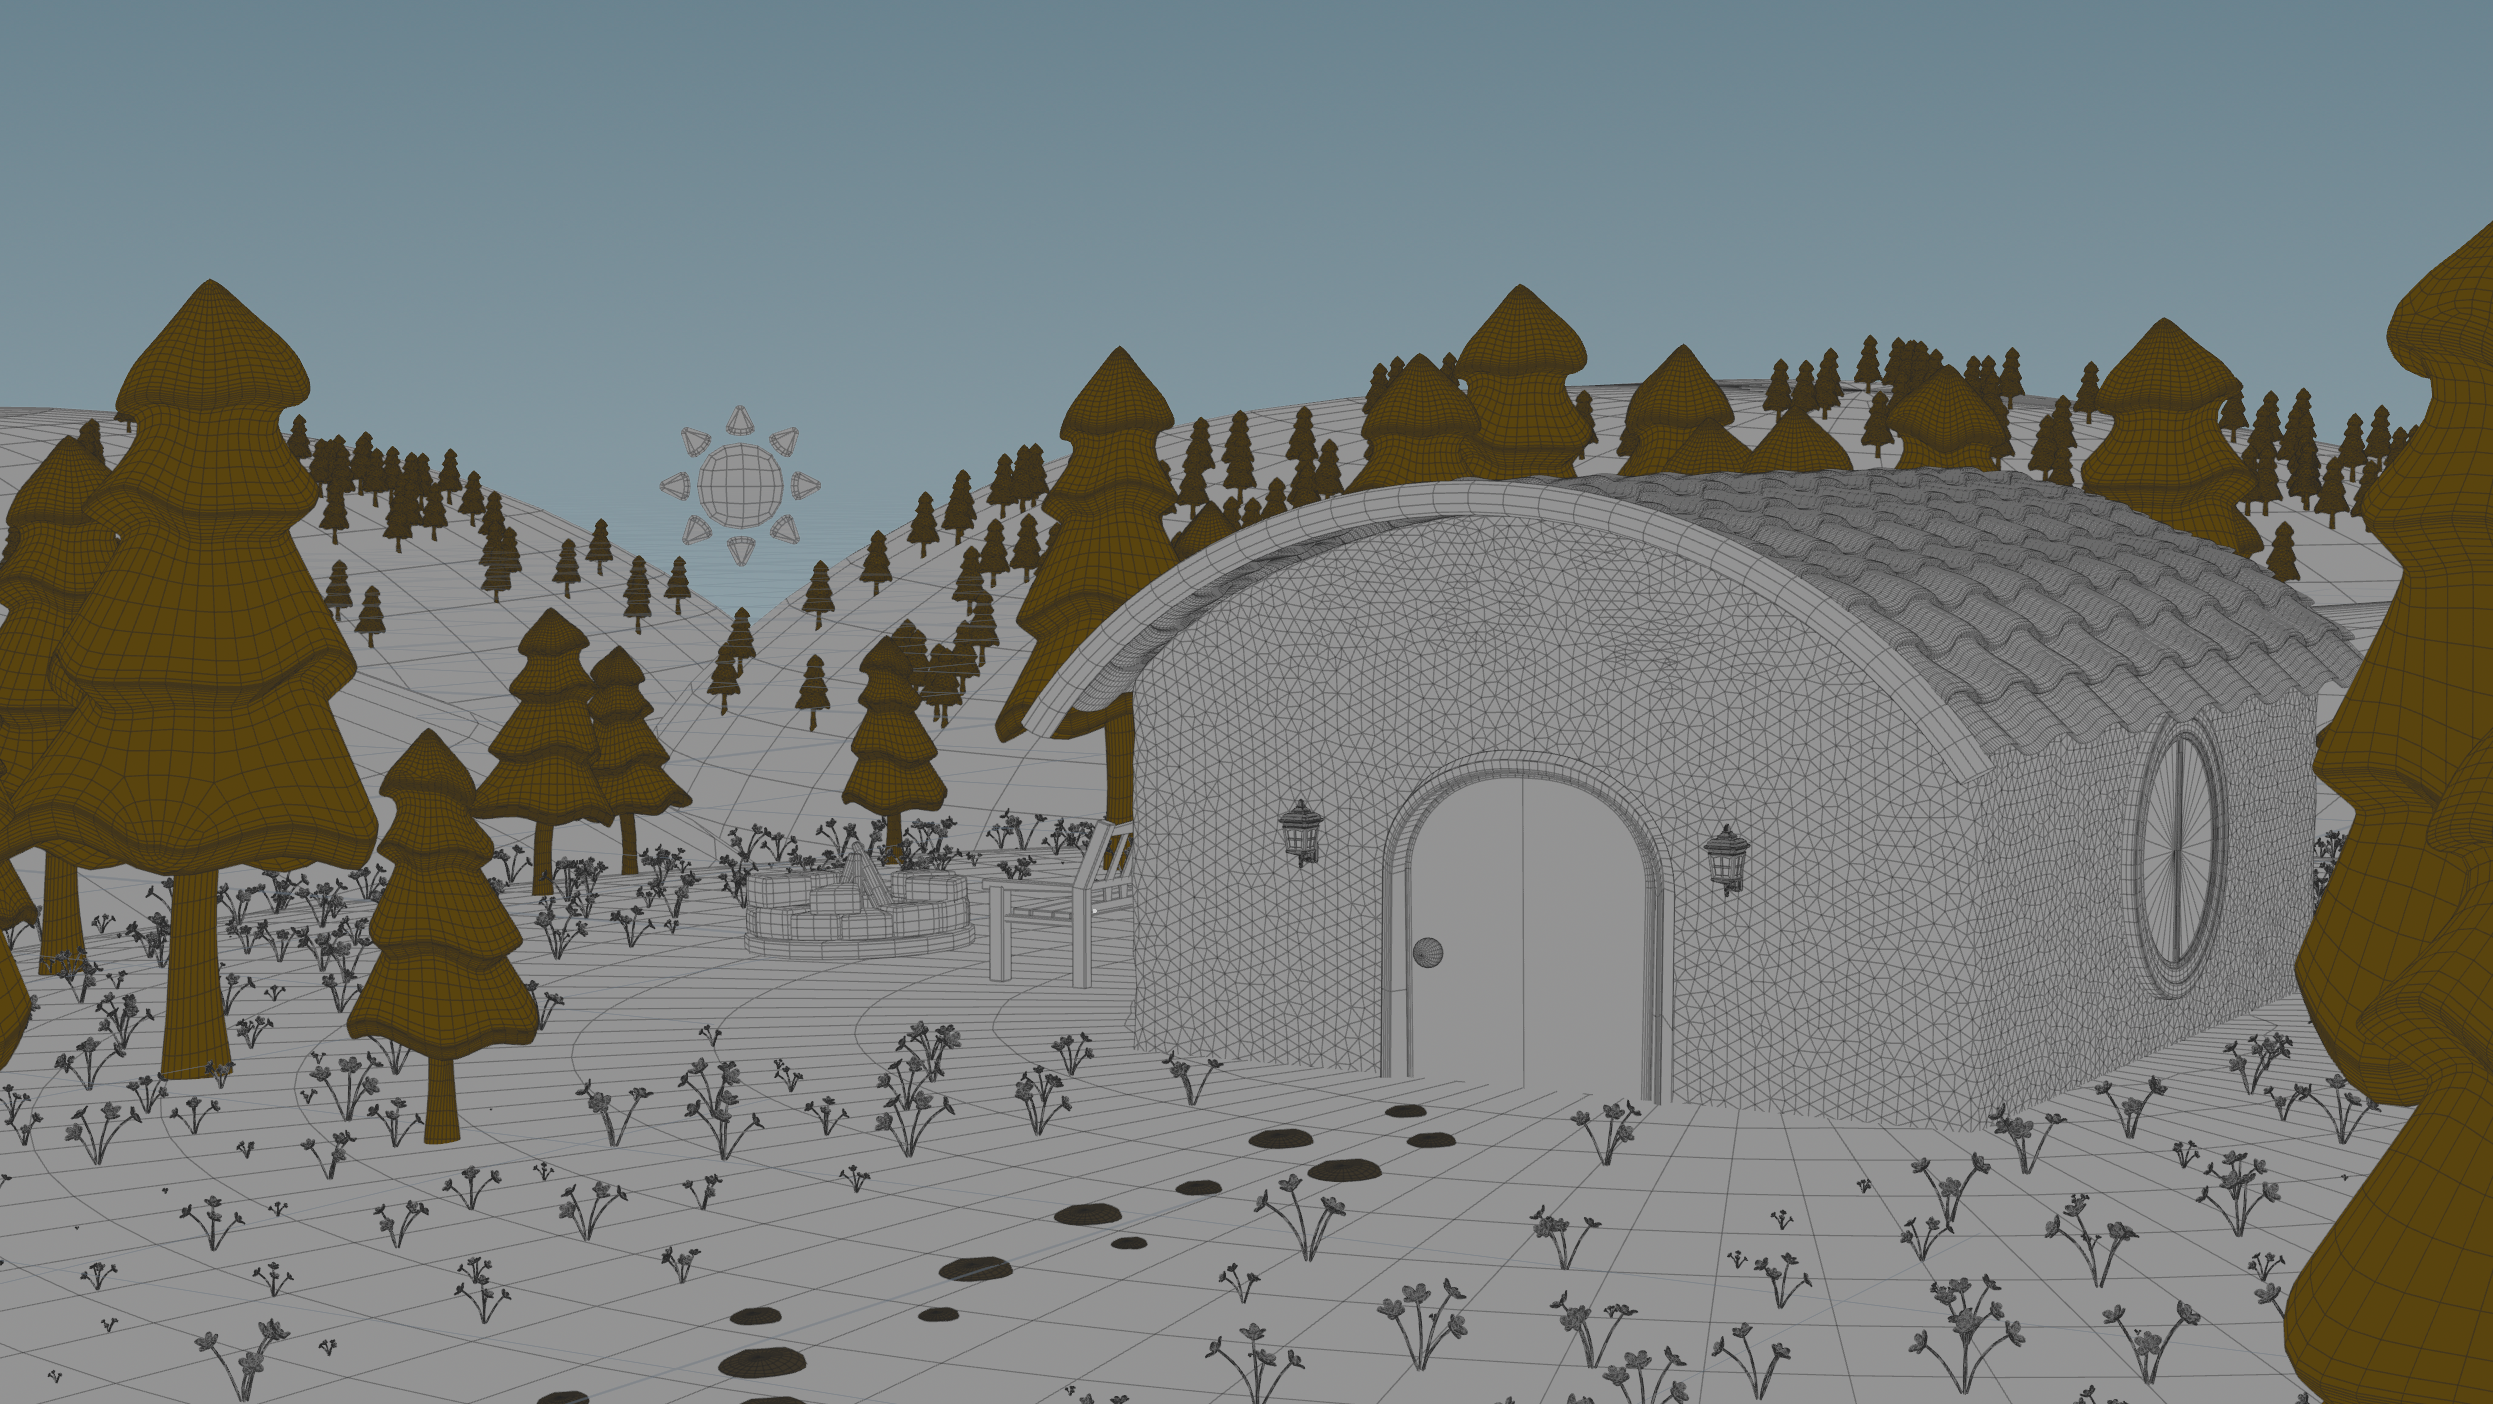
Shot 1 has changed the most since the initial 3D layout I tried. For this shot I decided to make the 3D scene set up a bit more whimsical and stylized with the round hills in the background. I also added more details like a firepit and bench in the yard, flowers, and updated the stylized tree models.
Shot 1 + 6 Scene Node Tree
Shot 6
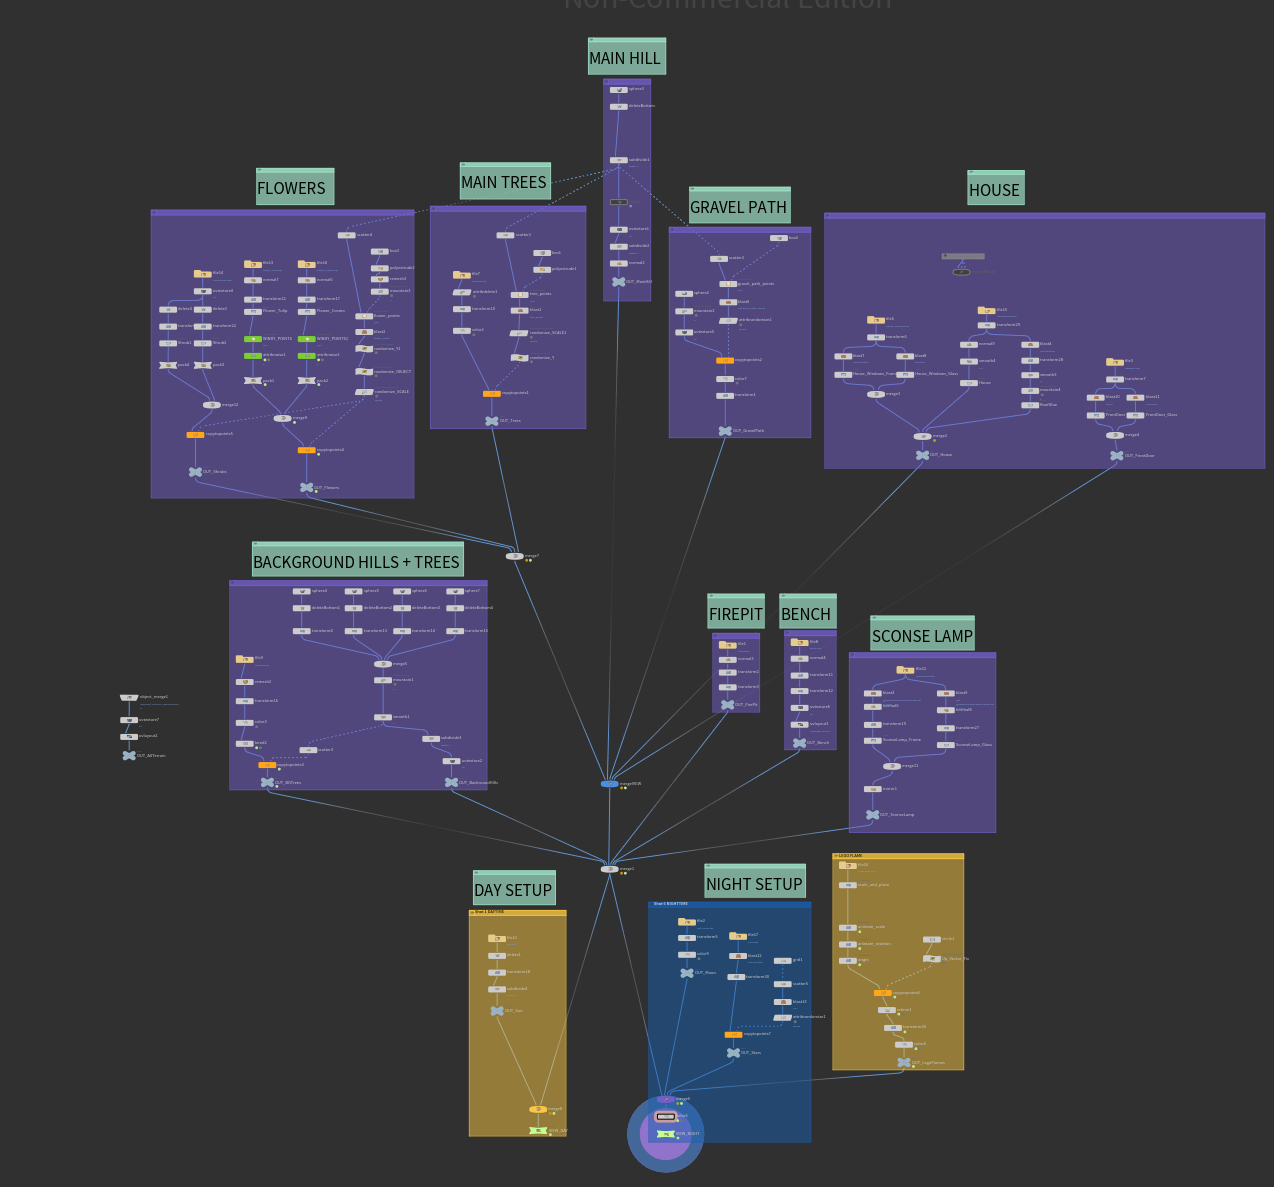
Shot 3 Scene Node Tree
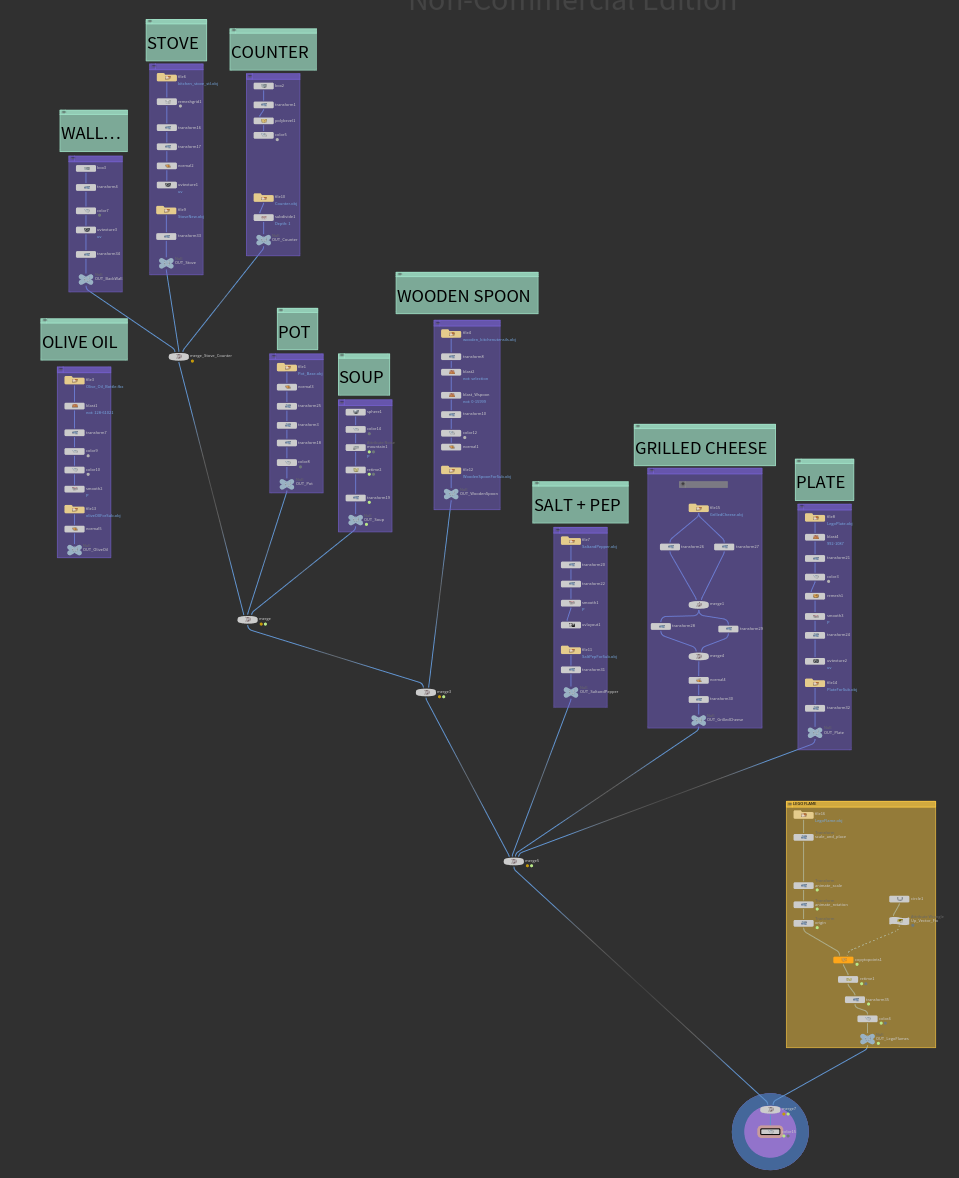
Shot 3
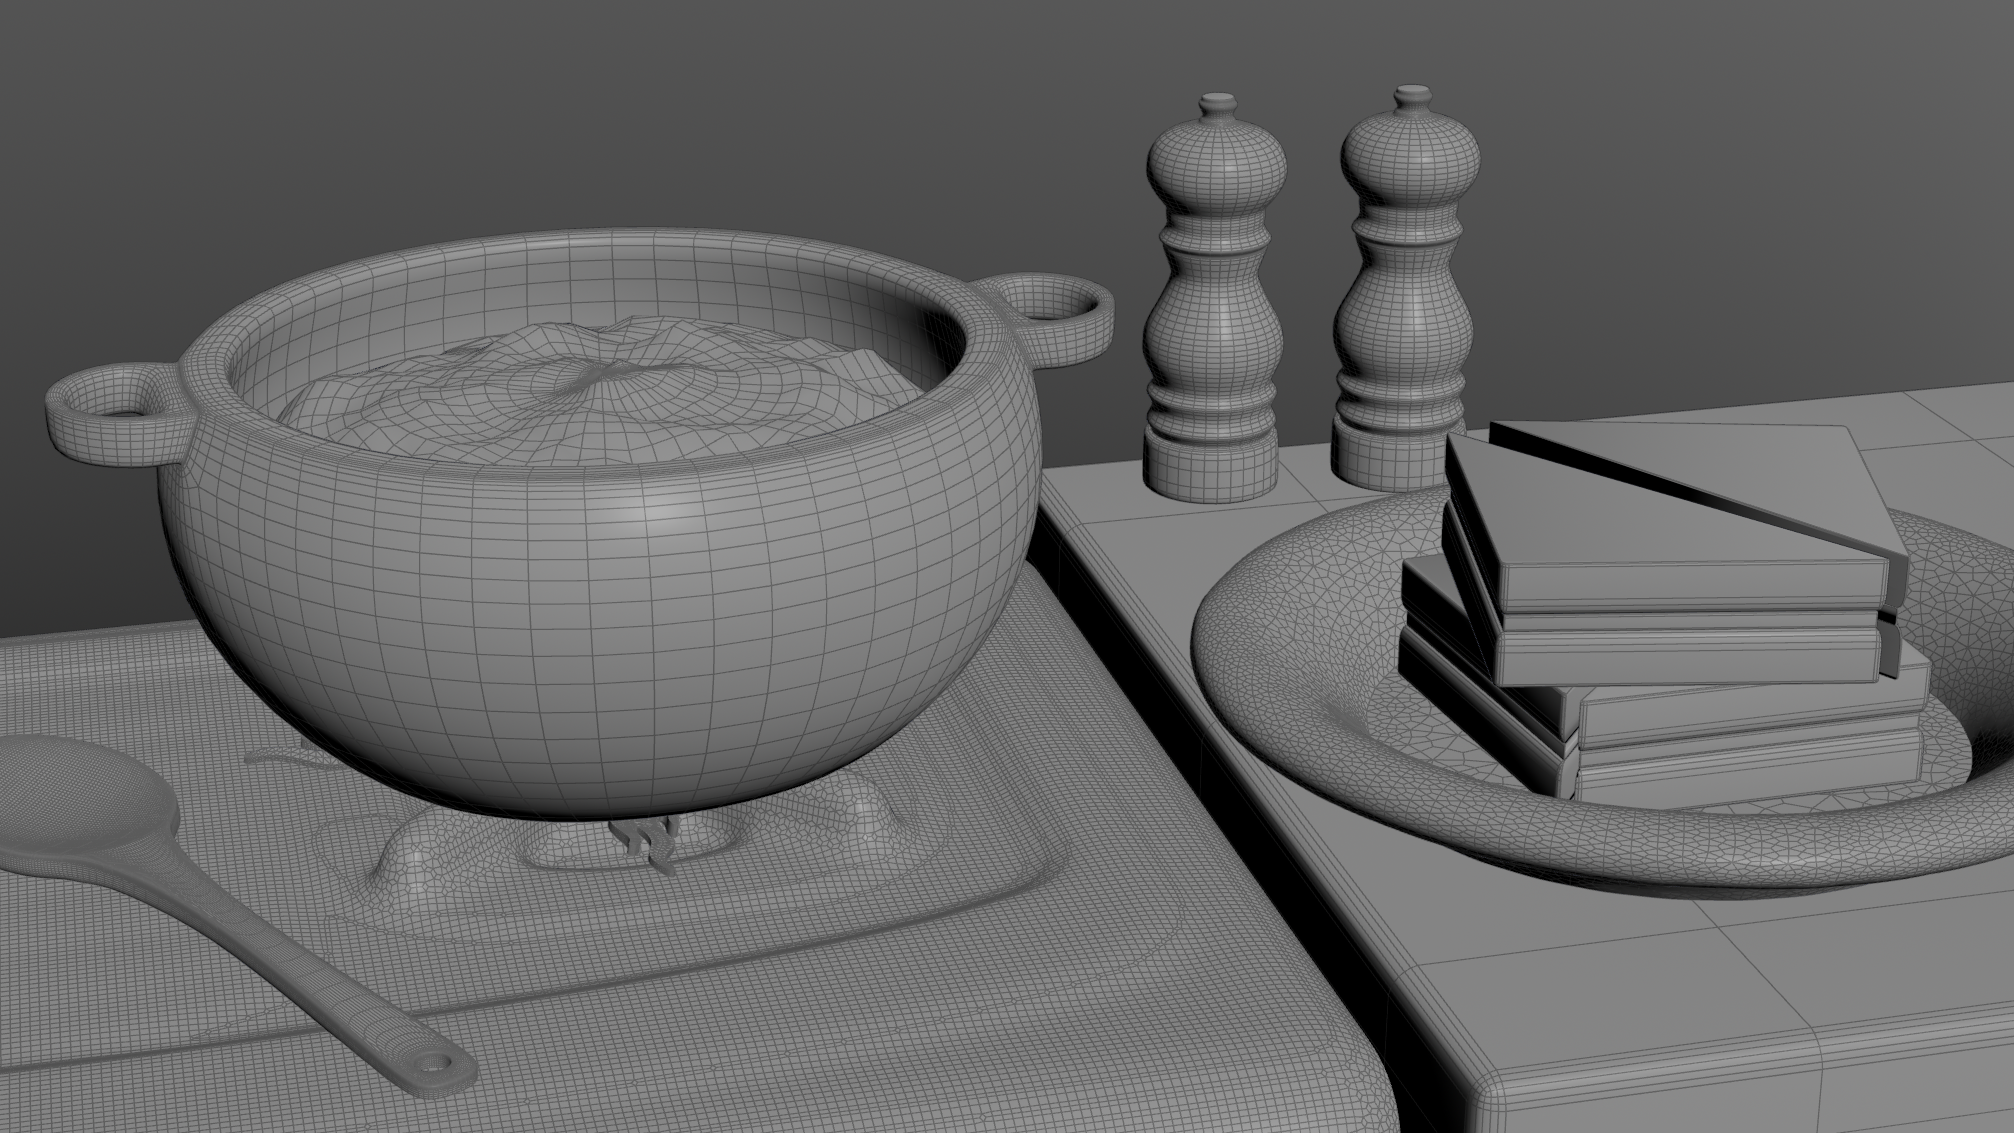
Shot 5
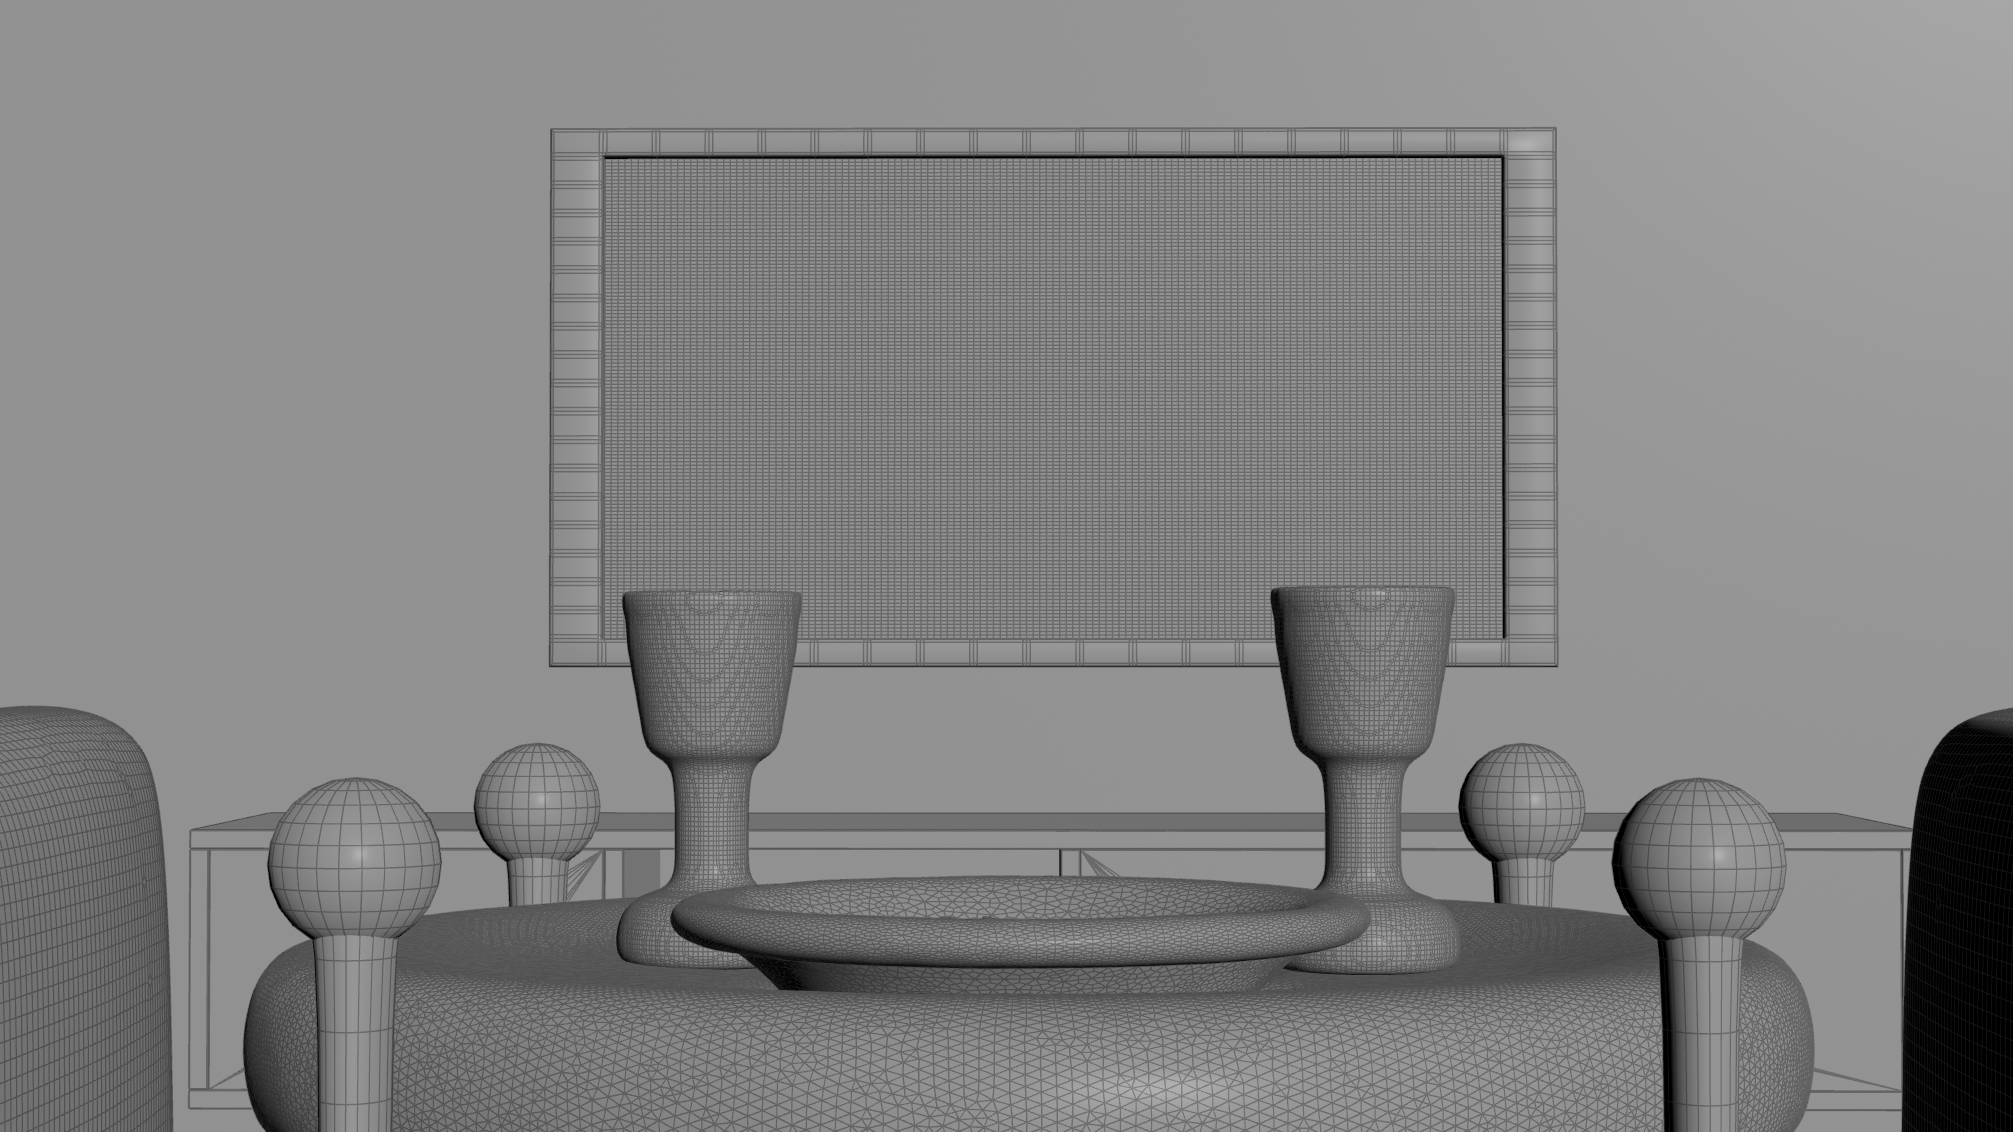
Shot 2 Scene Node Tree
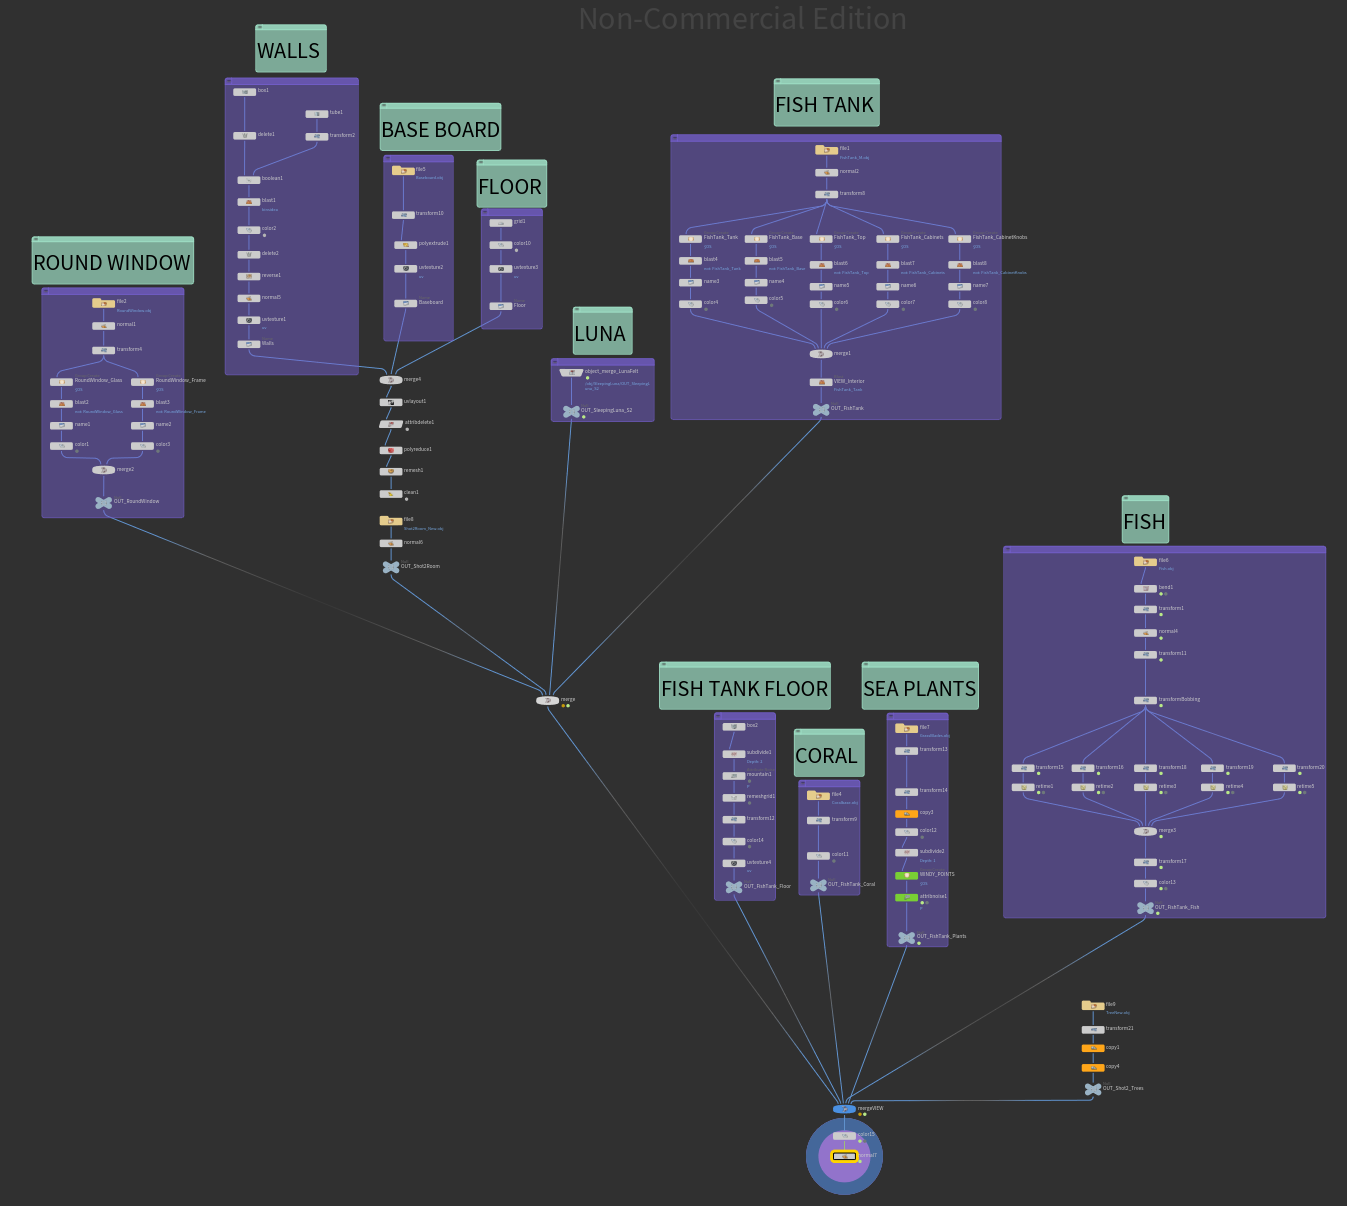
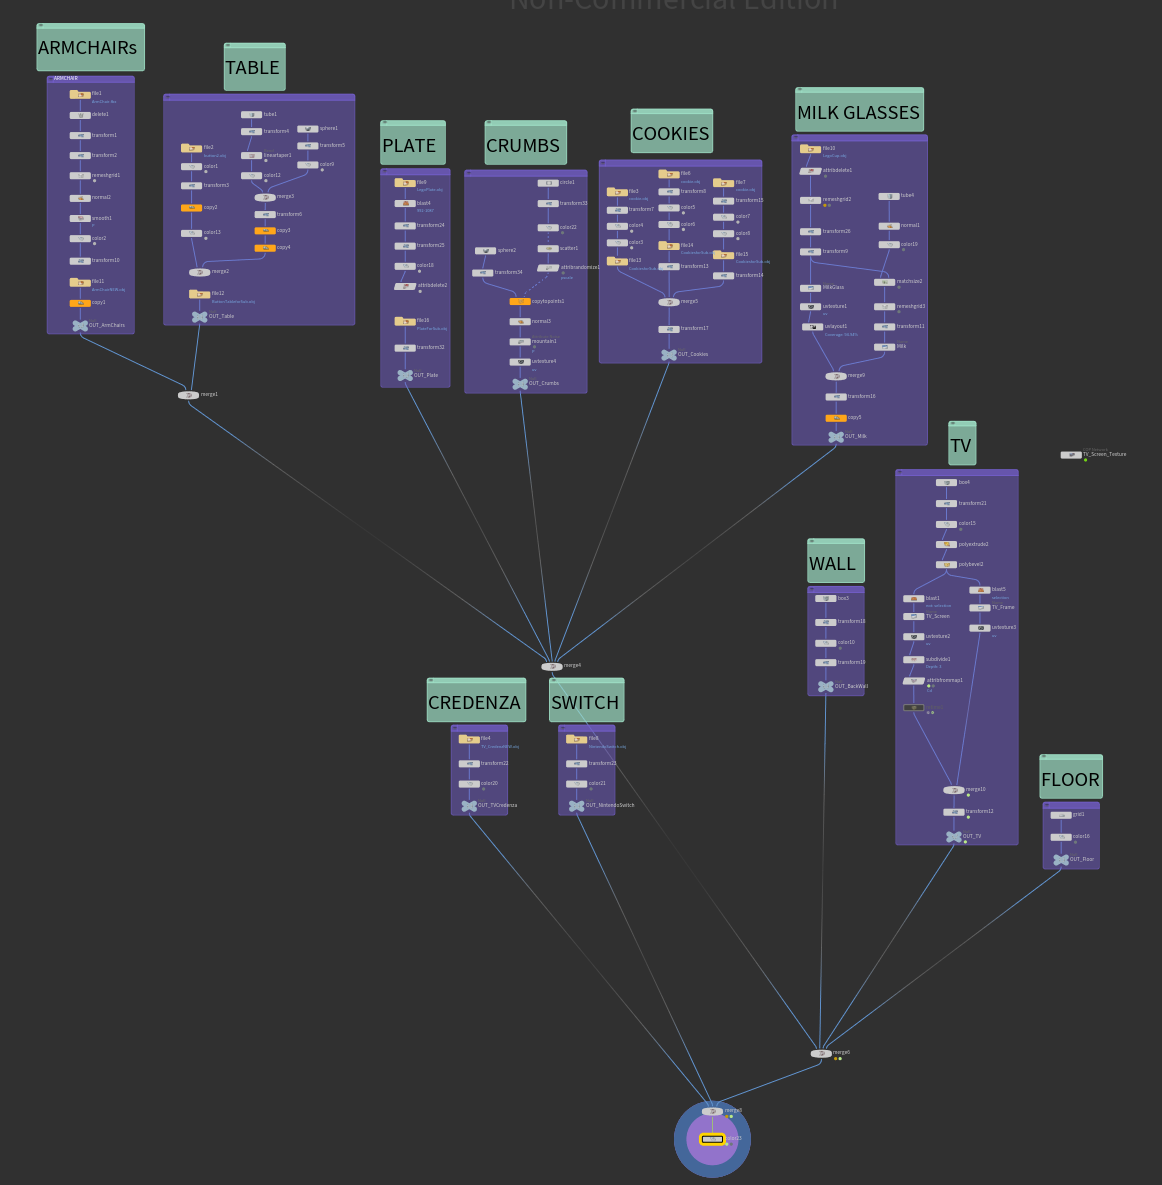
Shot 4 + 5 Scene Node Tree