SCAD 428 - Particles and Procedural Effects
Spring 2025
HOUDINI
Final Project Blog
In this blog, I will be detailing my process while creating the final project for the FX class I am taking this quarter at SCAD, taught by Professor Deborah Fowler. So far we have completed multiple exercises teaching different FX skill applications such as VEX code, Particle Disintegration, RBD: Light vs Heavy, and RBD: Destruction/Debris/Pyro. These exercises have all led up to the final project, which allowed for more freedom of choice for our reference and more time to complete. I chose this reference to try something new and learn about complex viscous fluid simulations, and I thought the video was visually very interesting and had a nice composition.
Approved Reference for Final Project - Lava vs Coke Can < YT Link
Week 4 - More Look Development and Rendering Tests

Latest Render Still
Latest Render

New Lava Shader Node Network

New Volcanic Rock Shader Node Network
Week 3 - Initial Look Development and Rendering Tests
This week I prioritized getting Look Development done to be able to render in time, and then I will make any improvements to the simulation I can. I quickly made masks for the Coke Can model in Adobe Substance Painter, and I created the material for the Volcanic Rock using layers of 3D Noise. I plan on improving the quality of material for specifically the Rock much more.

Look Development In Progress Visual

Lava Shading Network

Still from Backup Test Render Still
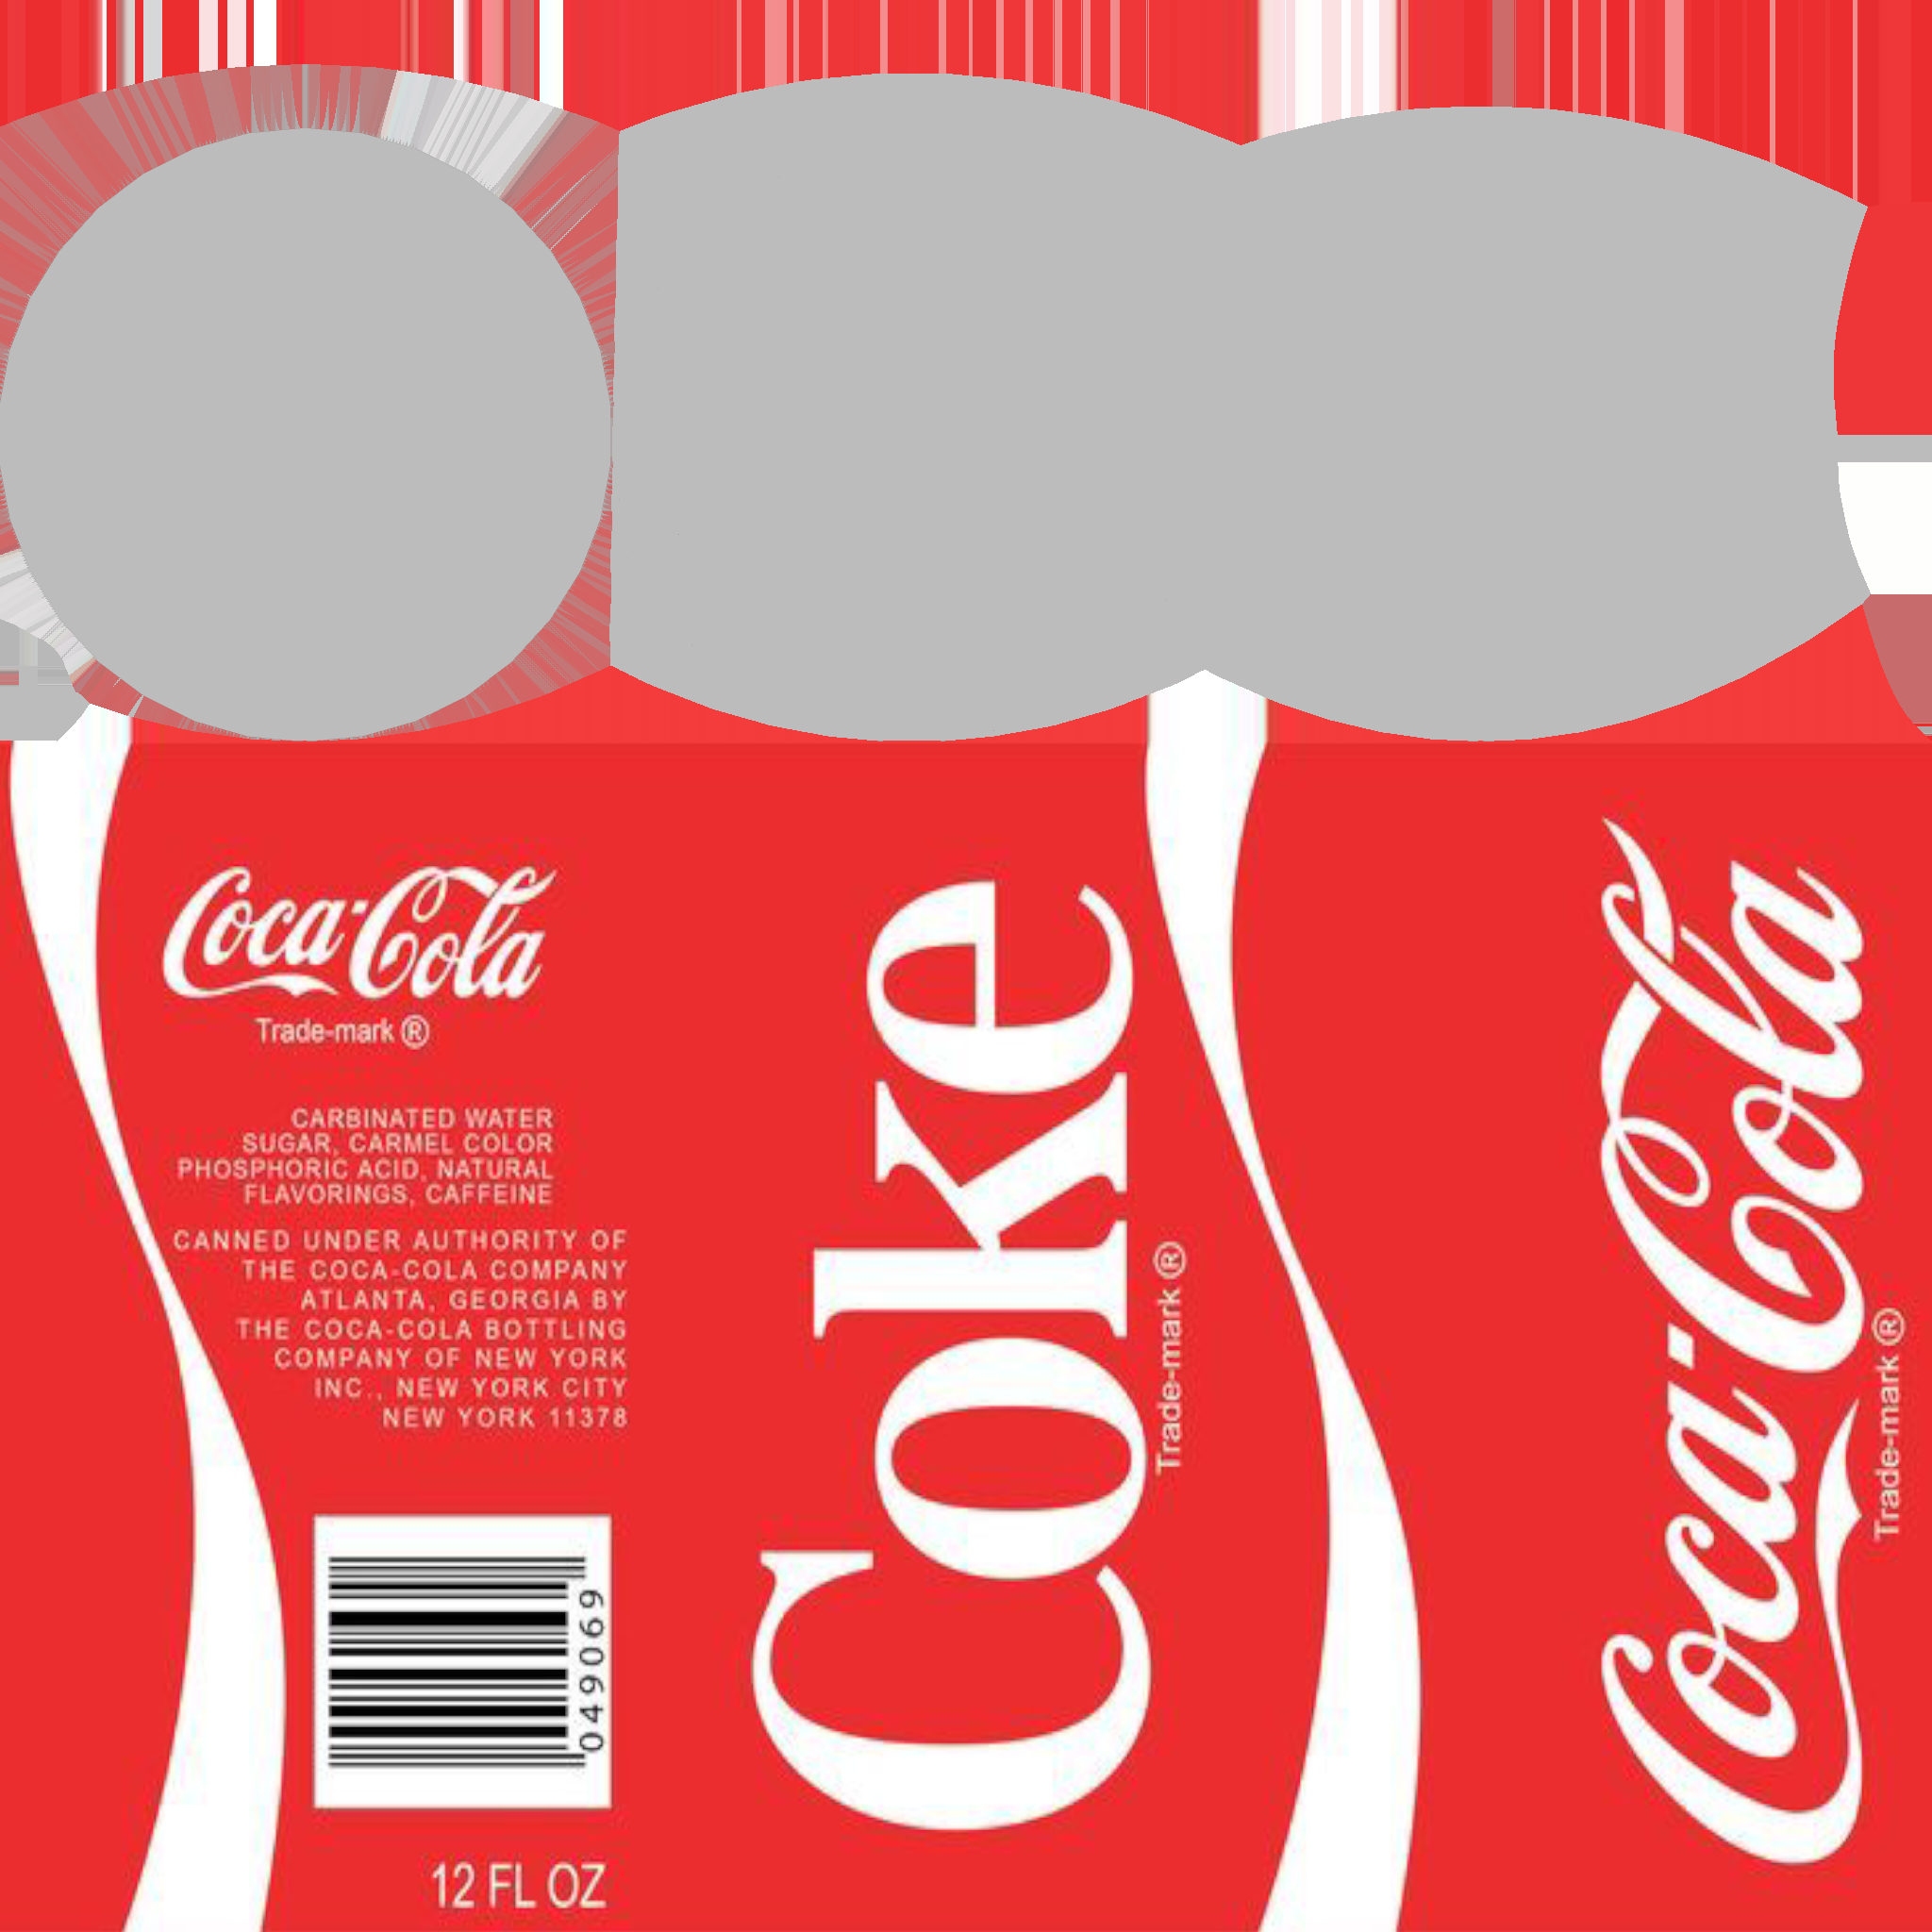


Coke Can Texture Maps - Base Color, Metalness, and Roughness

Volcanic Rock Shading Network
For the Lava’s shader, at first I was trying to apply a texture and input the simulated UV. Then I realized you can reference the geometry’s color (Cd attribute), which is the attribute I apply the Lava texture to using the Point VOP in SOPs. So I connected that into base color and emission and lowered the base value to get started on my Lava shader. I added some layered noises to the displacement as well. I plan to incorporate the simulated Lava texture into the displacement.
Still from Backup Test Render
Week 2 - Lava Simulation Improvements
Fixed UV Seam Texture Visual

Point VOP Node Settings - SOP Level
I want to modify my simulation to be a Flip Solver emitting fluid, instead of simulating a mesh as fluid. I want to do this because it is more accurate to what is naturally happening in the reference video, and so the lava won’t appear to slow down and stop flowing.
But I ran into some issues trying to get this to work and it took me a while to figure out what I was doing wrong. It turned out to be a really simple fix

Inside DOP Network - Volume Source Settings
In the DOP simulation network, to set up the emitting a “Volume Source” node has to be wired in to the Flip solver instead of a “Gas Temperature Update” as I had it set up before. In the “Volume Source” node, it states it is sourcing the particles that are imported. But is actually specifically sourcing a group of particles named “Particles”, and if that is not set up it will not display anything in the viewport since nothing is being imported. Which is exactly the issue I was having.
All I had to do was go into my “Points from Volume” node that I am using to create the points for my Lava Source, and make sure a group named “Particles” was being created. Now I have the emitting flip simulation working!
I then attempted to animate the lava source mesh to bounce continuously to try to achieve some folding in the lava, but also to just add a more natural and irregular flow to the lava’s movement. I used a sin wave to animate different transform parameters of the mesh.
Animated Lava Source Mesh
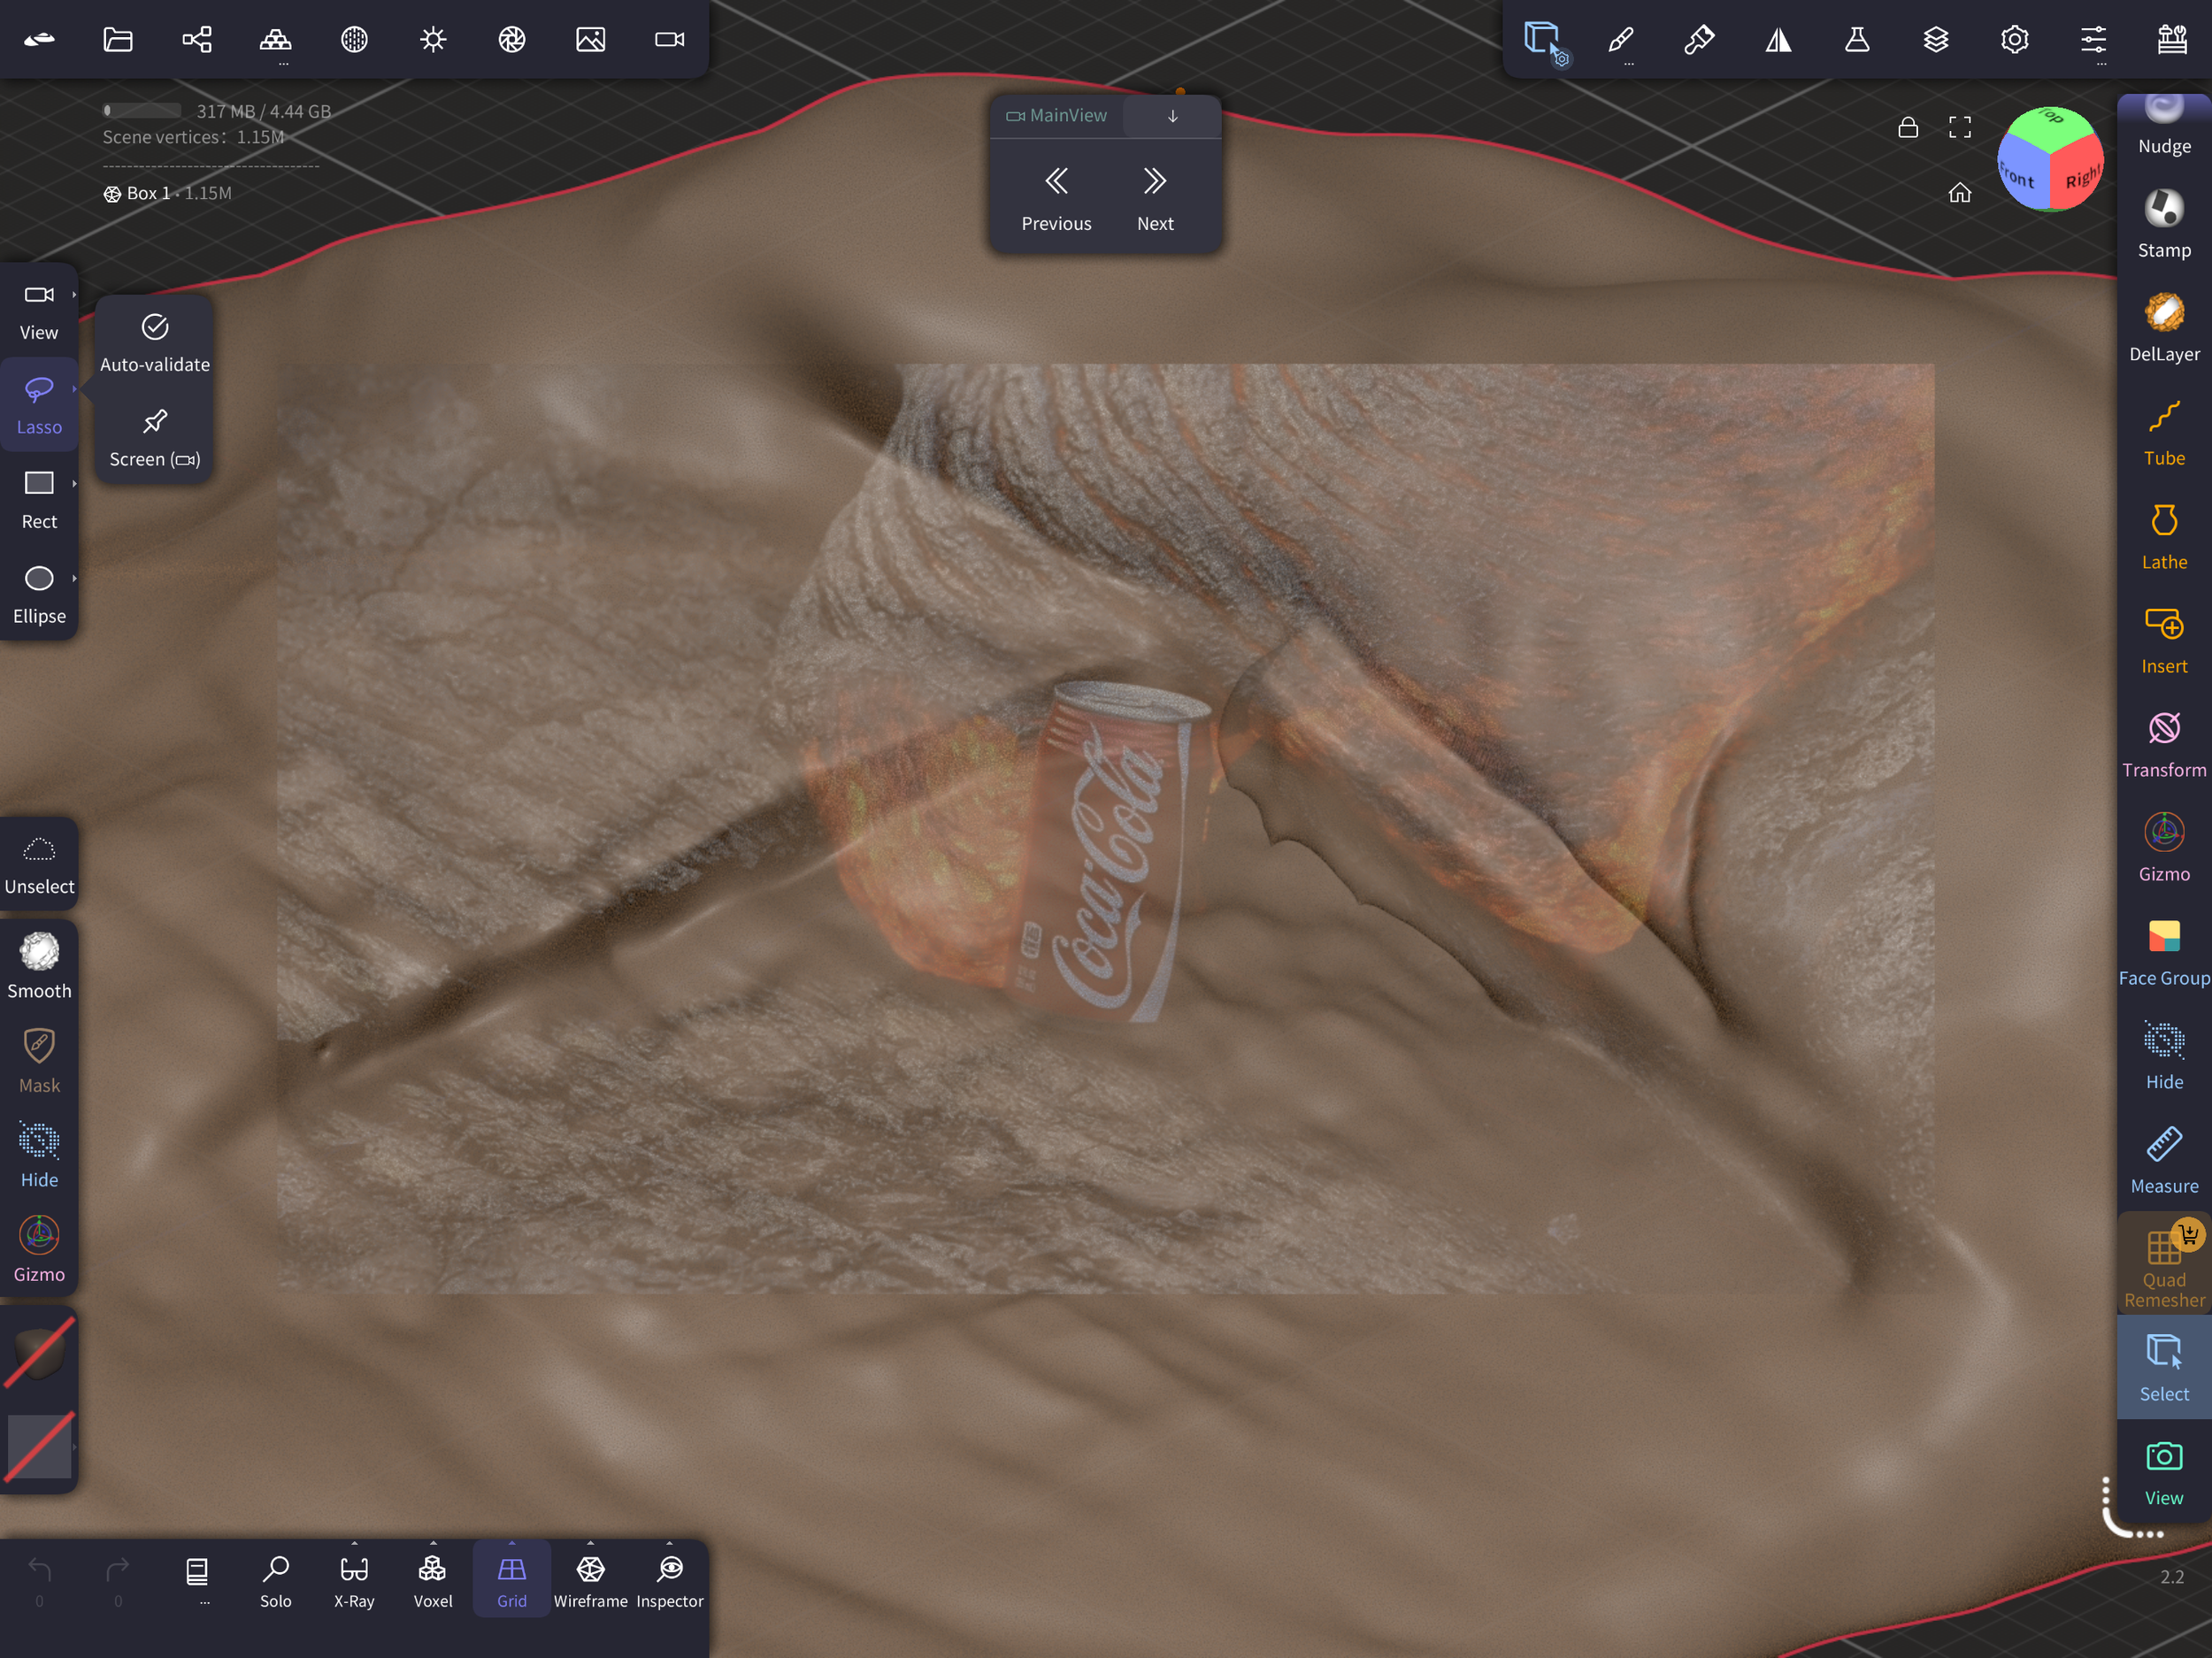
When I really started focusing on perfecting the Coke Can’s interaction with the Lava to be like the reference video, I realized it was going to be a lot more difficult / complex than I had anticipated.
I tried many different methods to try to get the Lava to not just push the can forward but wrap around it, and none have seemed to work.
I tried making the Lava simulation “Stick on Collision,” but then it wouldn’t flow all the way down the rock and it didn’t look right.
I also tried making the Coke Can sticky and that didn’t work either.
Finally, I tried creating a box object that would act as a flat base for the Coke Can to stay balanced until colliding with the Lava. And I tried to set up a constraint network, gluing the box to the Coke Can. But even a glue strength value of 100,000 wouldn’t hold the Coke Can for long enough in order for the Lava to fully grab and wrap around it.
This week I tried to focus solely on the lava simulation’s quality to give as much time as possible to sim time and file caching. In the final week, I plan to focus solely on look development and rendering to provide myself enough time for that as well.
I fixed the obvious UV seam issue from last week by making sure the rest position was correctly bound to the uv parameter in the point VOP, and also that the rest attribute was not being deleted before sending the points to the simulation.

Rest Attribute present in Geometry Spreadsheet in Lava Source Output
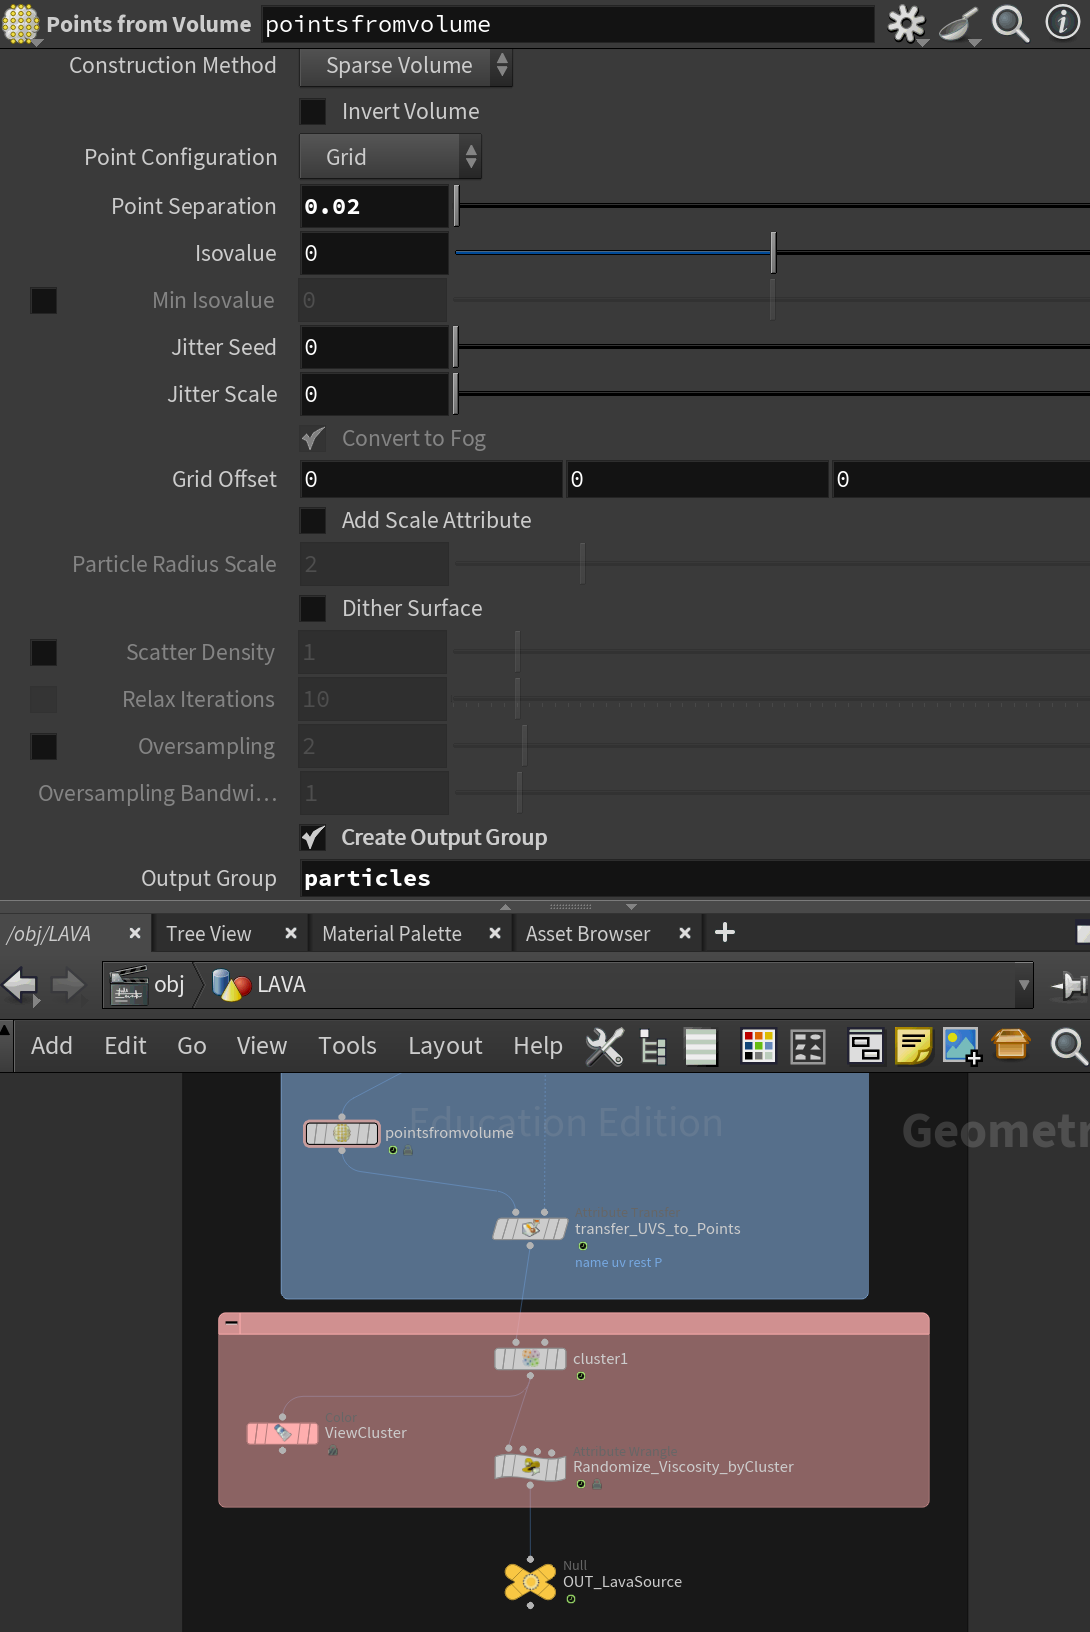
Lava Source SOP Output - Points from Volume Settings

Sin Wave VEX Code Transform Animation
Unfortunately, due to time constraints, I had to make this issue a low priority and move on to Look Development and Rendering, and fix other more prevalent issues with the actual Lava simulation. But eventually I will come back to this issue and try my best to achieve the behavior in the reference.
Week 1 - Modeling, Layout, Simulation Testing and Setting Up UVs
I sculpted the volcanic rock formation from the reference image in an application named Nomad Sculpt. I used the reference image as an overlay, which made the process of getting the shapes correct easy.
Lava Simulation Testing + Setup

Lava Source Node Network
Failed Texture Flip-book Test


Preliminary Lava Sim Test
I used the “Lava from Object” shelf tool in Houdini to get started with a basic setup.
I have an oval shape with a mountain node applied as my lava source object, and my volcanic rock model as my collision object.


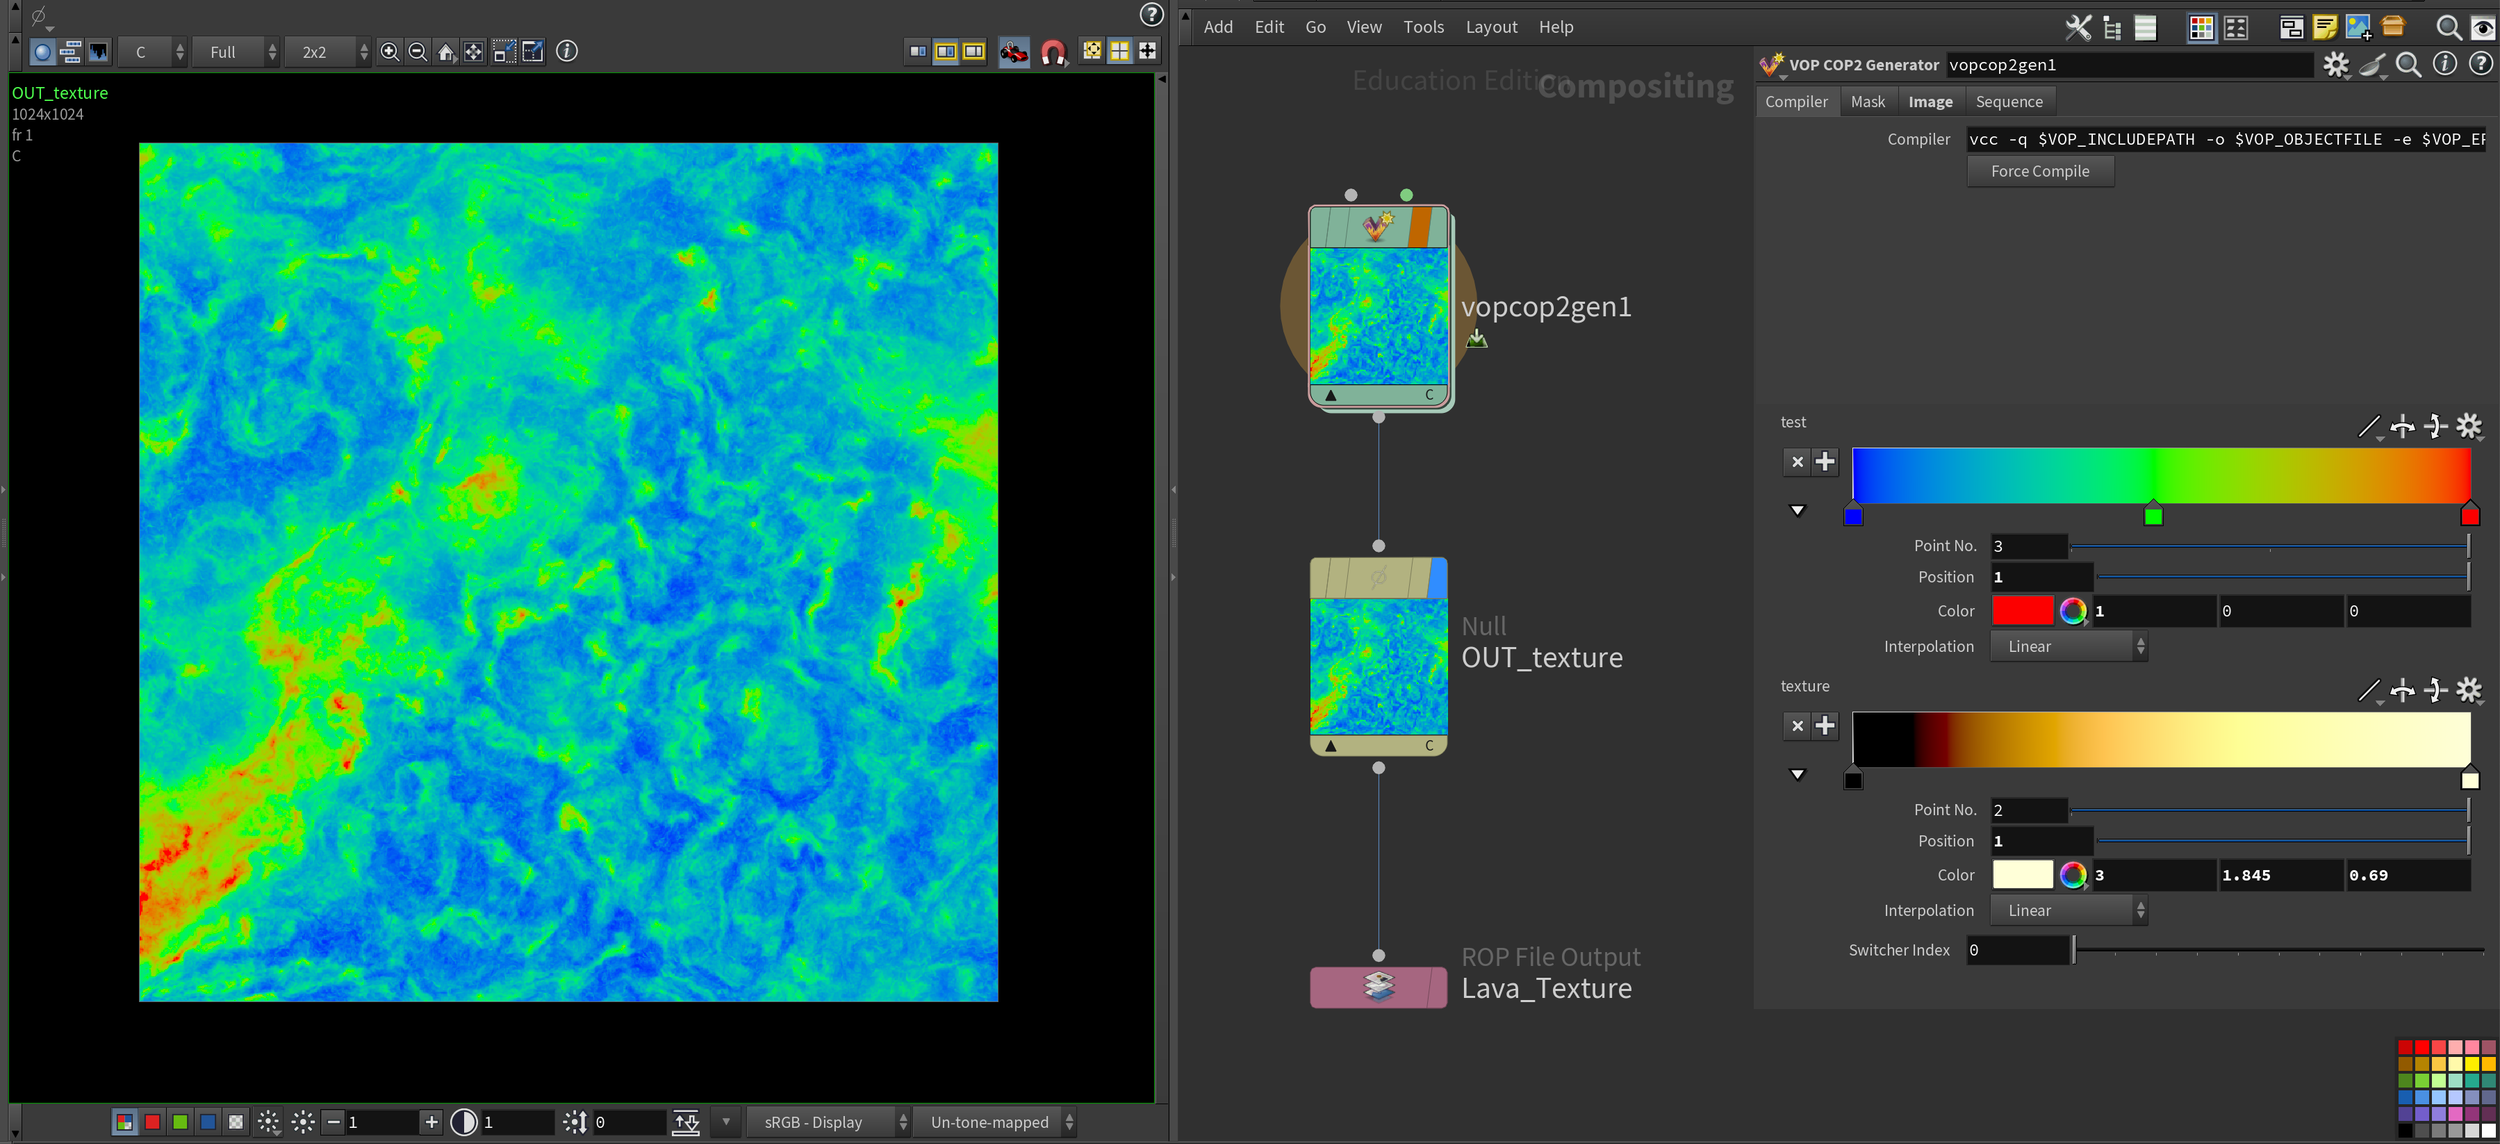
Inside COP Network - Noise Lava Texture
VOP Noise Generator, Null, File Output ROP

Lava Render Output Node Network

VOP Noise Generator -
Using global X and Y values to create 3 sets of 3D noise (highlighted in image) ranging from High, Medium, to Low frequencies. They are added together and then go through two color ramp parameter nodes labeled “test” and “texture” for viewing purposes shown below. Controlled by a promoted switch.
This tutorial helped me a lot with better understanding how to manipulate the UVs based on the simulation. The UVs are calculated after using the initial rest position of the simulation’s source. I started getting much better results when I incorporated this method. The UVs are being affected by the simulation, shown below.
UV Quick Shade Visual
I was able to get a slight folding effect in the Lava using a method shown in the last tutorial. By creating clusters (or groups) of points in the Lava Source using a cluster node, I randomized the viscosity values of each cluster before sending it into the simulation.
I plan on increasing the clusters count and playing with the viscosity minimum and maximum values to get a more realistic effect.
I also quickly modeled the Coca-Cola Can in Maya, I went ahead and unwrapped the UVs as well for texturing later.

Preliminary Lava Sim Test with Coke Can - Need to Troubleshoot Collision Issues
I wanted to get started on the texturing since it is going to be a huge aspect of the simulation. After watching this tutorial I learned more about COP networks and creating procedural textures inside of Houdini. I attempted the method shown in the video where the UVs are projected onto the source object mesh geo and then transferred onto the points generated from it to manipulate them according to the simulation.
(Seen below in “Lava Source Node Network”)

Texture Visual - UV Seam Issue to Troubleshoot

Cluster Node and Attribute Wrangle Set-Up + Clusters View